Minecraft redstone wheat farm


This is a redstone wheat farm on Java edition 1.21.5.
In this build be will be building a redstone wheat farm. This farm works by allowing the wheat to grow naturally and then when the player selects the lever the water will flow down washing the wheat into hoppers and eventually in to a chest. The player for this build will have to plant the wheat seeds and then select the lever to harvest the wheat.
This is what wheat is used for -
Food - wheat can be crafted in to loaves of bread, cookies and cakes and used as a food source.
Food - wheat is used for feeding cows, sheep, goats and mooshrooms. When holding wheat all of these animals will follow you and you can place them in a pen.
Breeding - wheat can be fed to cows, sheep, goats and mooshrooms to encourage breeding.
Healing - wheat can heal a horse 1 health or lower its temper by 3% when attempting to tame it. It can also decrease the time it takes for a foal to grow by 20 seconds.
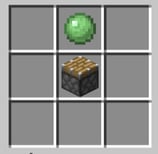
Composting - excess wheat can be placed in a composter and made into bonemeal.
Where can you get wheat seeds from -
Breaking tall grass.
Can be found in village farms.
Loot in certain chests.
In this section we will discuss the materials and the ingredients that we need to make this build. This will give a concise list of the items and the recipe's to make them.
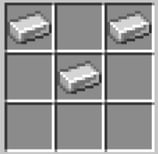
Bucket
Hoe
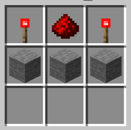
Lever
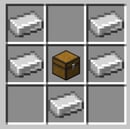
Chest
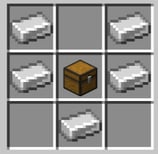
Hopper
Repeater
Sticky piston


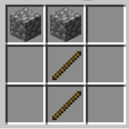
Hopper - for this build you need to craft a chest to make it.
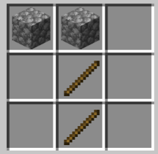
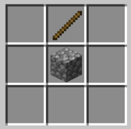
Sticky Piston - for this build you will need to make a piston first.


The first stage is to prepare for the redstone section of the build.
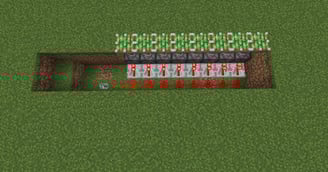
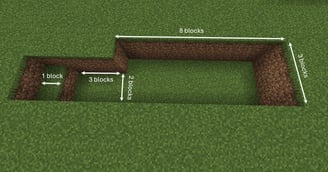
This entails digging 2 blocks down in a 8 x 3 section. Then on the left hand side dig 3 x 2 blocks.
Finally a 1 block down and a 1 x 2 blocks to enable you to get out of the hole. Dig this on the end of the 3 x 2 hole. It should look something like the screenshot.
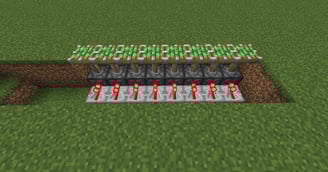
Lets now place down the sticky pistons. Place the sticky pistons in the back section ensuring that they are green side up.
Next run repeaters pointing towards the sticky pistons along the whole length of the sticky pistons.
Then place redstone dust behind the repeaters extending by 1 block and place down a lever in the next block. When switching the lever the sticky pistons should come level with the earth.
Lets now switch the lever and ensure that the sticky pistons extend and retract normally.
Ensure that the pistons are extended to move on to the next section.
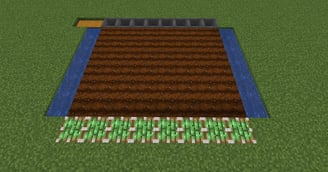
Ok, first up lets hoe a rectangle, from the sticky pistons, hoe 6 blocks all the way along to make a rectangle.
Dig a 1 block hole down each side of the tilled area.
Next dig a 1 block deep hole along the opposite end to the sticky pistons for 10 blocks (2 blocks longer than the tilled area on one end).
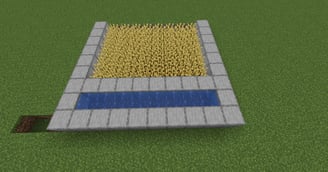
Place your 2 chests down as shown in the screenshot. Next you need to place your hoppers leading into the chest.
Fill the hole by the side of the hoed area with water ensuring it reaches both ends.
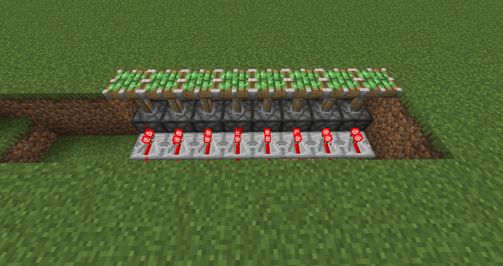
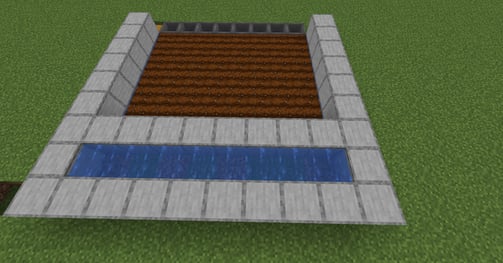
In this section we need to build the stone walls around the build.
From the hoppers place stone blocks over the water and go up 9 blocks.
Next place stone blocks on top of the pistons.
Then place a second row of stone blocks to join the two rows in step 2.
Place a row of stone blocks above the repeaters making a trough.
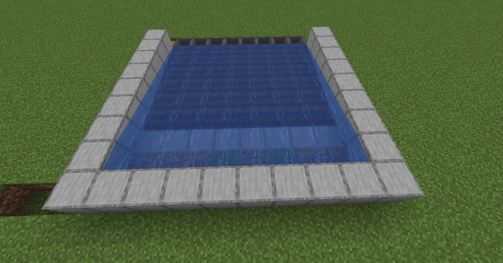
Now lets place water into that gap.
You should now have something that looks like this.
Lets now make sure that this works.
If you select the lever that you placed earlier, the front row of blocks will drop down and the water will flow down the edge of the hoppers.

This is final section, we plant the crops and wait for them grow (this can be speeded up by using bonemeal). Switch the lever and watch the crops flow down into the hoppers and then into the chest.


Here we will explain in detail how to build a redstone wheat farm in Minecraft. Please follow the instructions carefully.


What can go wrong - water not reaching the hoppers.
Ensure that there are only 6 blocks of wheat planted. The water will then reach the hoppers.
What can go wrong - mobs trampling crops.
Place fences around the build.

Additions to the build -
Increase crops - This build can be made wider by adding more pistons and hoppers, it cannot be made longer as the water will only reach this far.