Description
These are the instructions for a Minecraft up elevator. It is essentially an elevator for transporting items upwards to where you need them. It works in the way that the soul sand sends bubbles up the column of water and makes whatever items are in the water rise rapidly to the top. The water must all be source blocks this can be achieved by placing buckets of water down on each block or by planting kelp all the way up the water column and then breaking it.
Ingredients
These are the ingredients and recipes that you will need to make this Minecraft up elevator. Please ensure that you have all of the ingredients before you start your build.
| Item | Picture | Amount |
|---|---|---|
| Soul sand |  | 1 |
| Stone block |  | 4 |
| Redstone dust |  | 3 |
| Repeater | 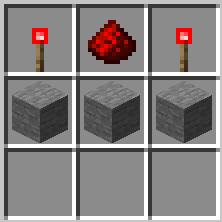 | 1 |
| Comparator | 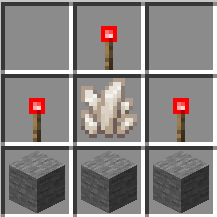 | 1 |
| Hopper | 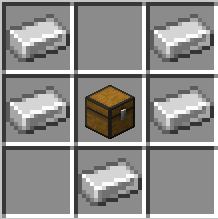 | 3 |
| Dropper | 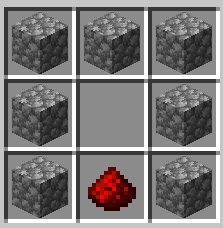 | 1 |
| Bucket of water |  | Depends on height |
| Chest | 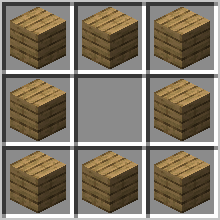 | 1 |
| Dirt |  | Depends on height |
- Hopper – you will need to craft a chest first before making a hopper.
- Repeater and comparator – you will need to make redstone torches first.
Build Plans
Here we will explain in detail how to build this Minecraft up elevator. Please follow the instructions carefully.
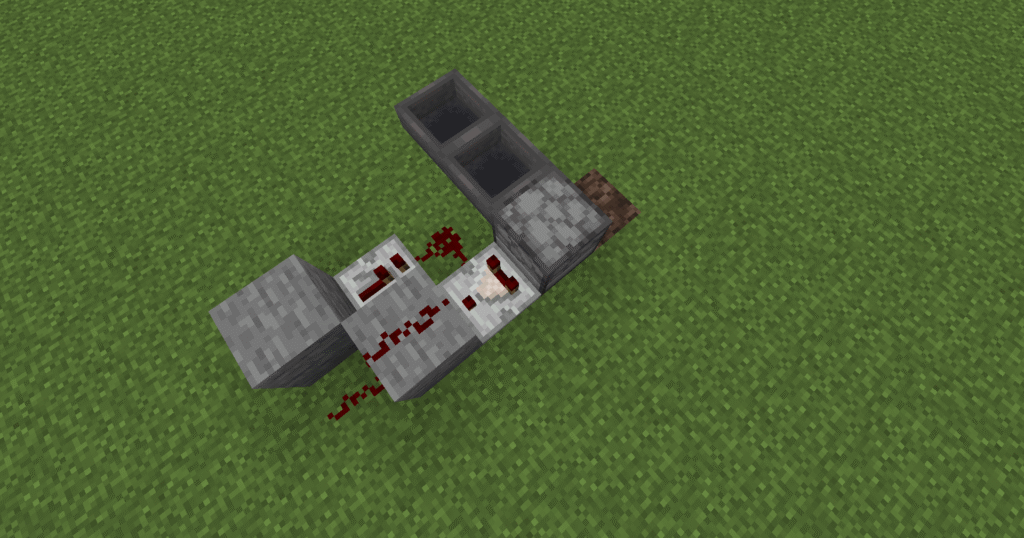
- In the first section of this build we will dig a hole of 1 block and place the soul sand in it.
- Place the dropper down facing the soul sand and place a comparator facing the back of the dropper.
- Then place a stone block behind the comparator and place redstone dust on top of the stone block.
- Place some redstone dust behind this stone block.
- Place another stone block to the left of the redstone dust in step 4.
- Place a repeater in front and then redstone dust in front of this.
- Finally place 2 hoppers that flow into the dropper.
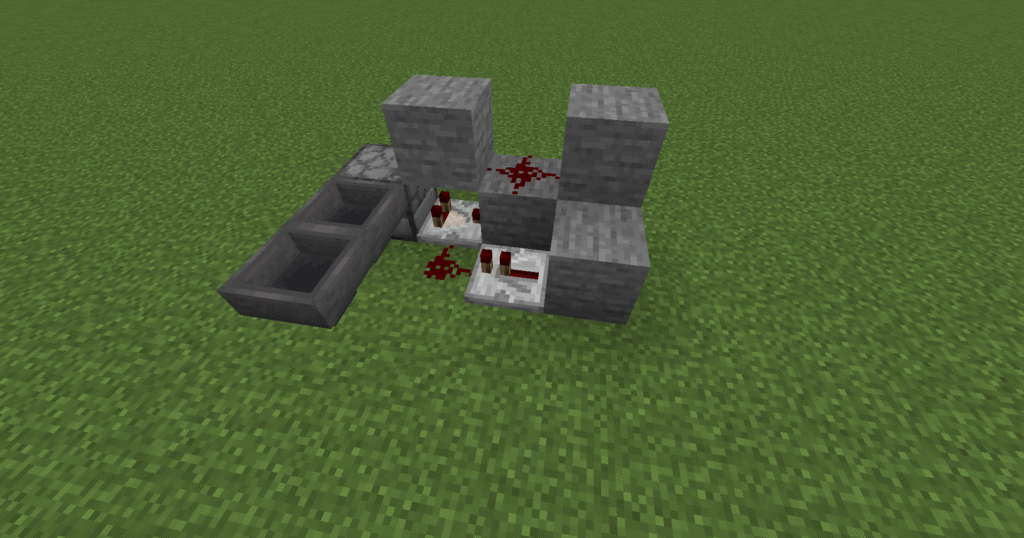
- In this section we will place 2 stone blocks, 1 is placed above the comparator and 1 is placed above the redstone dust as shown in diagram.
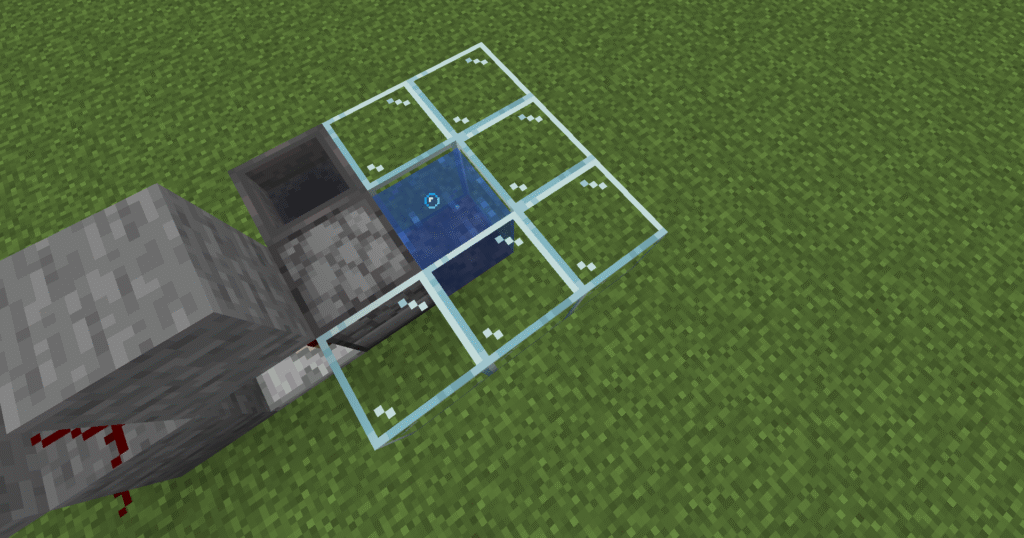
- Now we will start to build up the wall of glass blocks.
- Place glass blocks around the soul sand so that it can hold the water.
- Place a bucket of water in the centre and you should see bubbles rising up in the water.
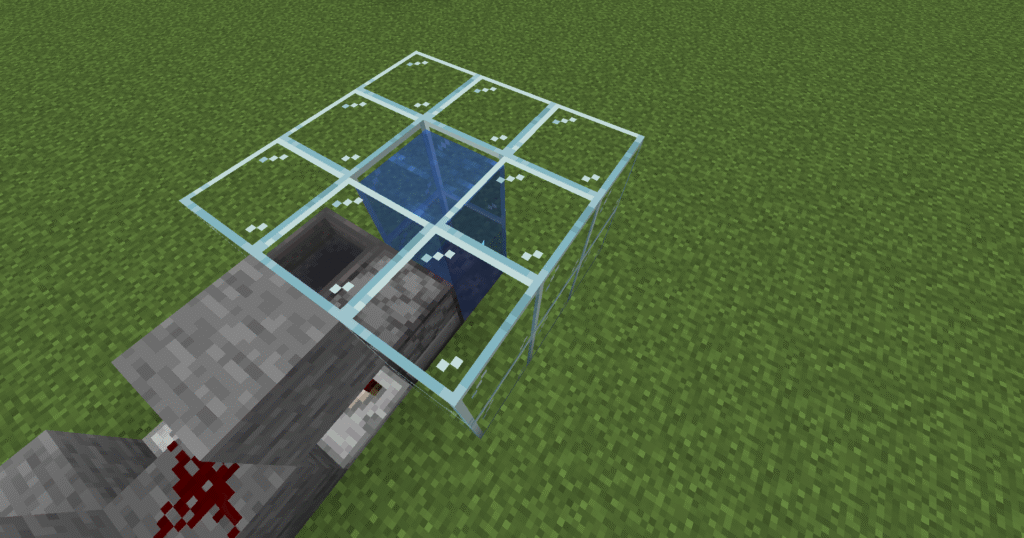
- Here we will continue to build the water column up.
- We will build this as high as is needed to transport the items that we place into the hopper.
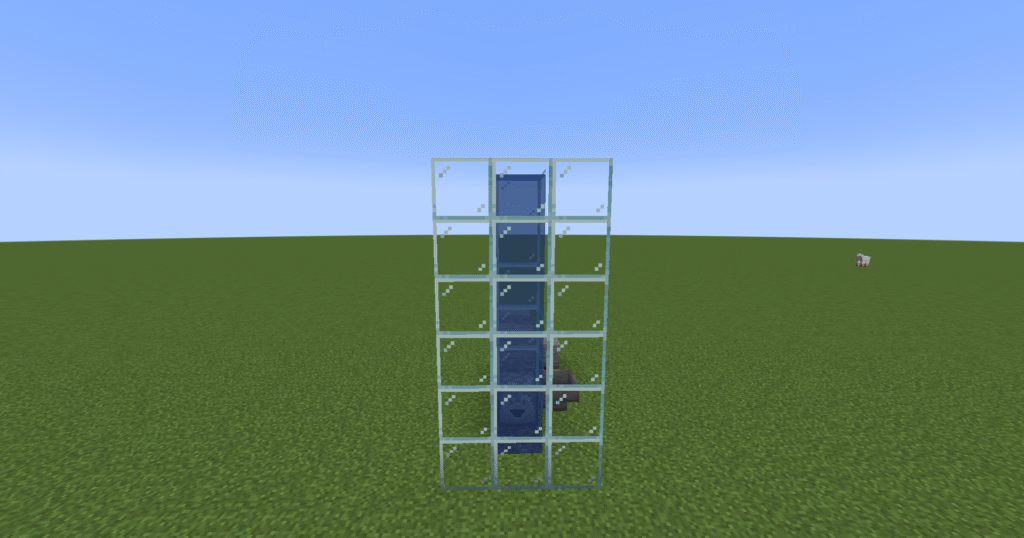
- In this section we continue to build up the water column.
- Place a bucket of water at each level.
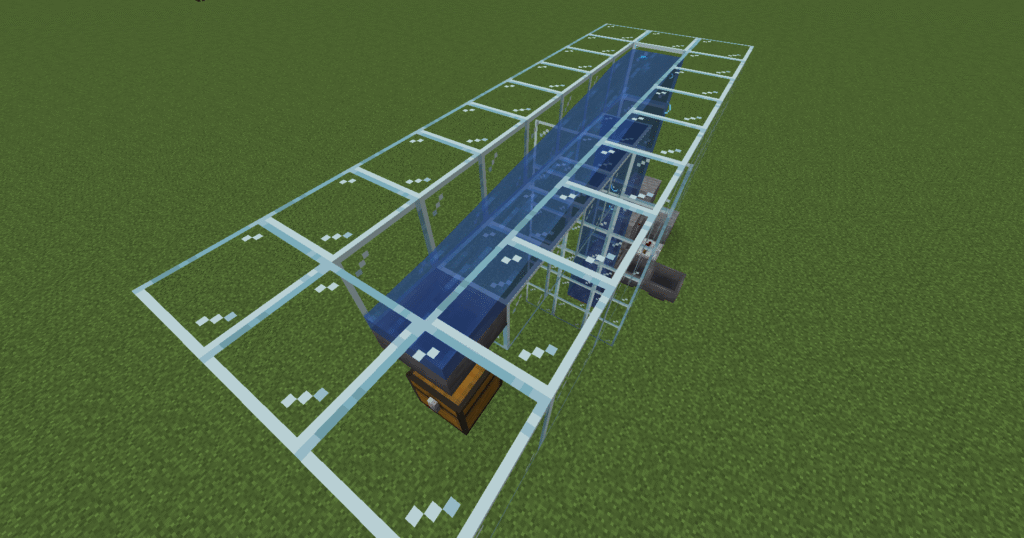
- To build the transport section of this build we need to build 1 square of glass blocks above where the water column ends.
- Then build out to allow water to flow into a hopper at the end and eventually into a chest.
- Remember to build a glass block column underneath to hold the water in.
- Place a water block so that the water flows towards the hopper.
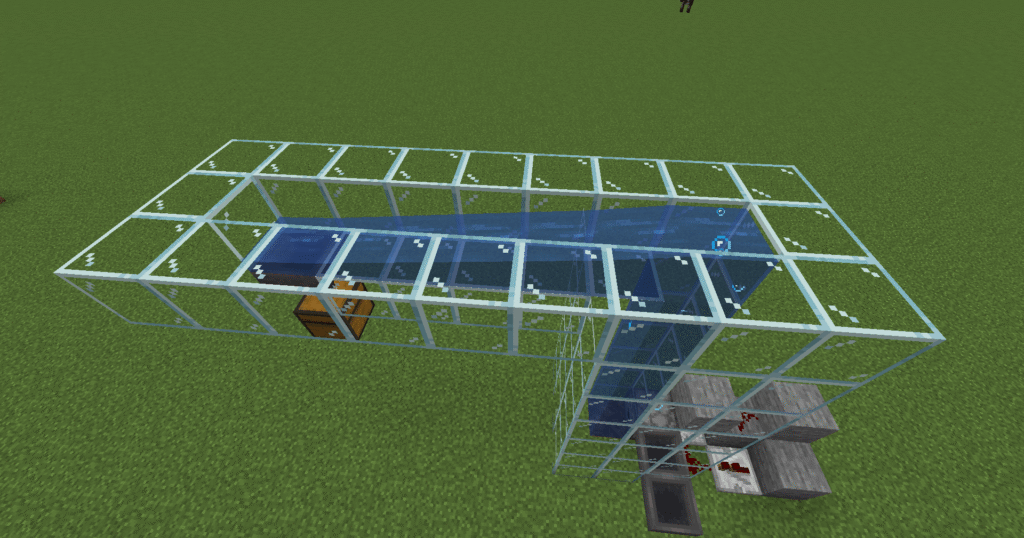
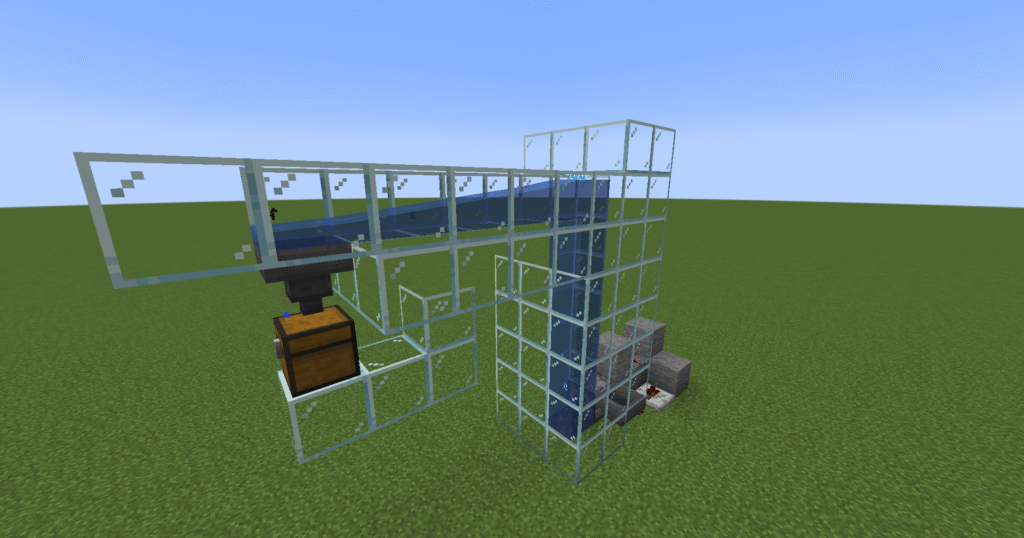
- Next place glass blocks over where the items will pop up to stop them falling out at the top.
- Then the build is finished.
Hints and tips
What can go wrong – water not reaching the hopper.
- Ensure that there are only six blocks from the water source block.
Where next
Additional builds
- Transport – use a transport system to go to this elevator to send the items up to where you want them to go.
Other additions –
- You can use kelp instead of buckets to turn the water into source blocks. To do this plant the kelp and then break it. This will then turn the water into source blocks.
