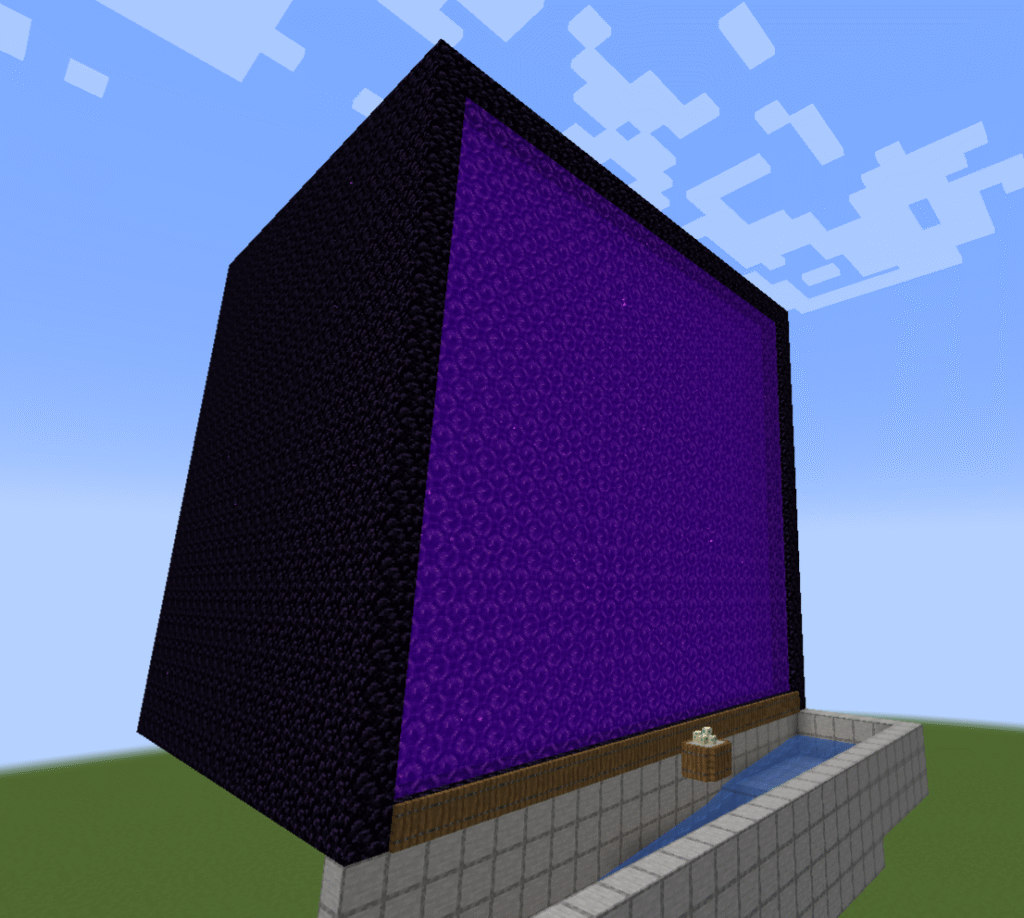
Description
This farm will give you an unlimited supply of sugar cane. This build works in the that the sugar cane will grow naturally and automatically. This works by having observers on top of a row of pistons. When the observer views the sugar cane growing to a certain height it then triggers the pistons that break the sugar cane. The sugar cane drops to the floor and waits to be collected. The collection is done by a simple minecart loader that will travel underneath where the sugar cane will fall. Using powered rails underneath the build will enable the the sugar cane to be pulled through the grass block and into a minecart. The minecart then delivers the sugar cane to a chest for the player to collect. There is no interaction needed from the player except for emptying the chest.
What can sugar cane be used for
- Making sugar – one sugar cane can be crafted into sugar, which is used in brewing potions and making cakes.
- Trading – wandering traders sometimes sell sugar cane, and librarians buy paper, which can be made from sugar cane, for emeralds.
- Farming – sugar cane can be farmed efficiently near water sources, making it a renewable resource.
- Composting – sugar cane can be placed in a composter to produce bone meal.
- Firework rockets – paper made from sugar cane is used to craft firework rockets, which are essential for flying with an elytra.
Sugar cane can be found near bodies of water.
Ingredients
These are the ingredients and recipes that you will need to make this build. Please ensure that you have all of the ingredients before you start your build.
| Item | Picture | Amount |
|---|---|---|
| Observer |  | 10 |
| Piston |  | 10 |
| Lever |  | 1 |
| Dirt block |  | 10 |
| Sugar cane | 10 | |
| Redstone dust |  | 10 |
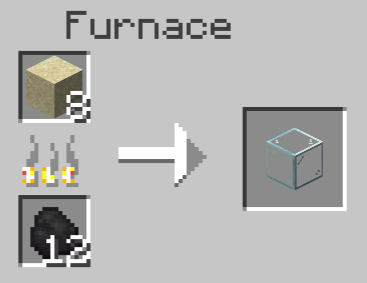
| Glass |  | 56 |
| Powered rail |  | 16 |
| Minecart hopper | 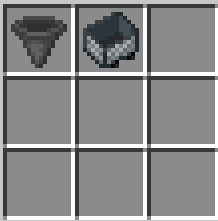 | 1 |
| Water bucket |  | 10 |
| Stone block |  | 79 |
| Comparator | 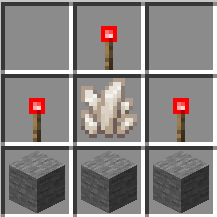 | 1 |
| Repeater | 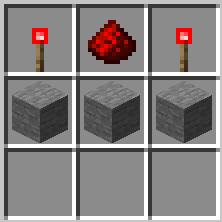 | 1 |
| Chest | 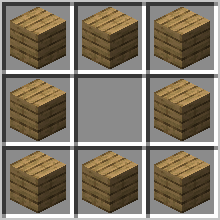 | 2 |
| Redstone torch | 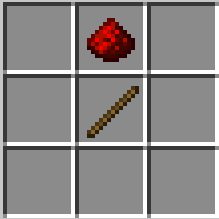 | 1 |
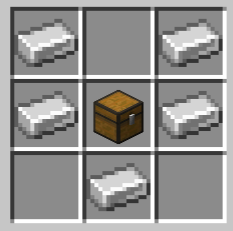
| Hopper | 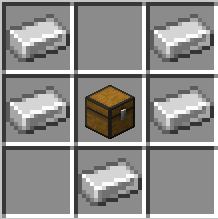 | 1 |
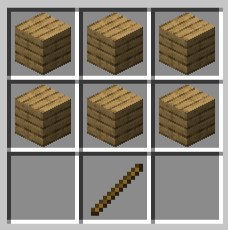
| Rail | 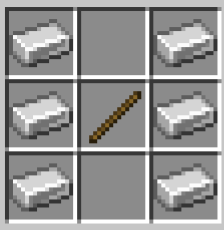 | 1 |
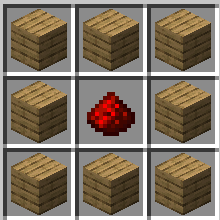
- Comparator and repeater – both of these builds will need redstone torches crafting first.
- Hopper – you will need to craft a chest in order to make the hopper.
- Minecart with hopper – this build will require a chest and a hopper crafting first.
Build Plans
Here we will explain in detail how to build this build in Minecraft. Please follow the instructions carefully.
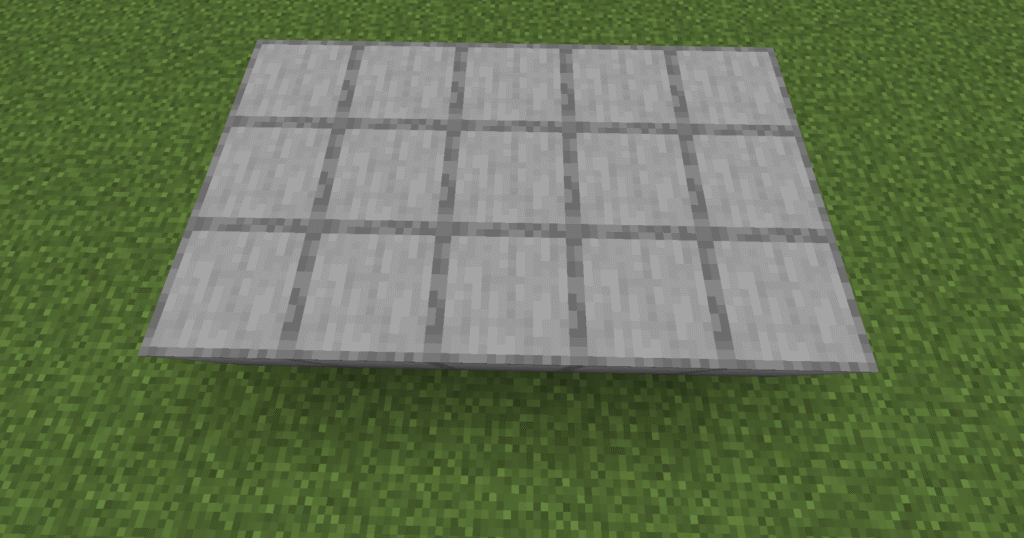
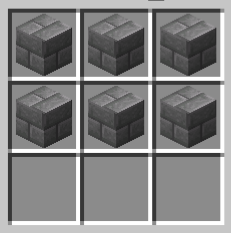
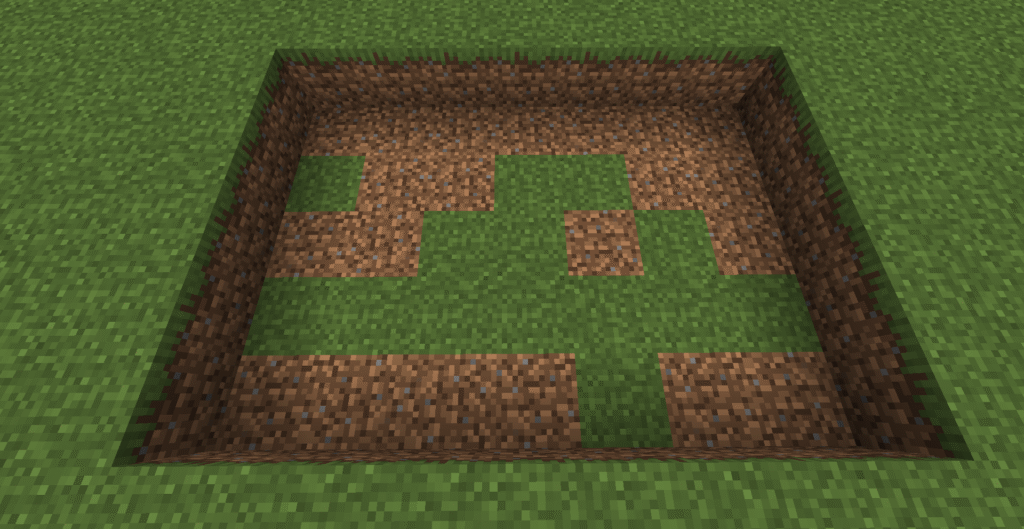
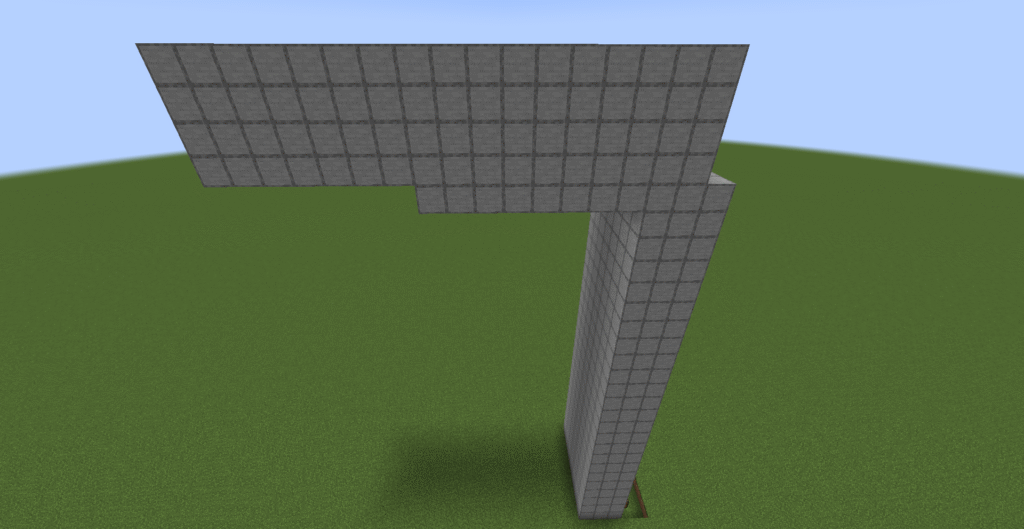
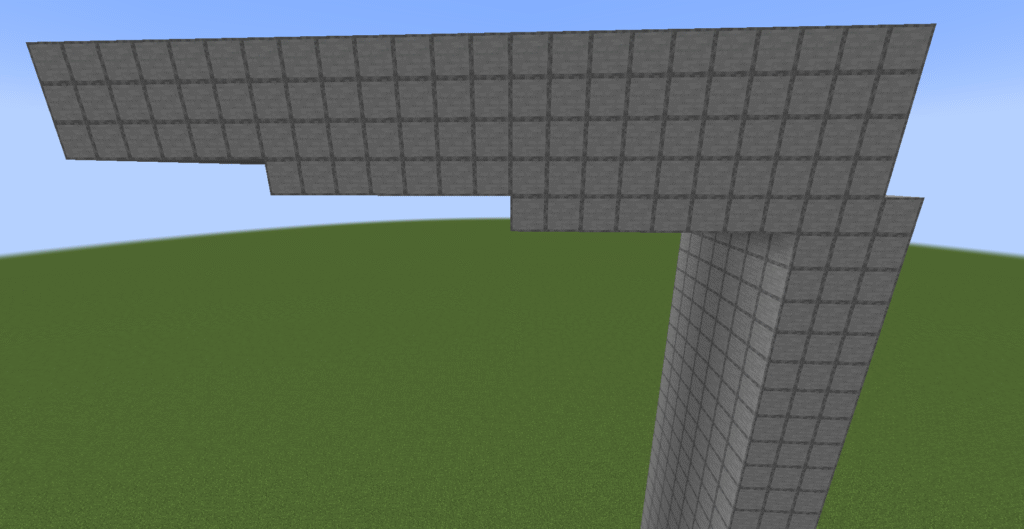
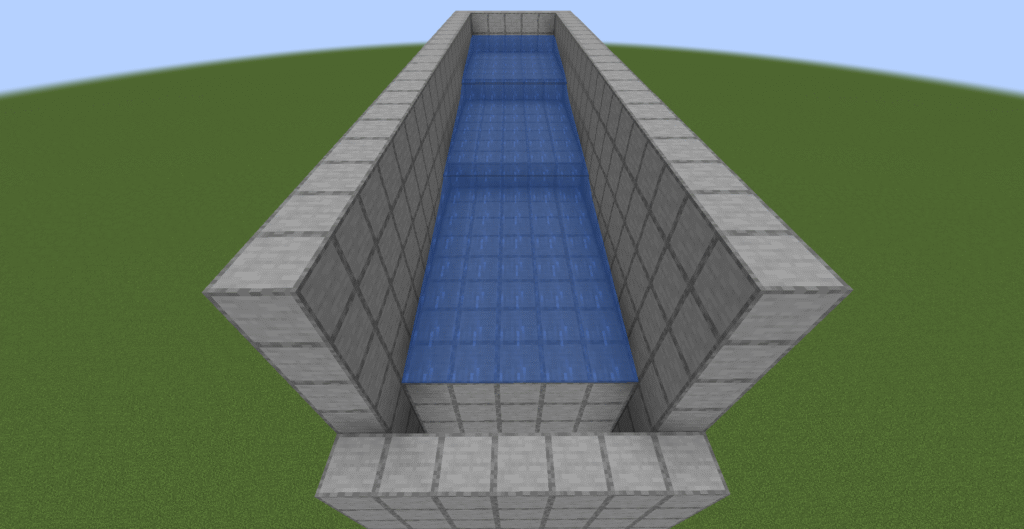
- The first step is to place down 24 blocks in a 12 x 2 block rectangle.
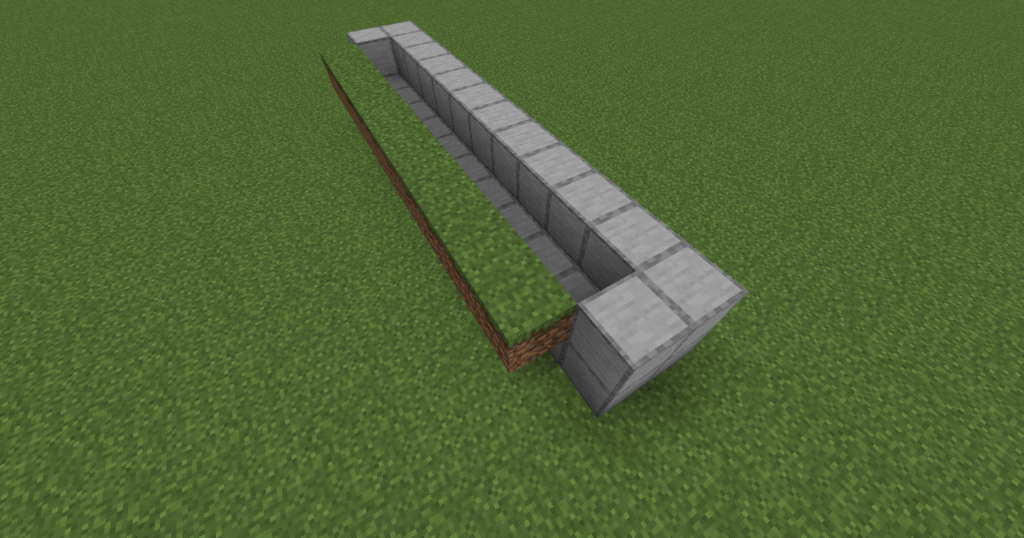
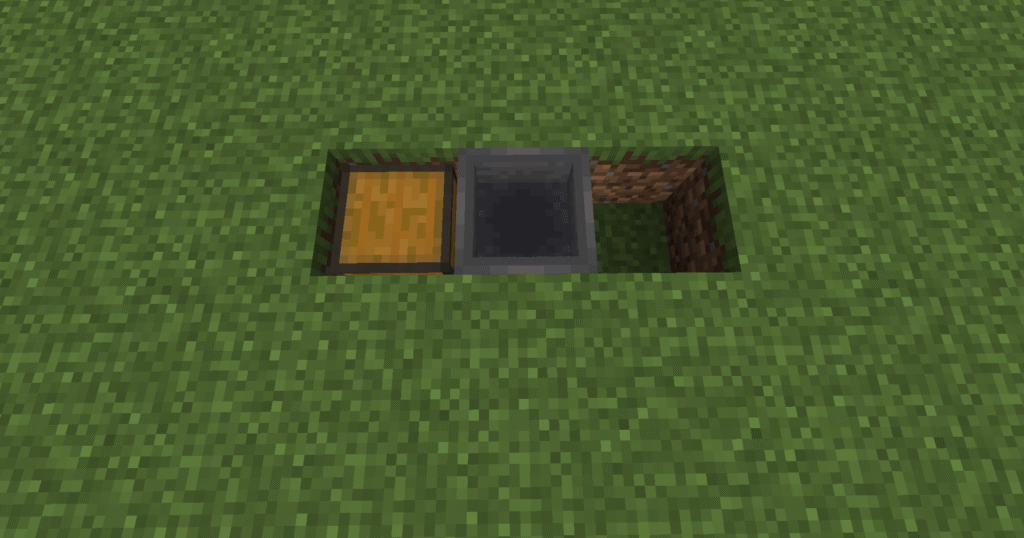
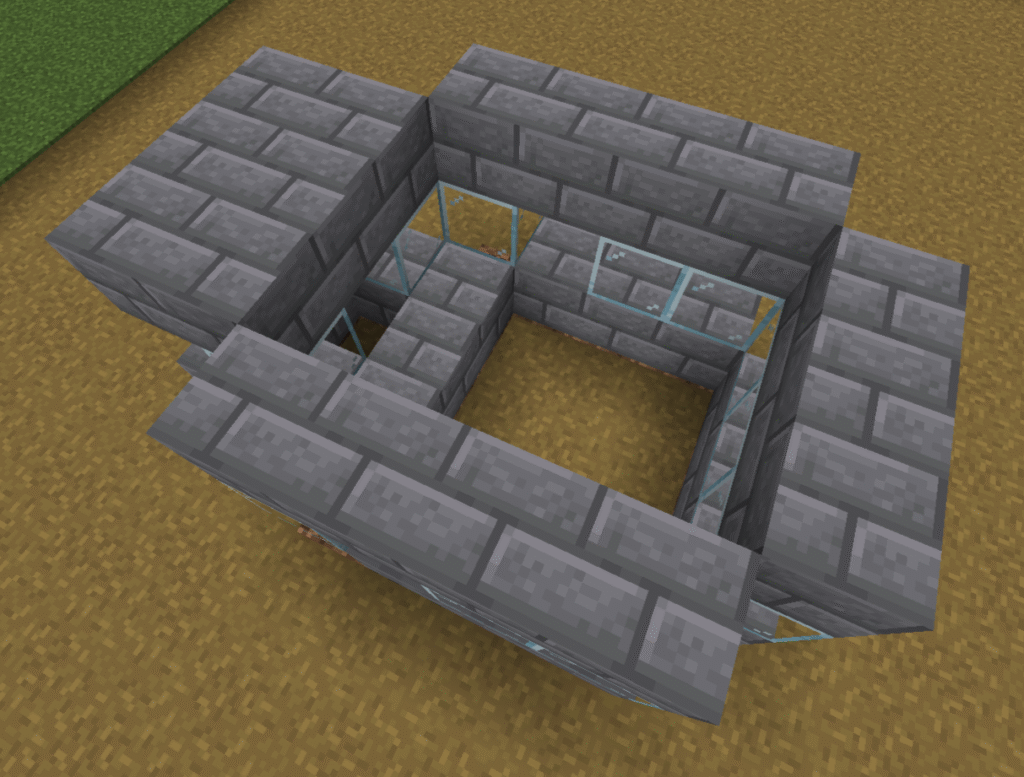
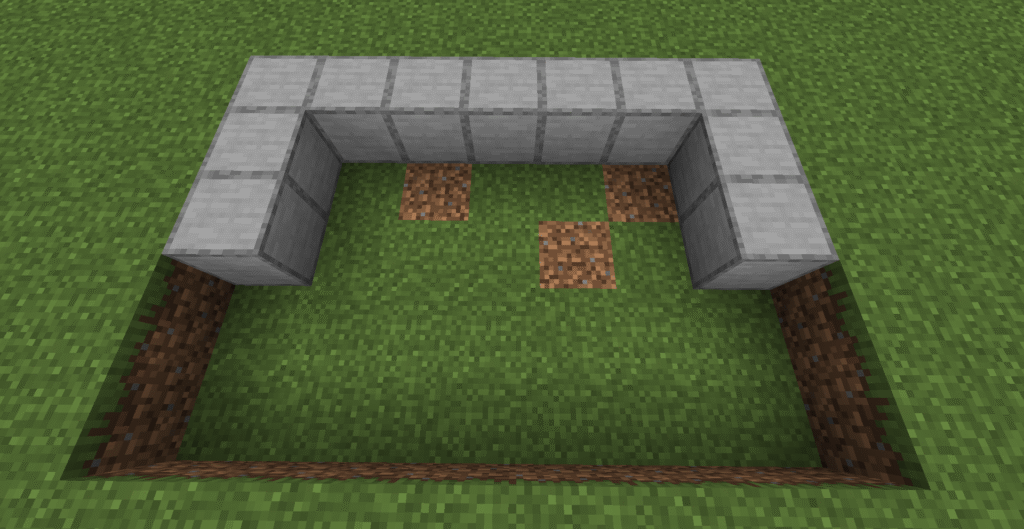
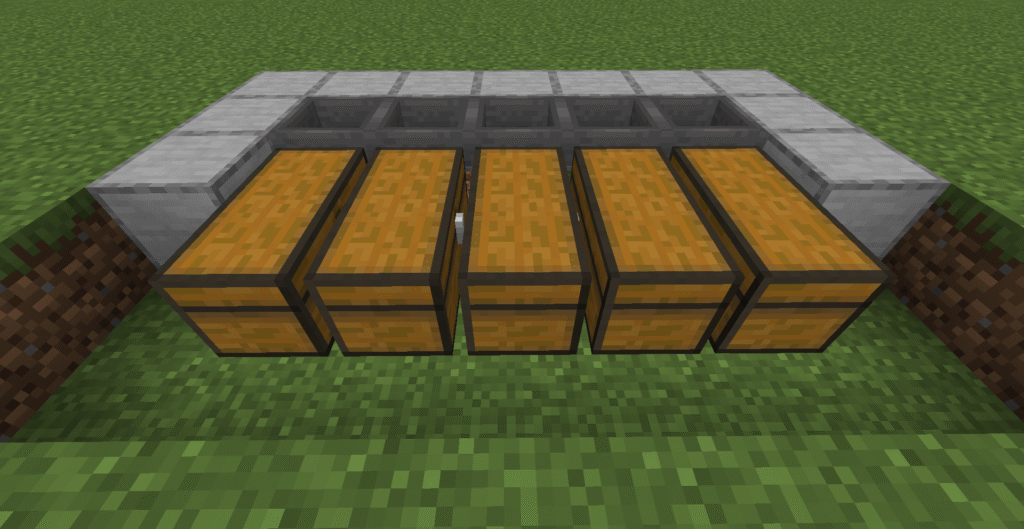
- First in this section is to place stone blocks on top of one long side and both ends .
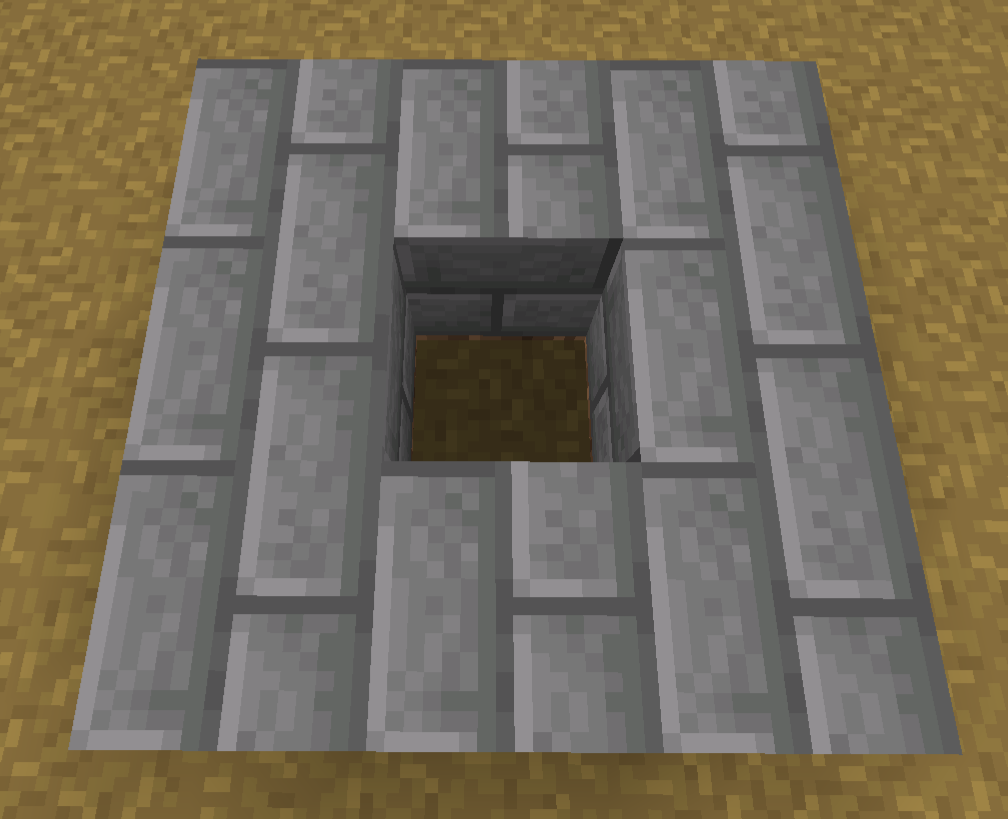
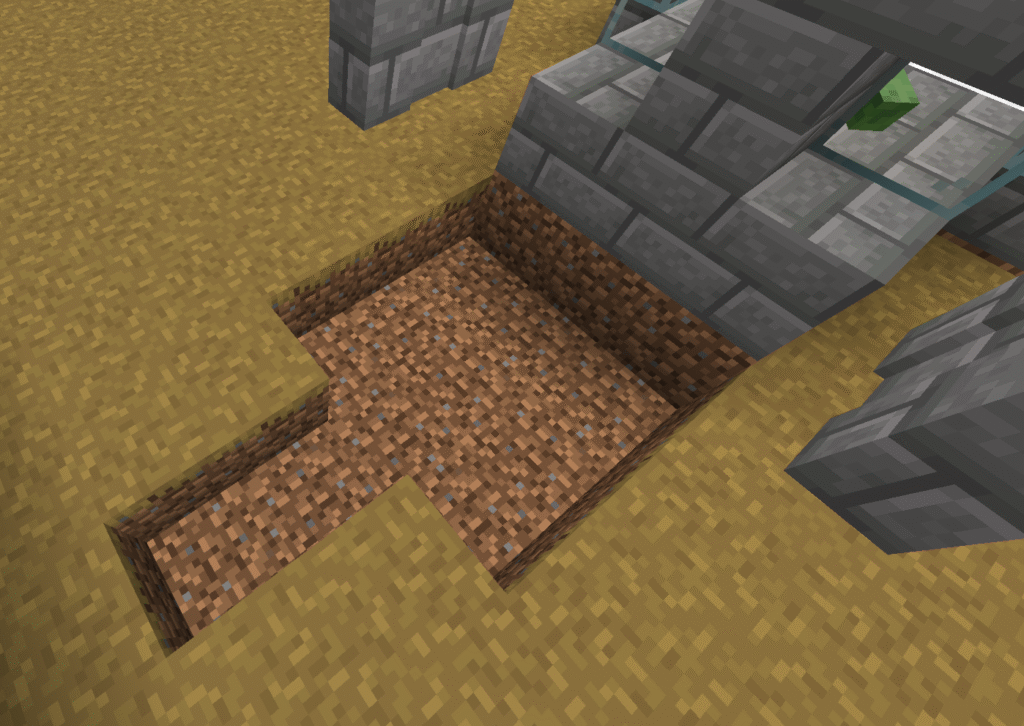
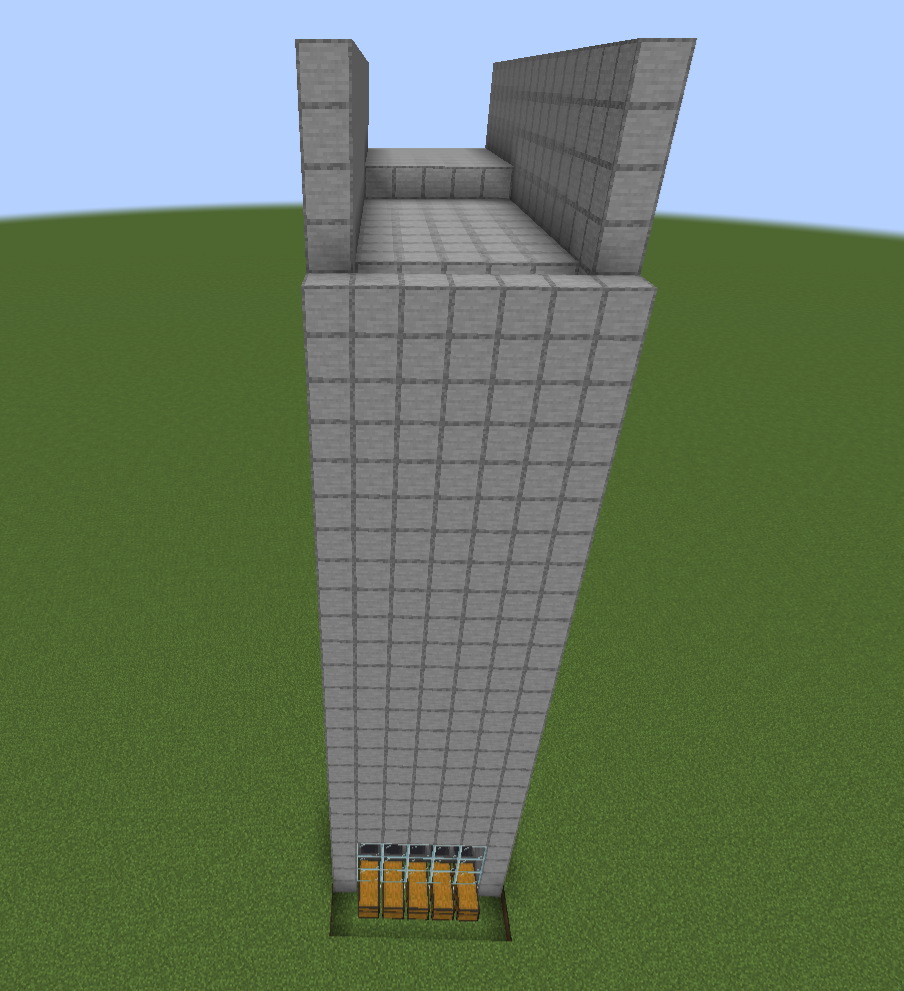
- Place down dirt blocks in front of the stone blocks. This should leave a channel like in the screenshot.
- This will leave a one block gap underneath the dirt blocks.
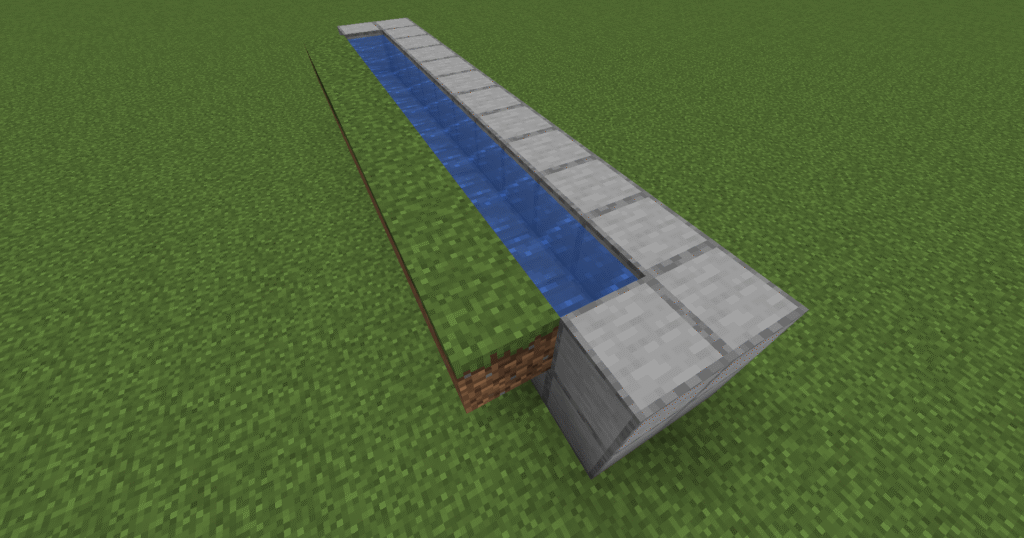
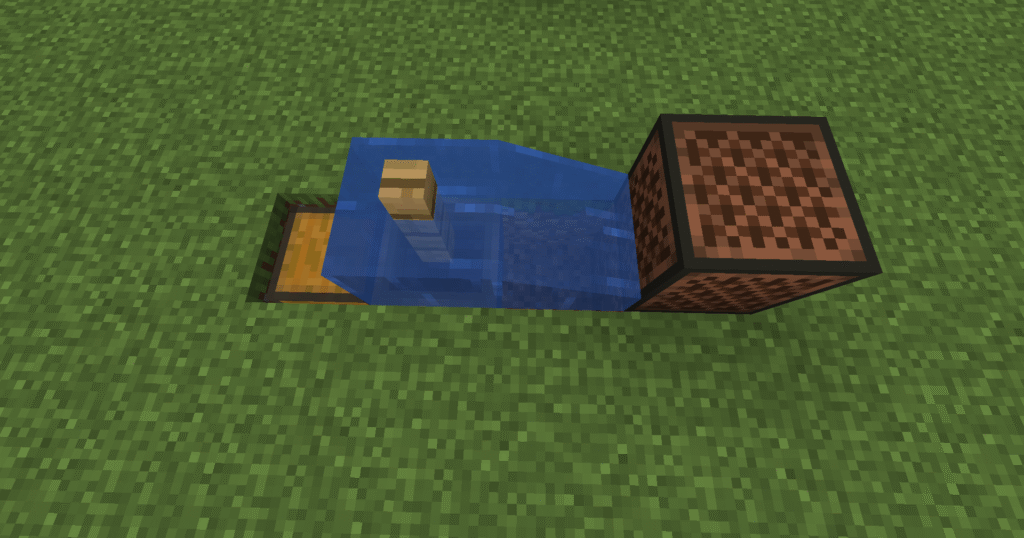
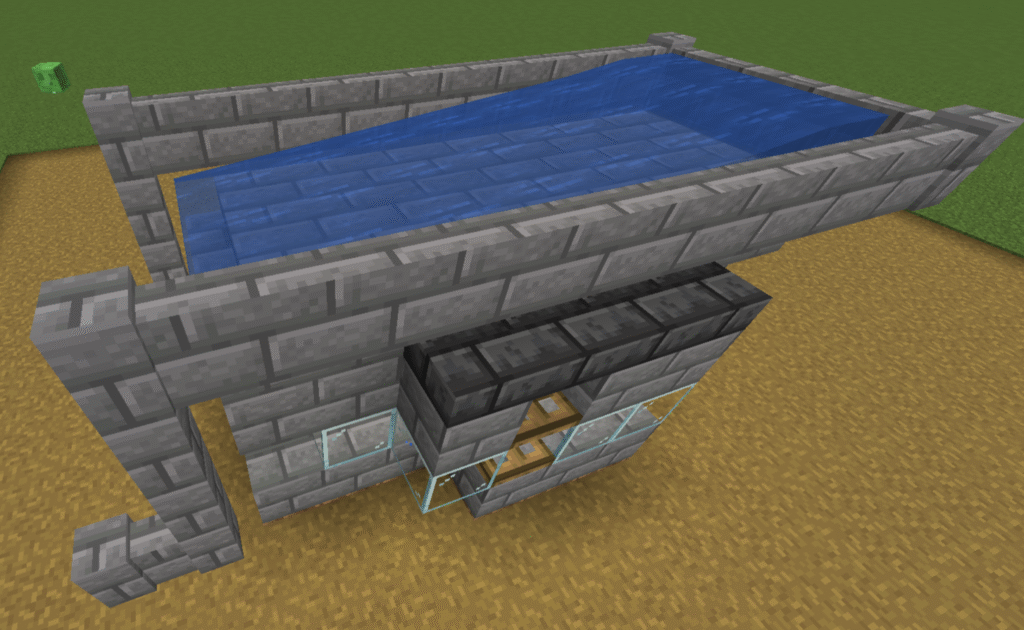
- Next we need to place down water buckets in the channel that we created earlier.
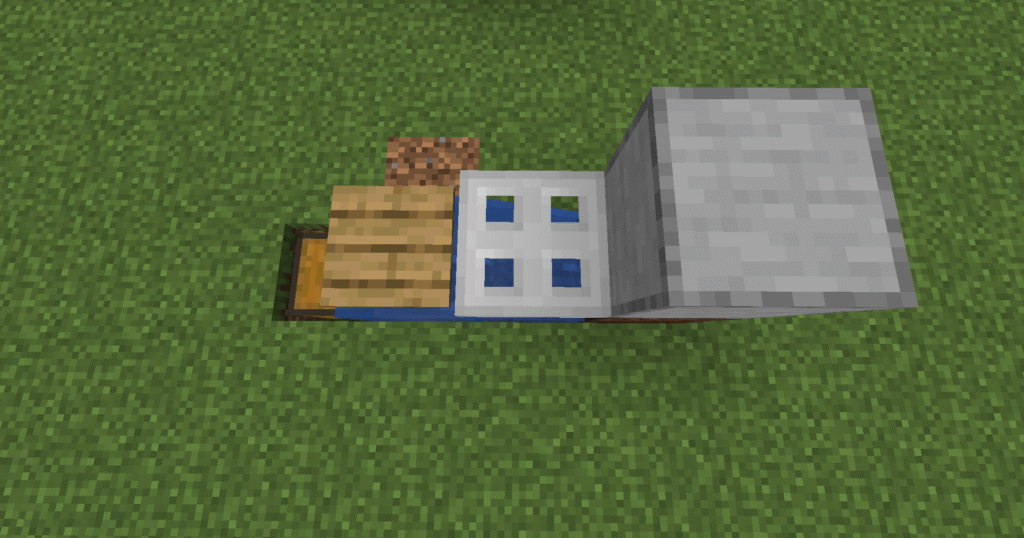
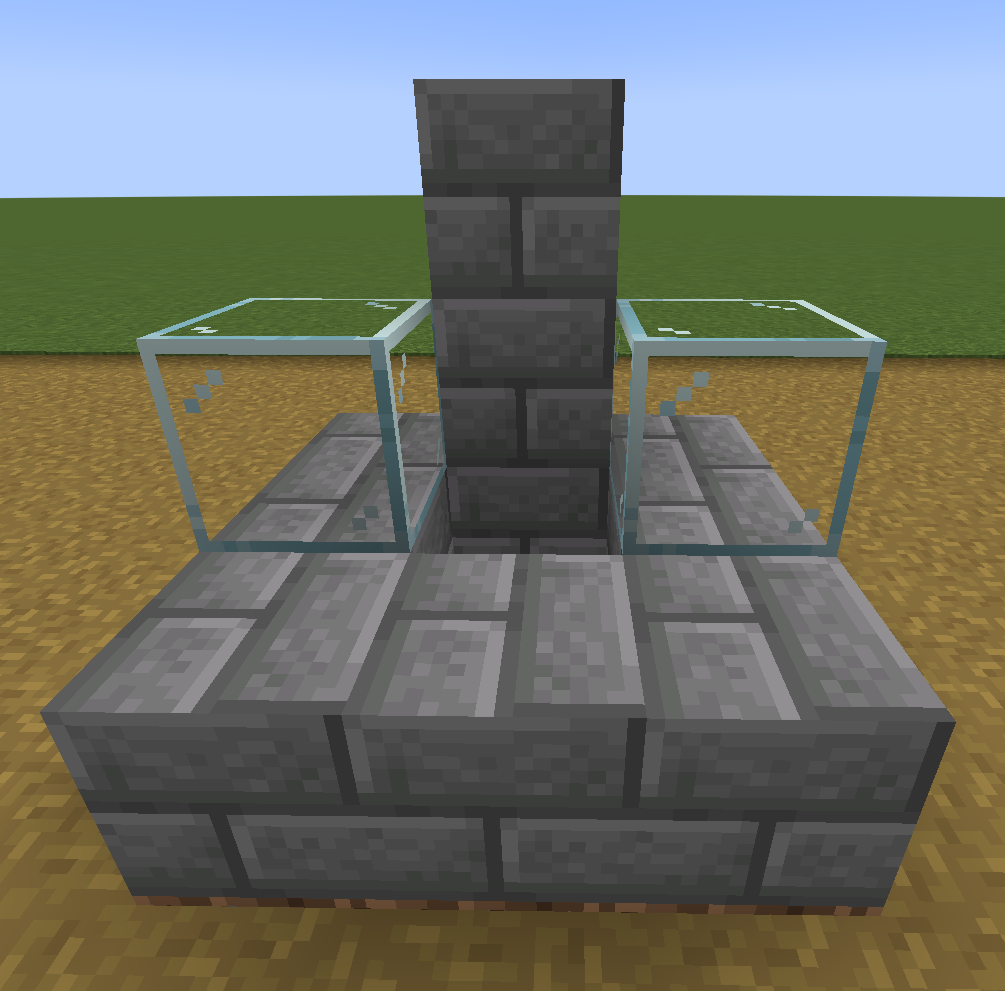
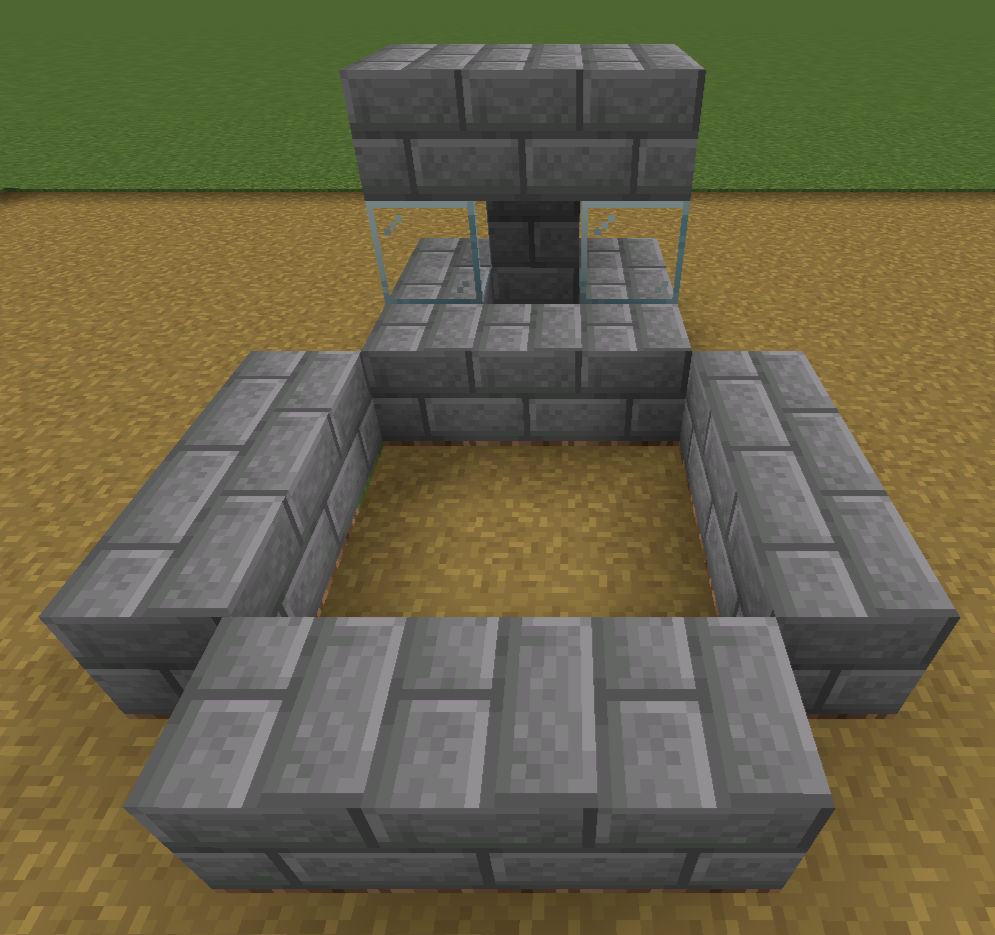
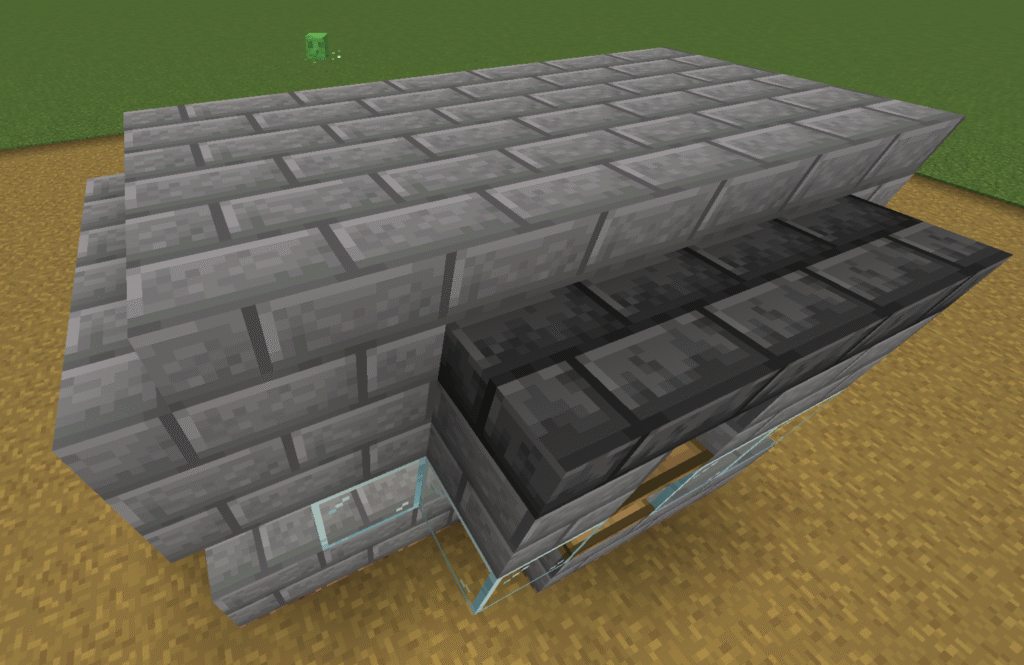
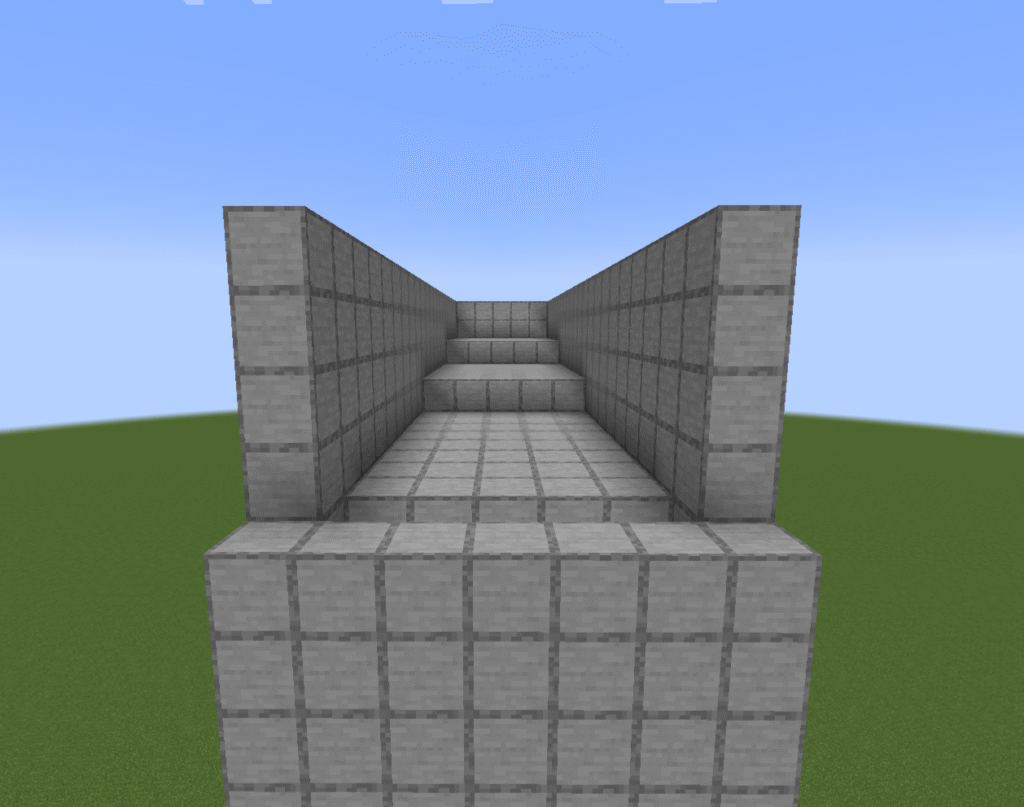
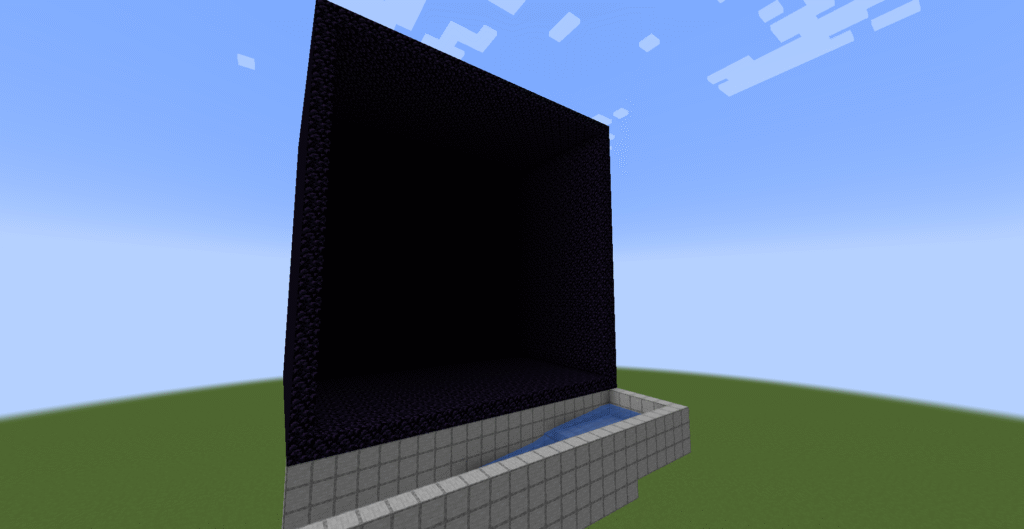
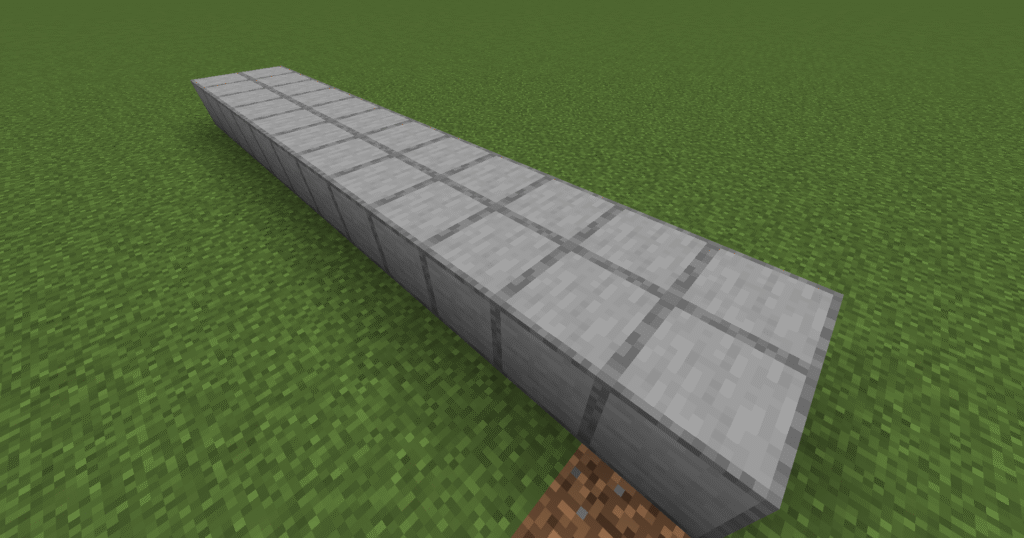
- Build the stone blocks up two more levels.
- Next place stone blocks above the water.

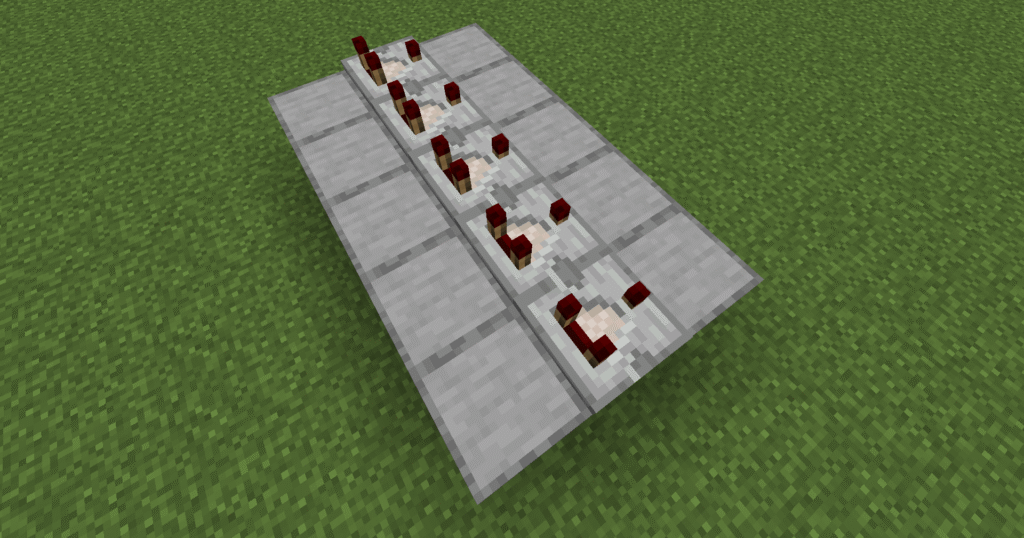
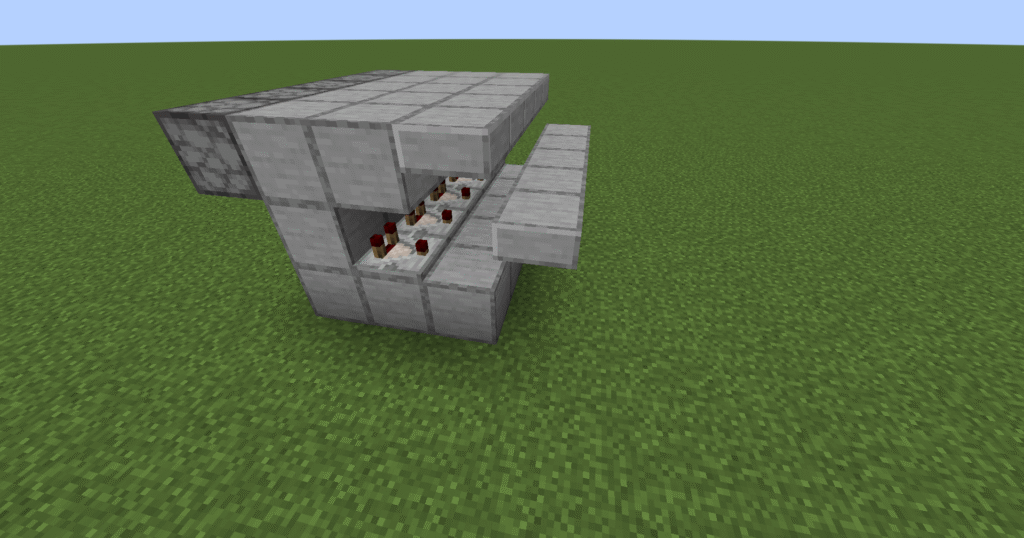
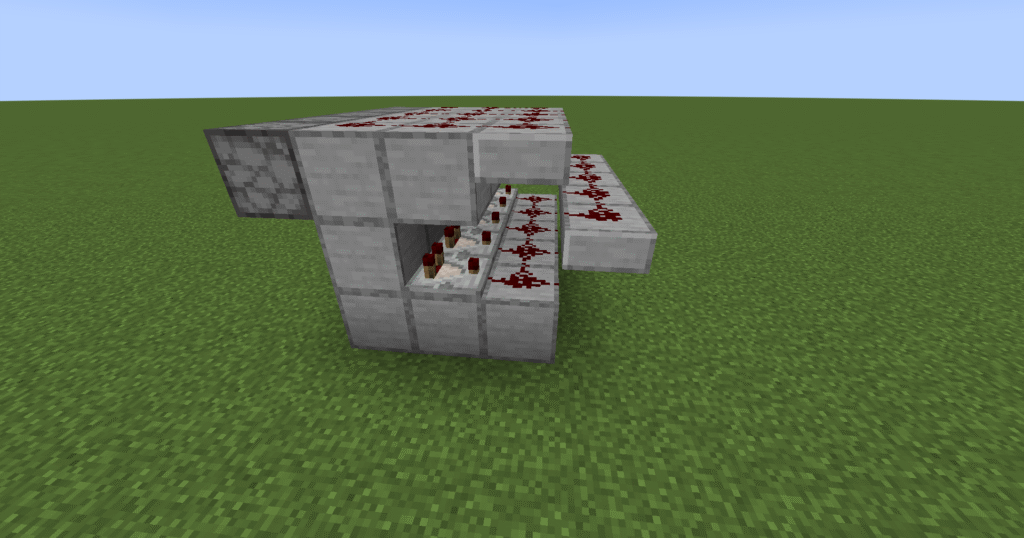
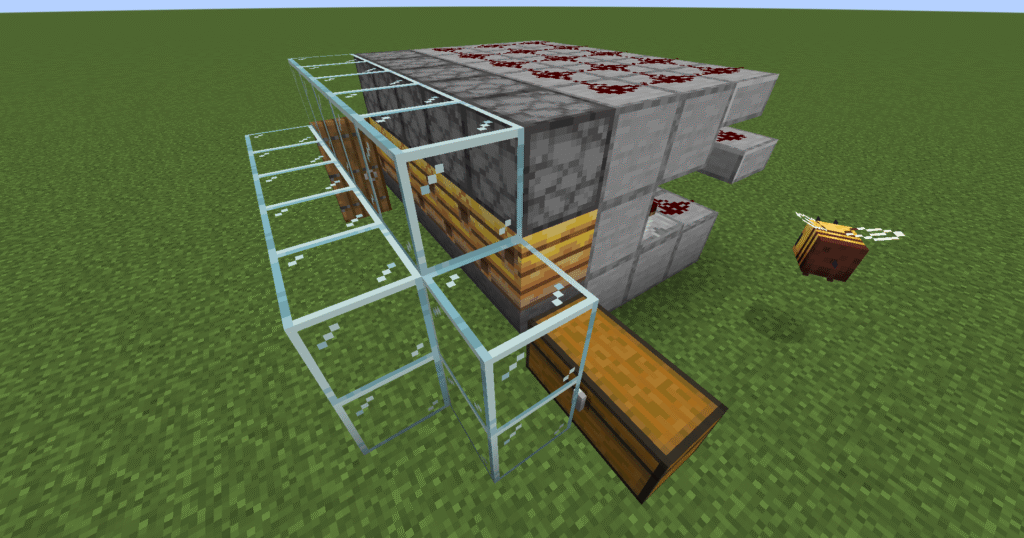
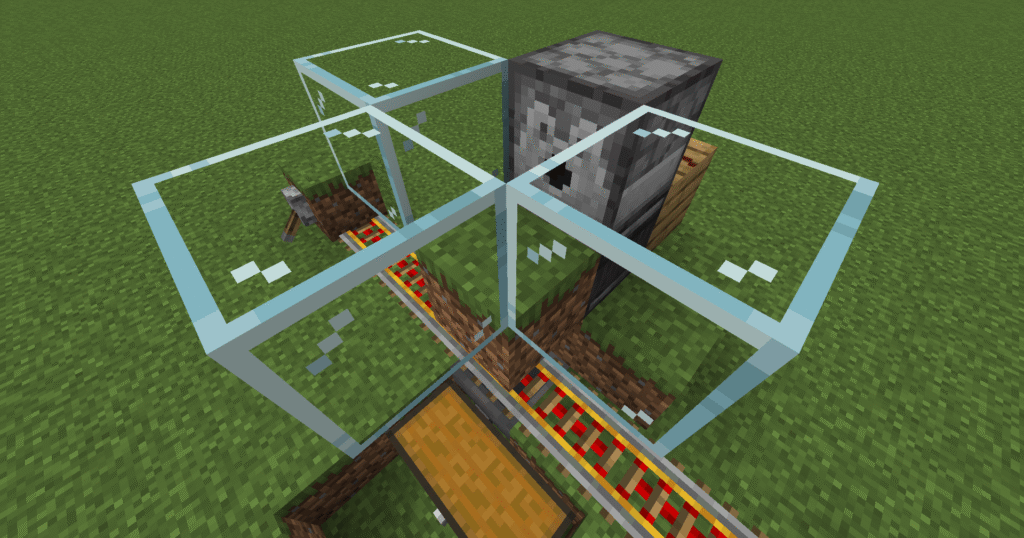
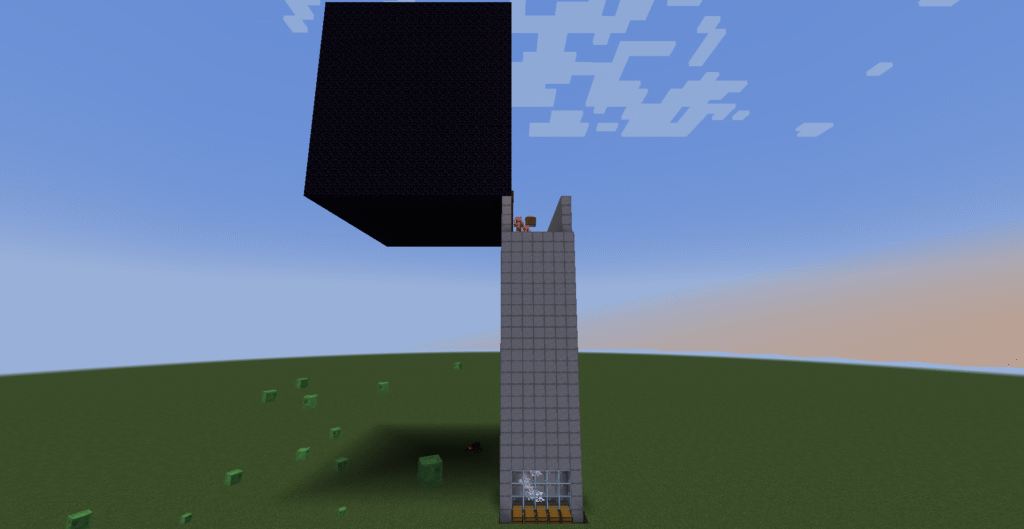
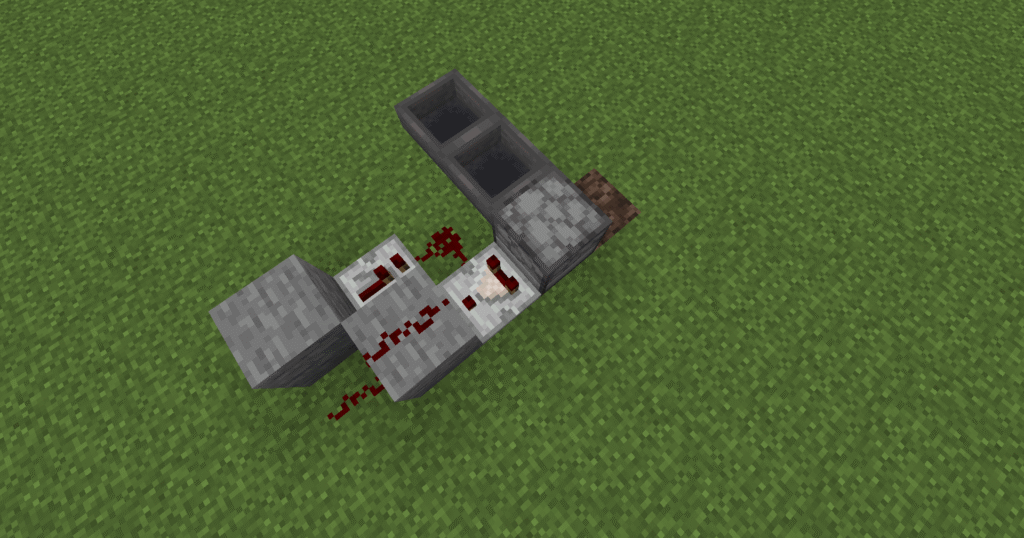
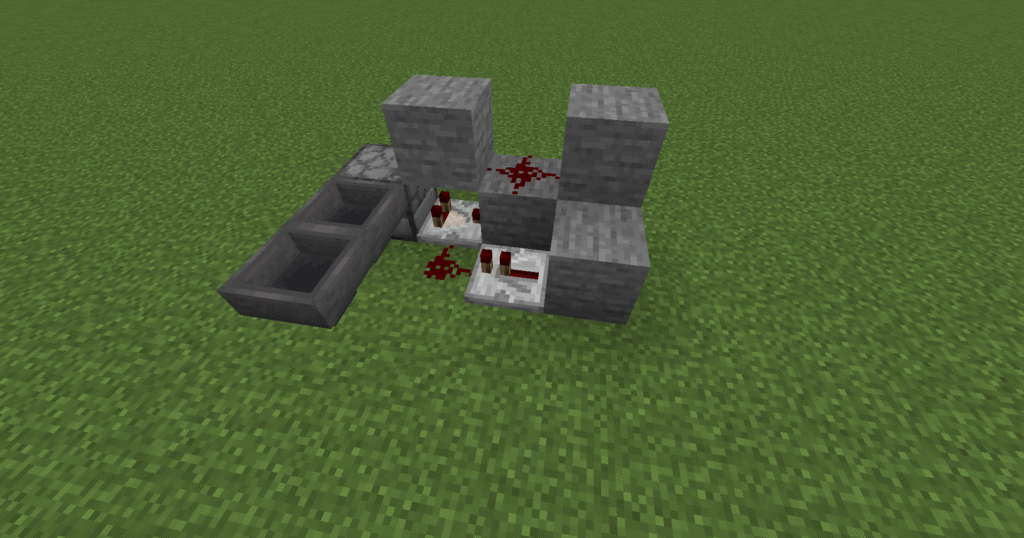
- Next place pistons facing outwards from the build.
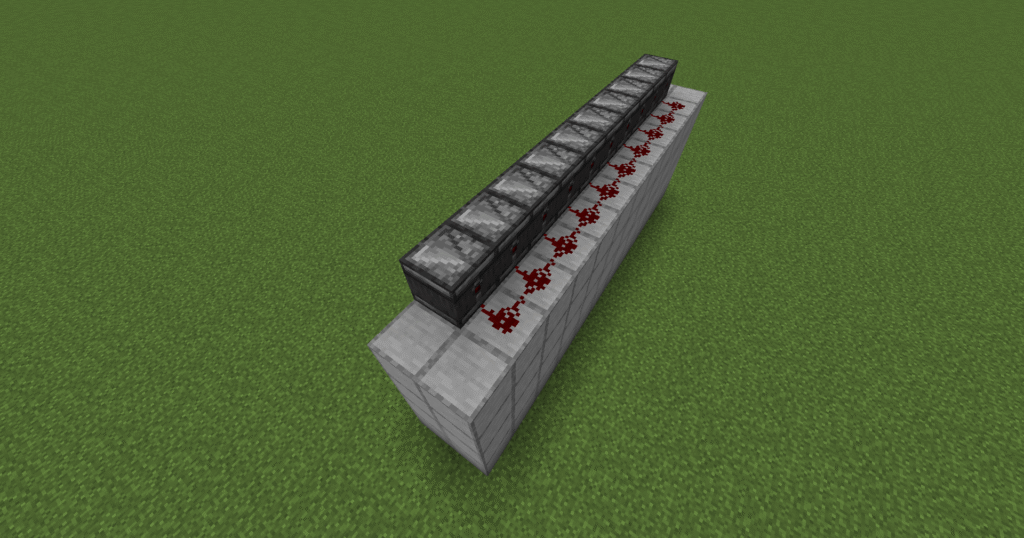
- Now lets place the observers with the arrow pointing backwards on top of the pistons.
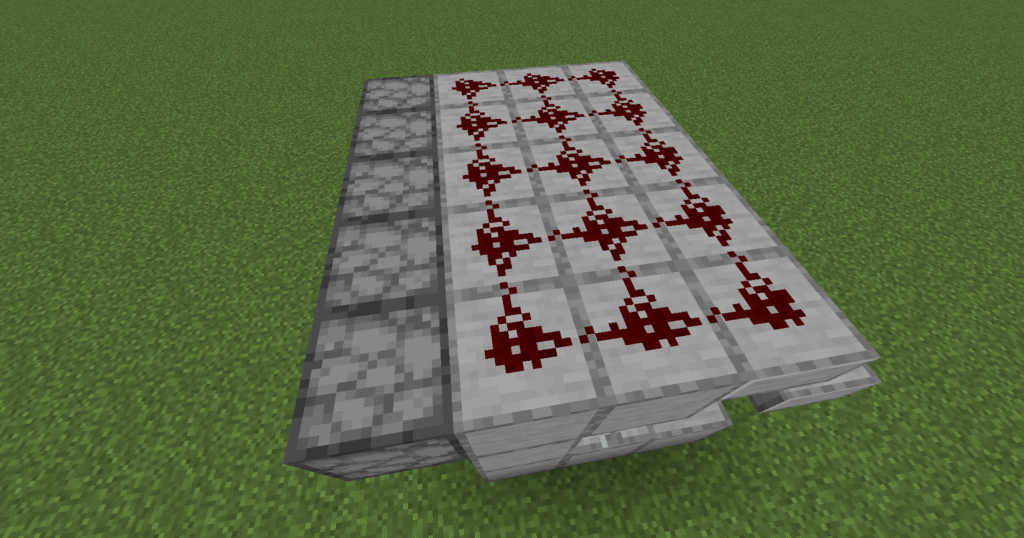
- Place one redstone dust behind each of the observers.
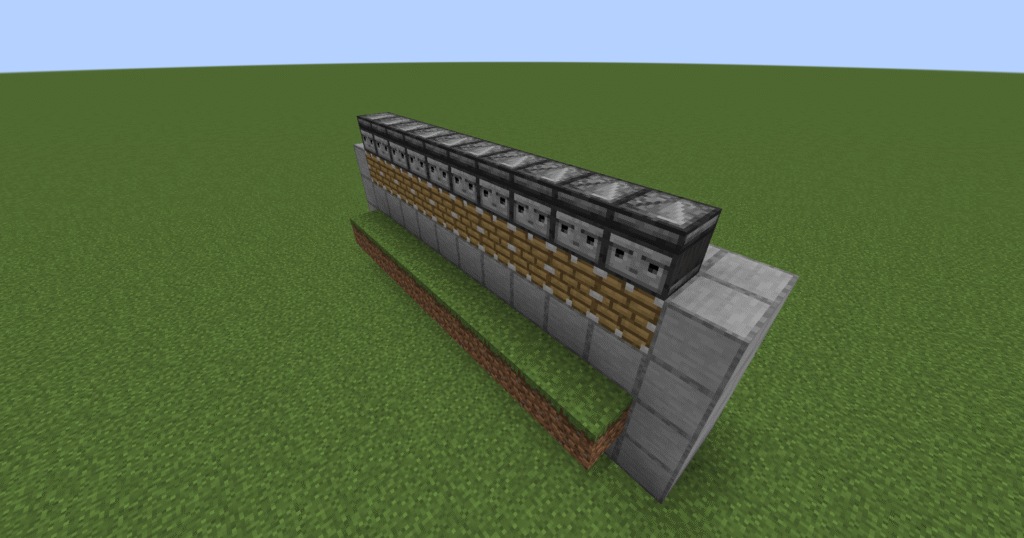
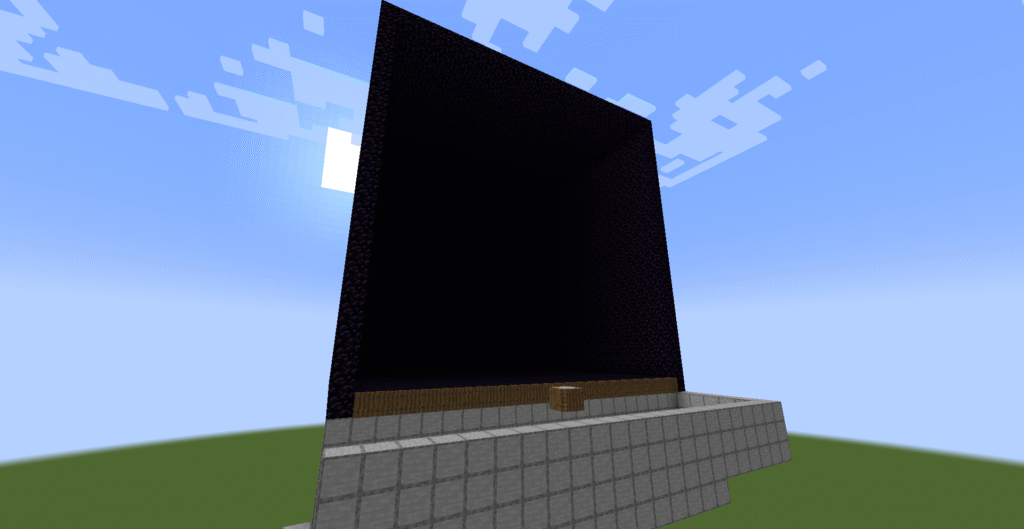
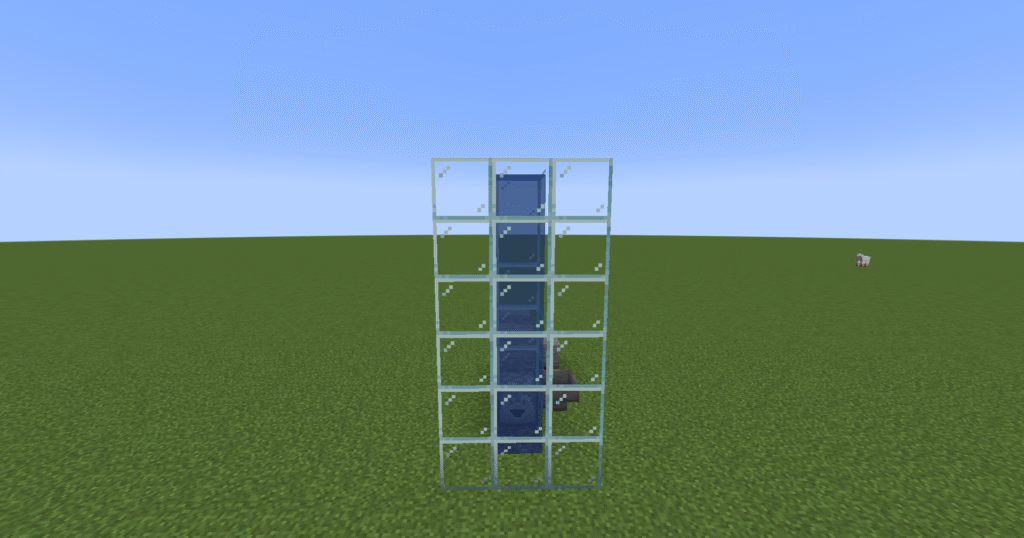
- This is what it should look like from the front at the moment.
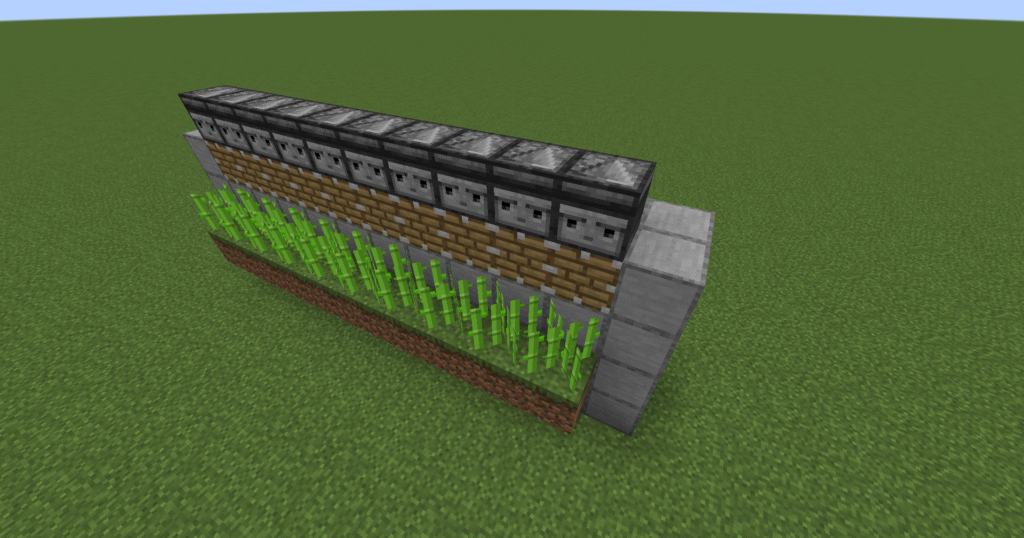
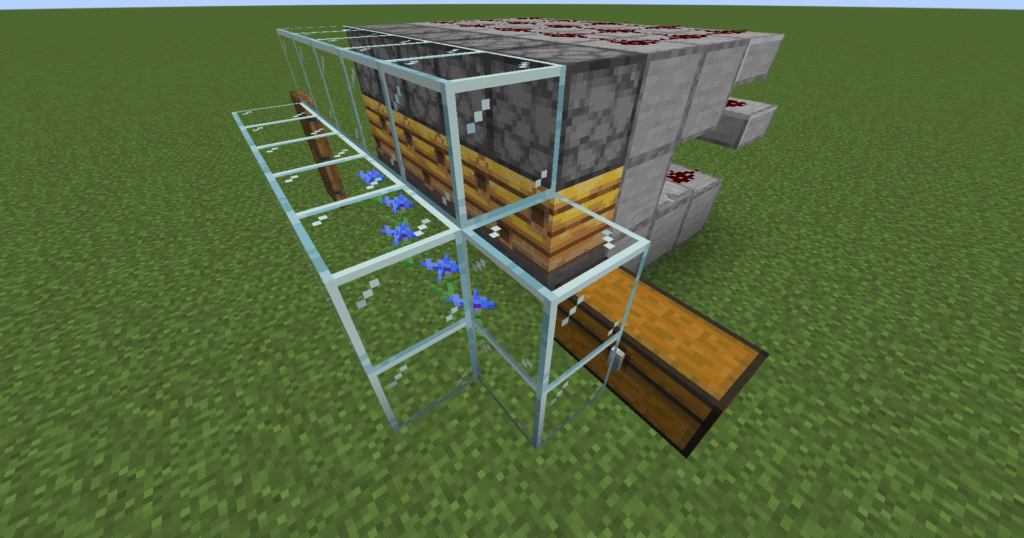
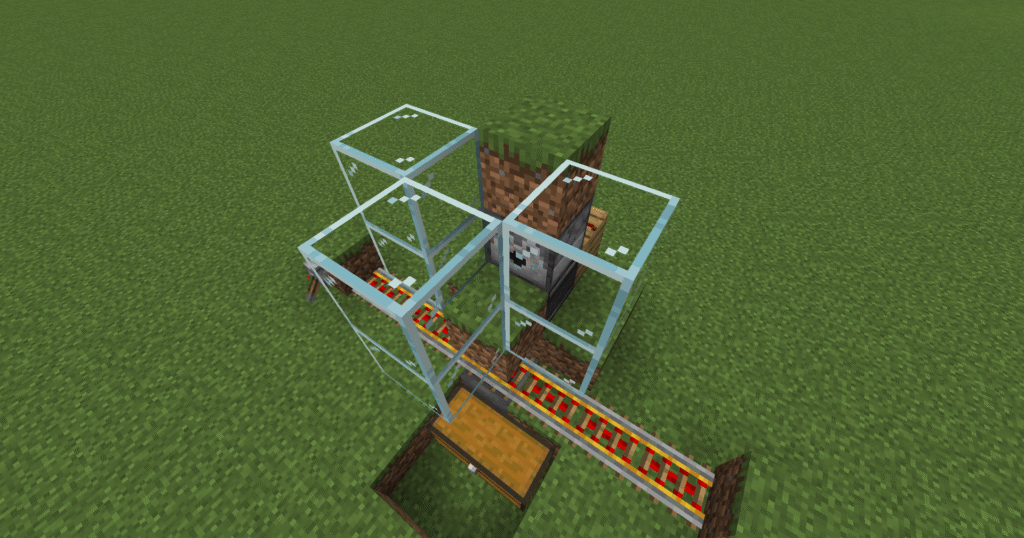
- In this next step we will place the sugar cane on the dirt blocks.
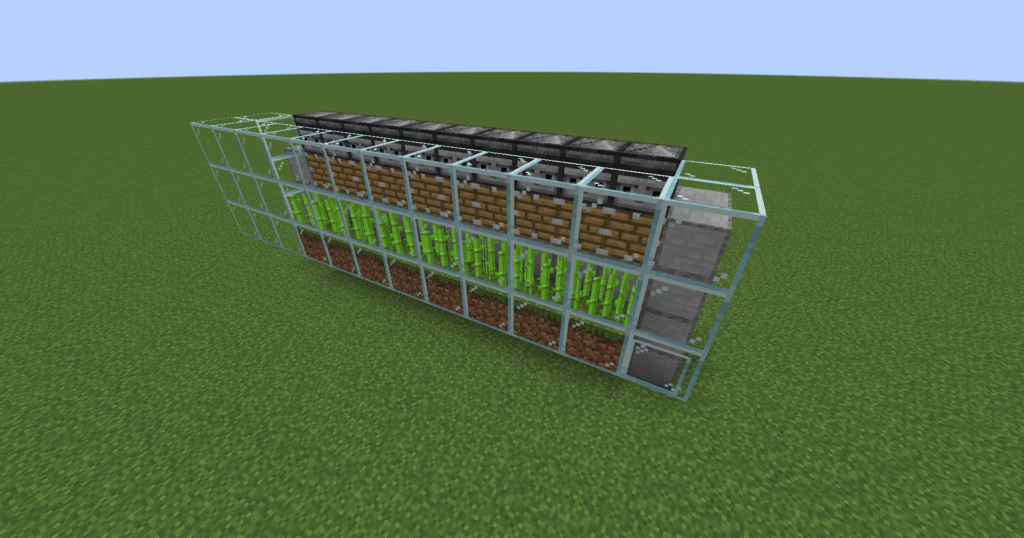
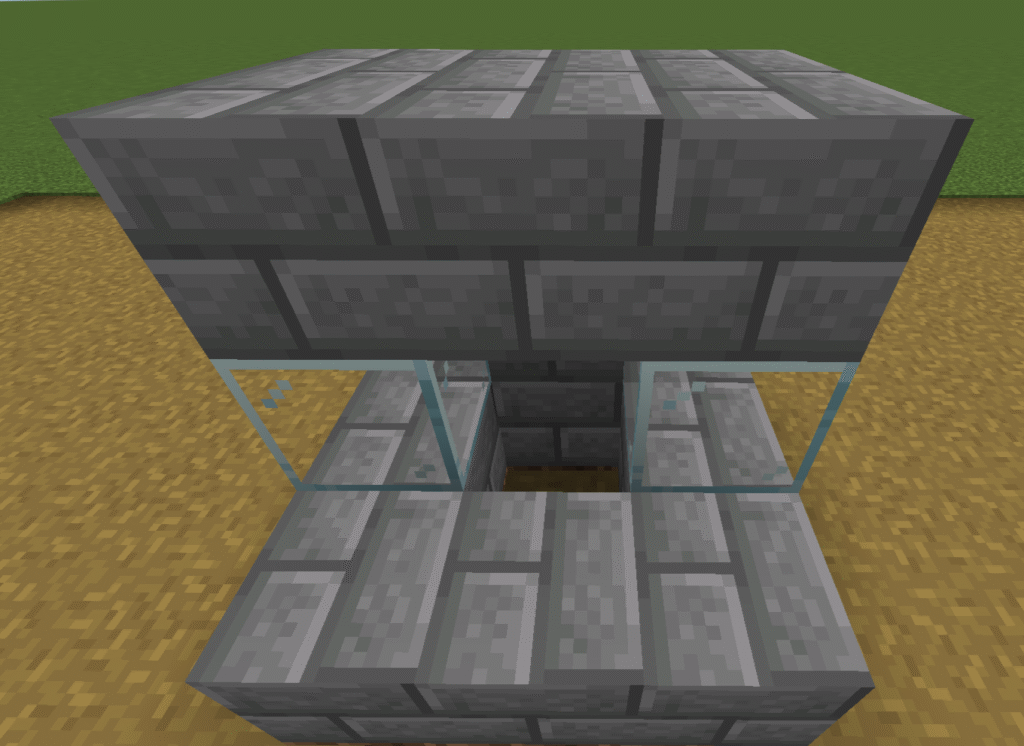
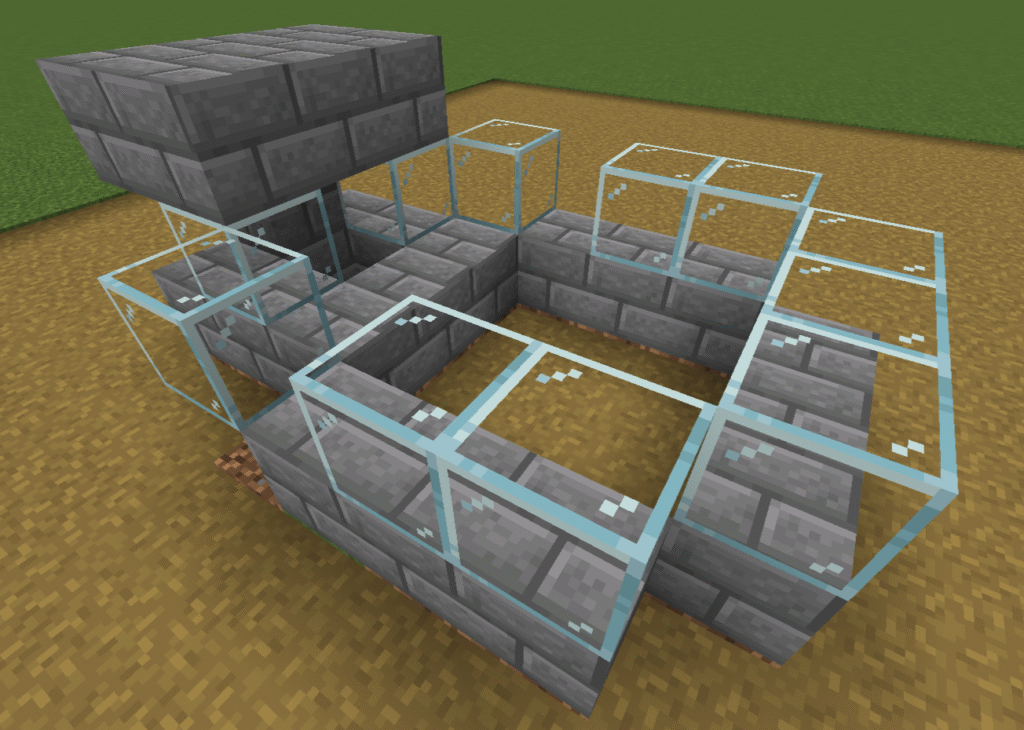
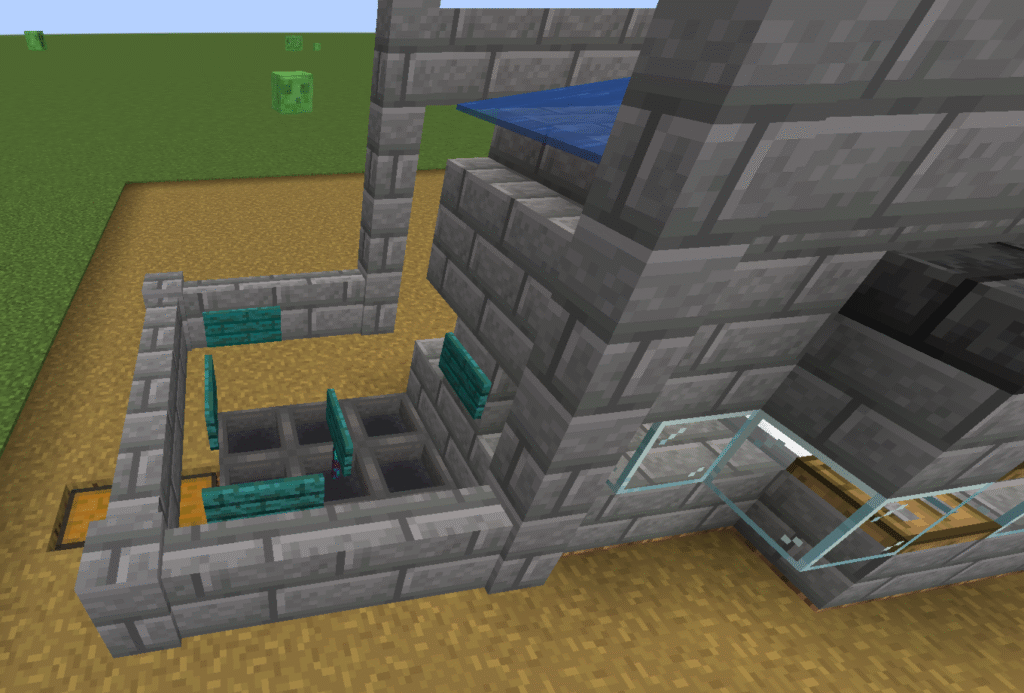
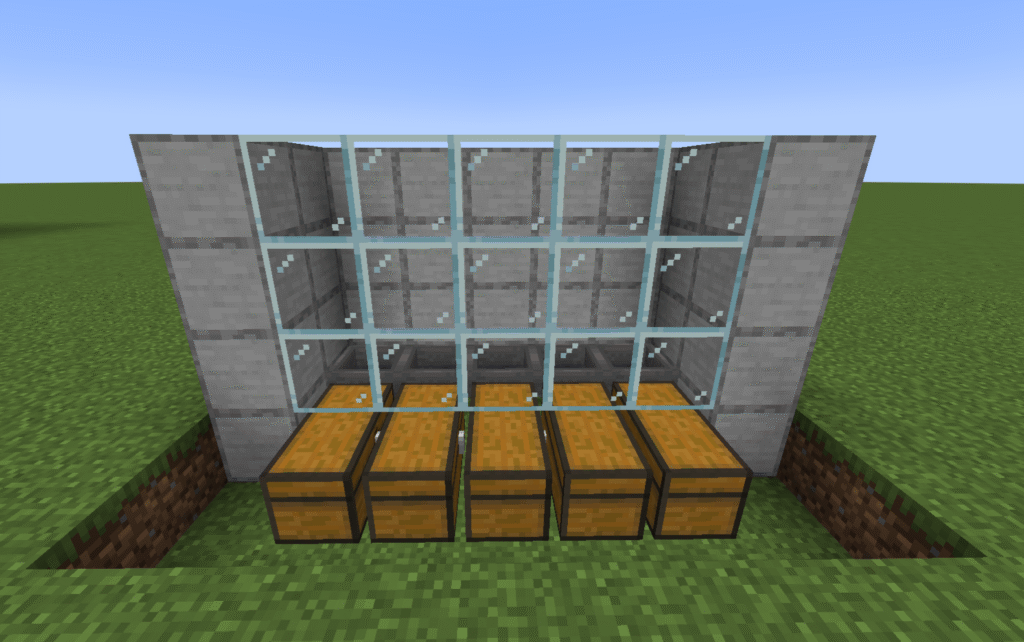
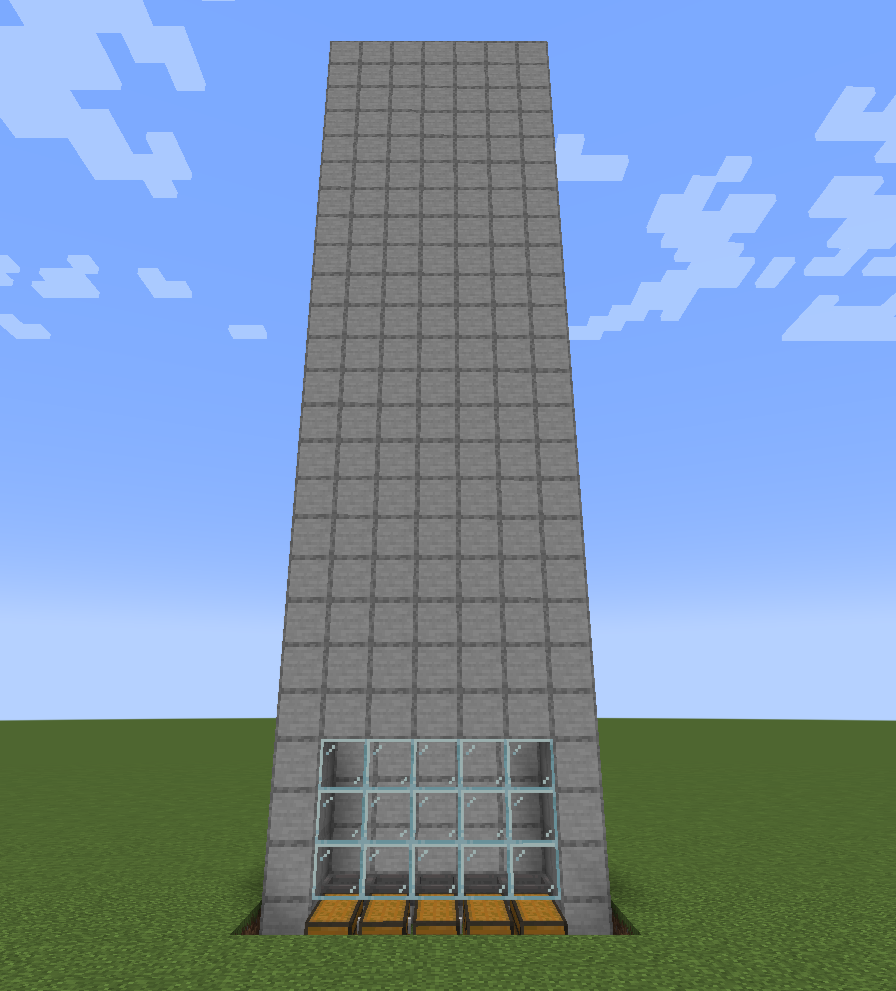
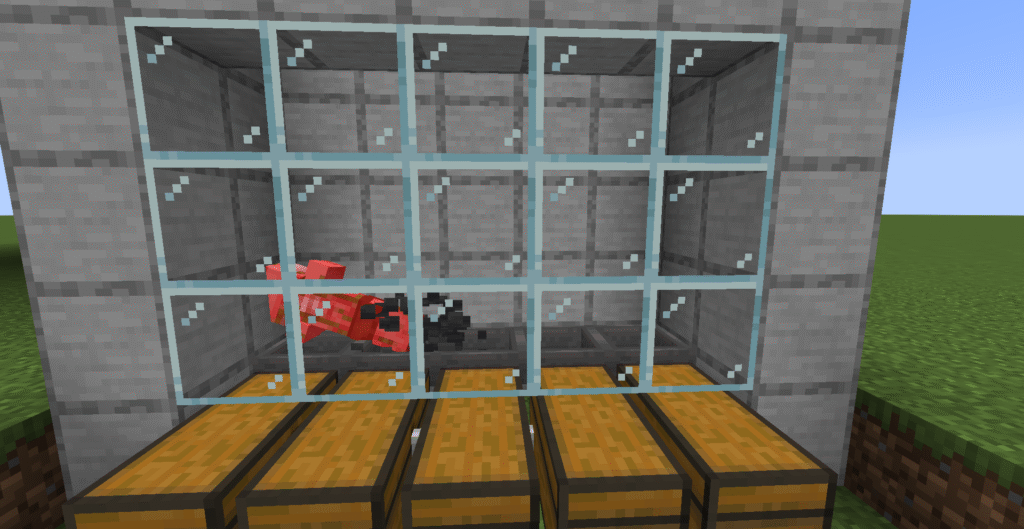
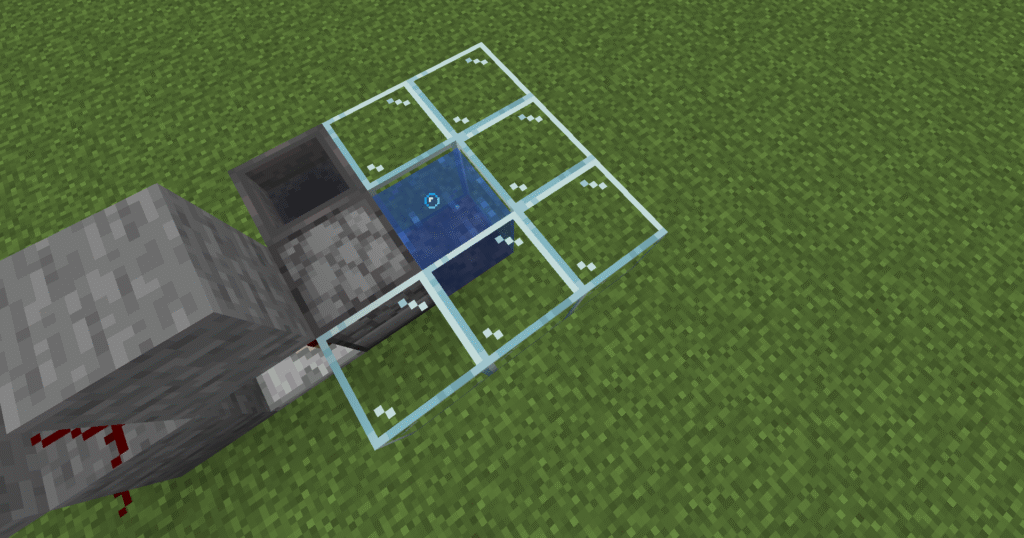
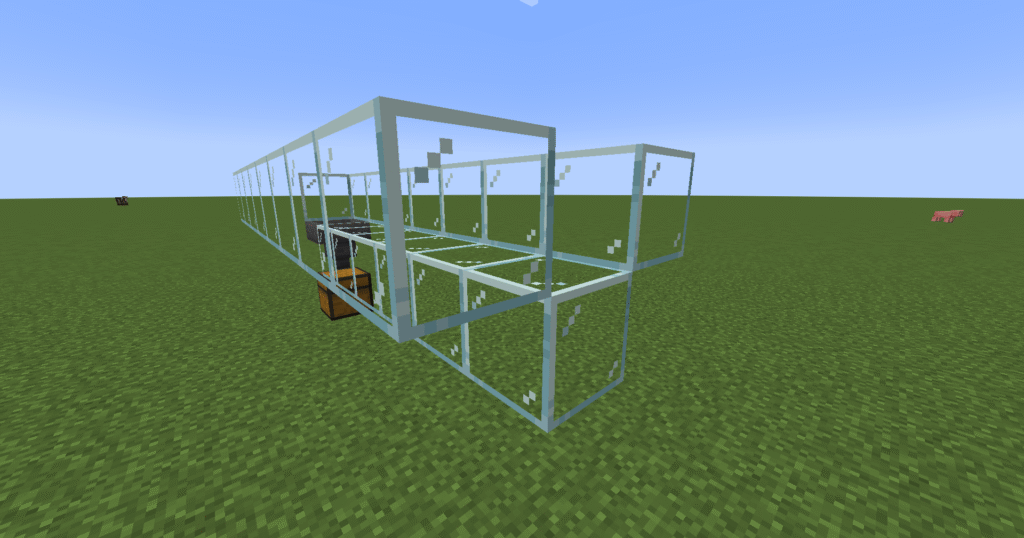
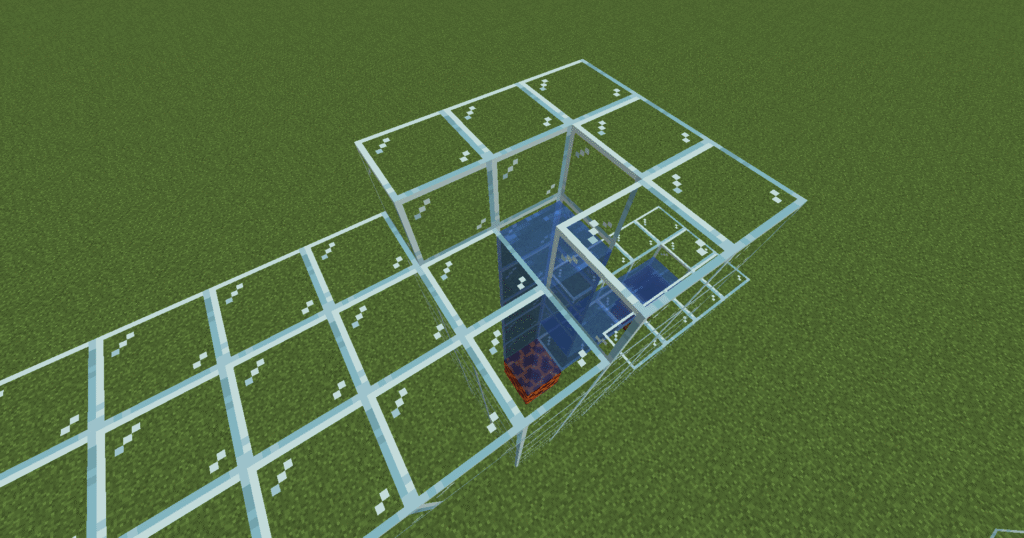
- Now lets place glass blocks down starting 1 block above the dirt blocks for 3 blocks in height.
- Ensure that this is built up to the same height as the observers.
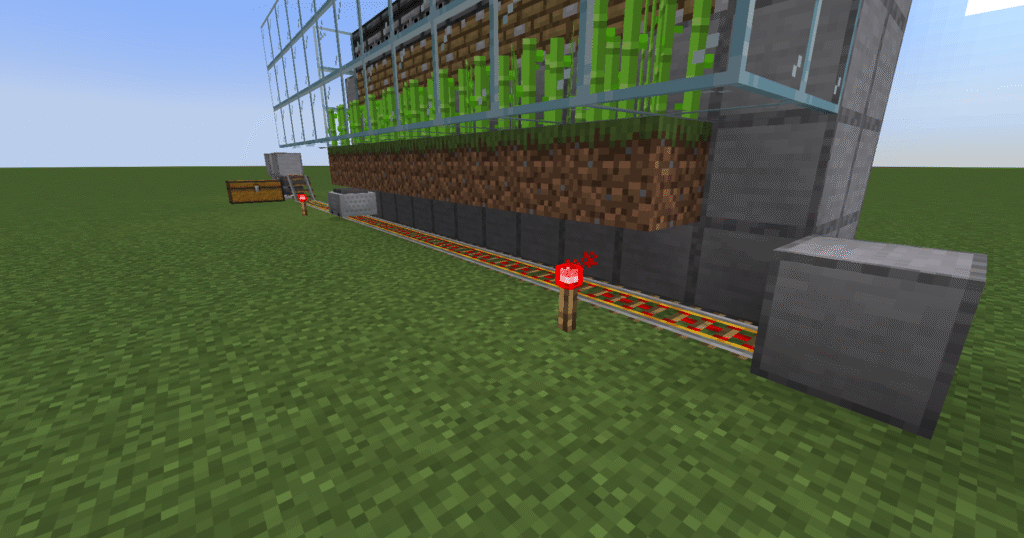
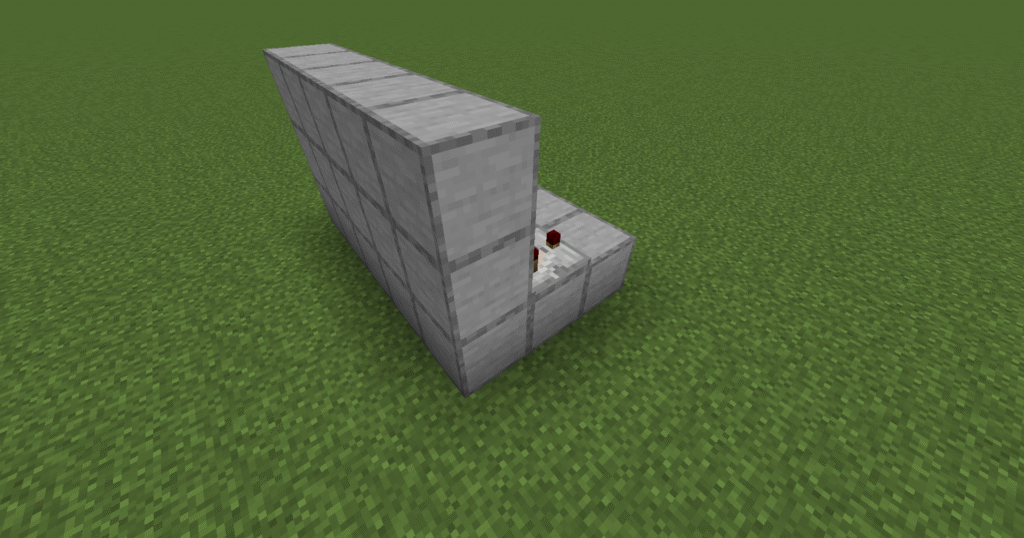
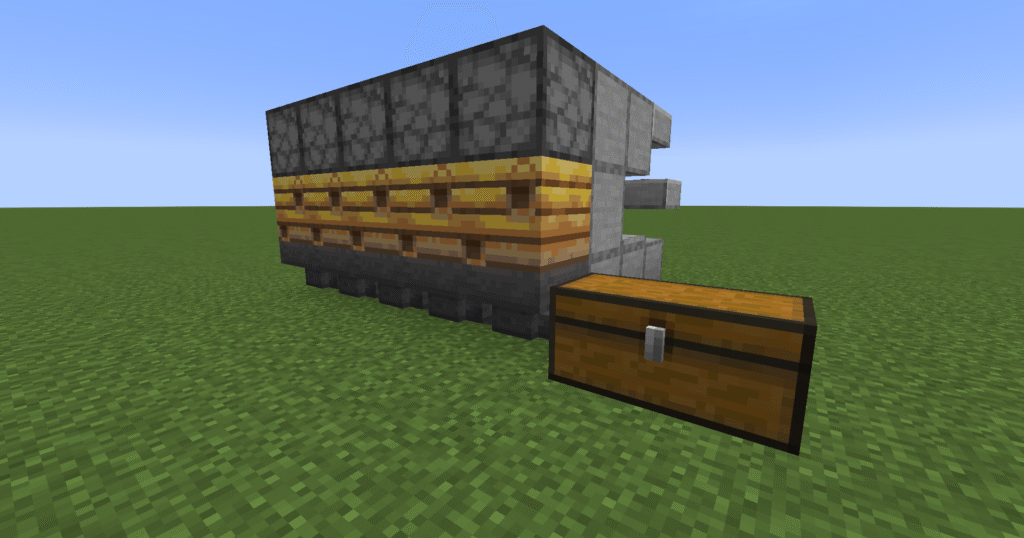
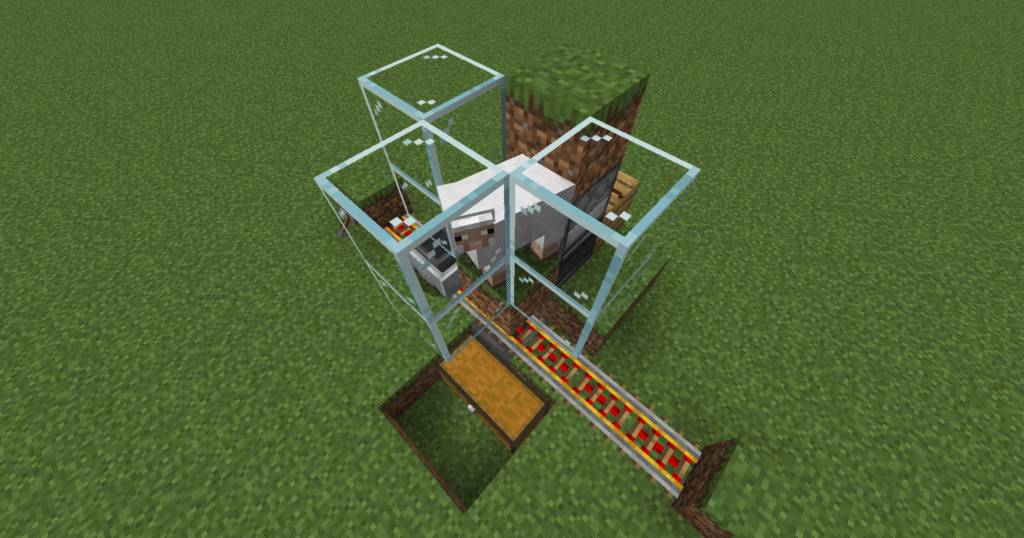
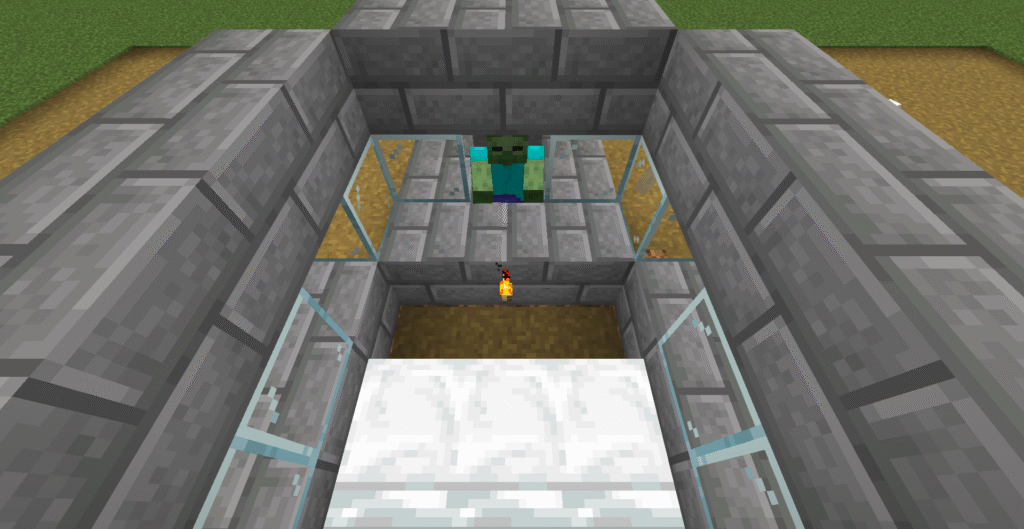
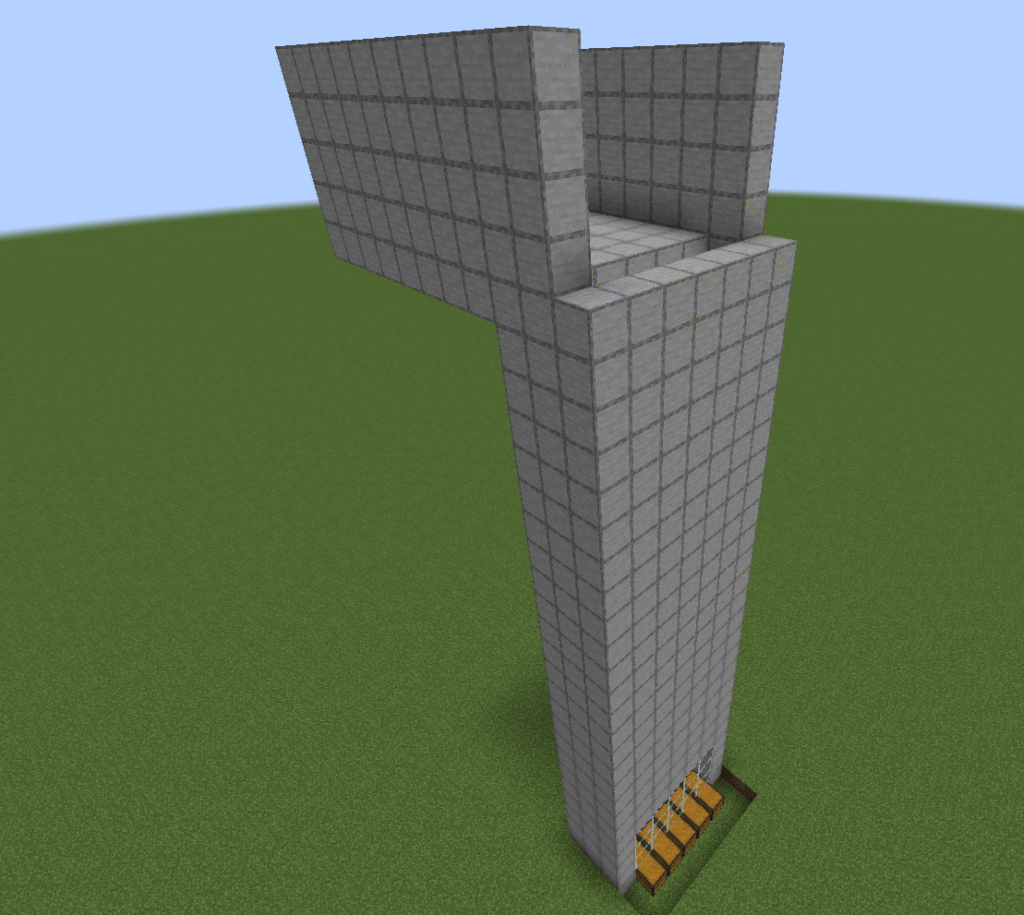
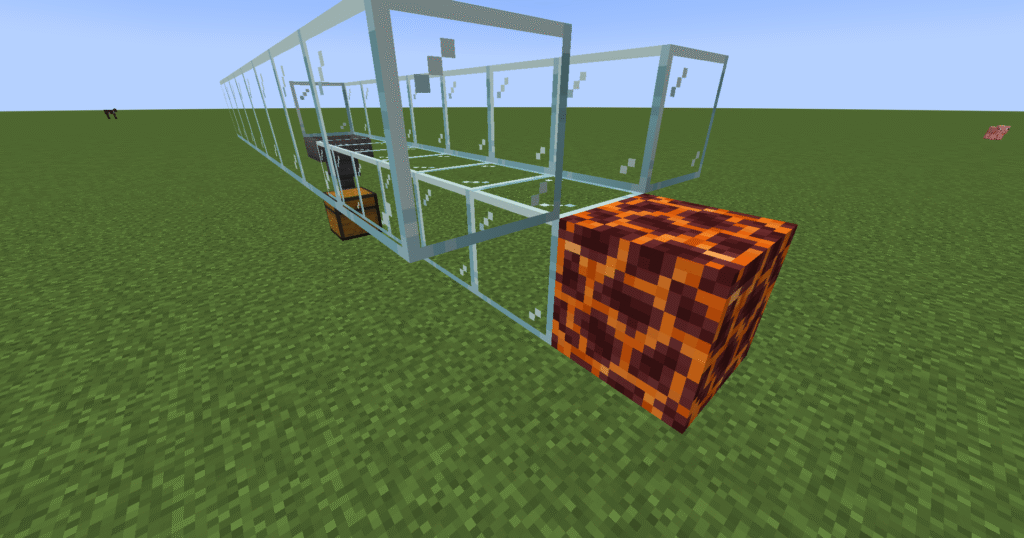
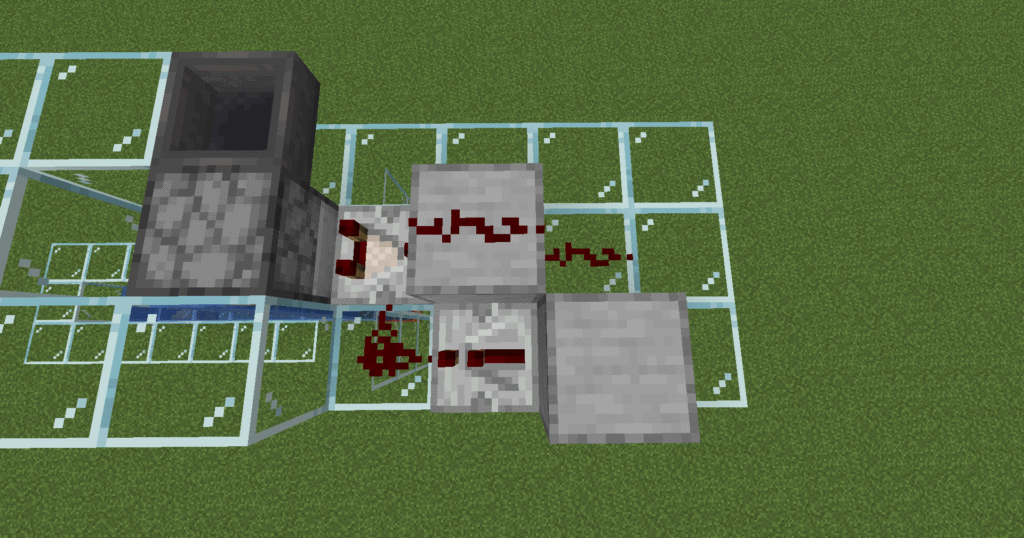
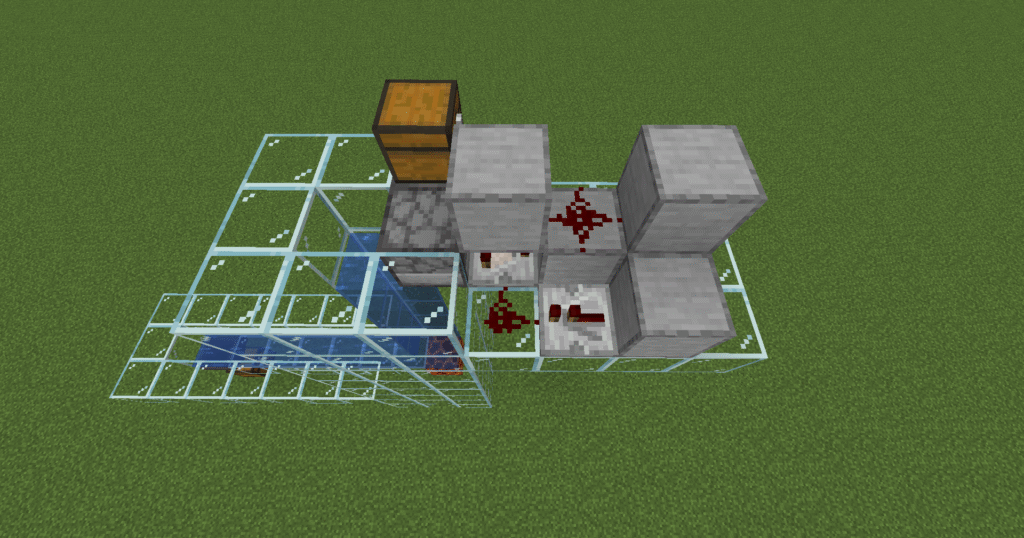
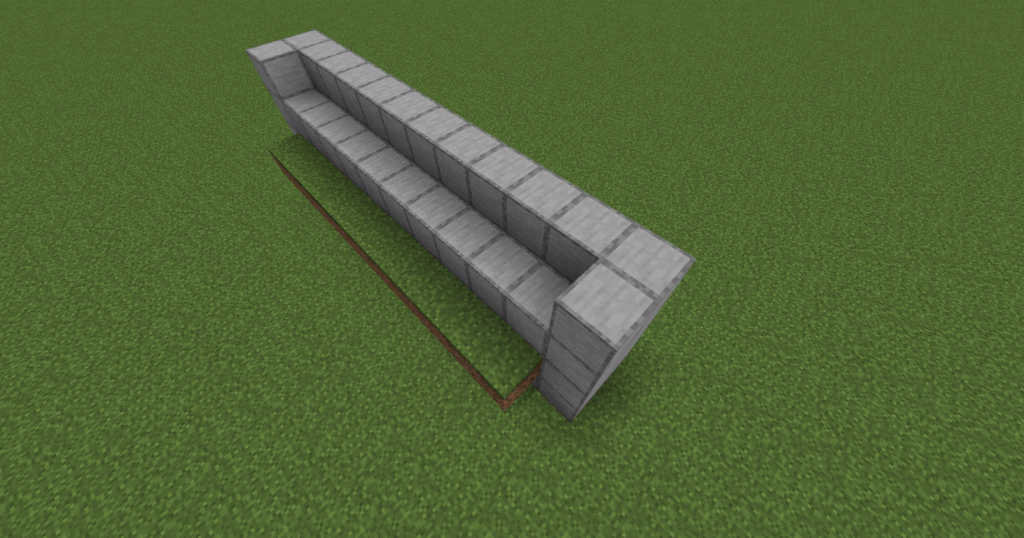
- Next place a stone block at one end of the build.
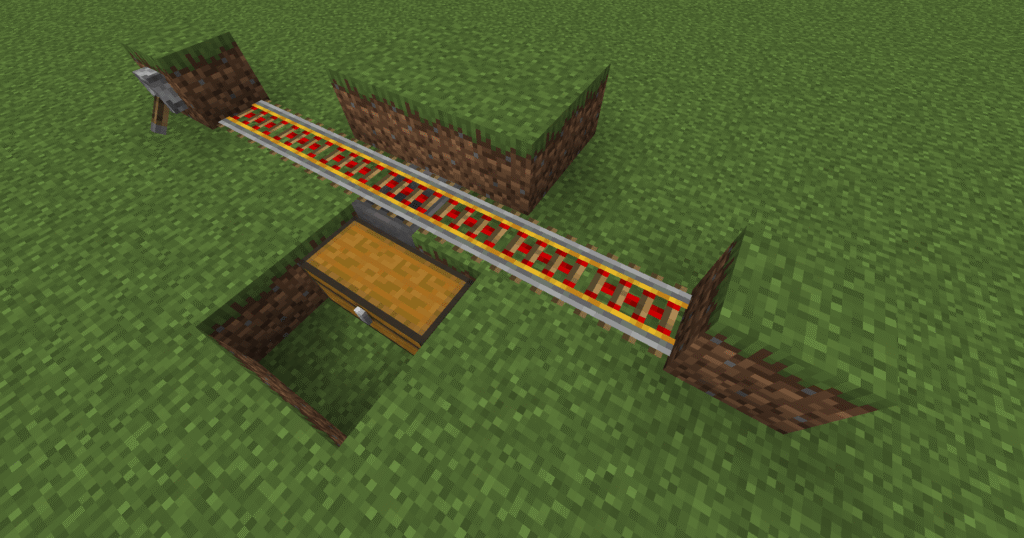
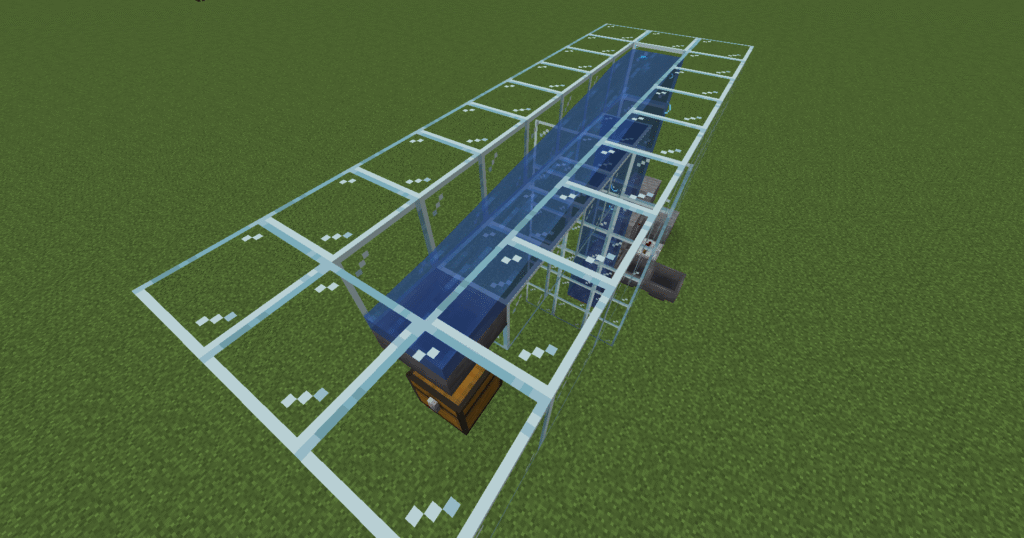
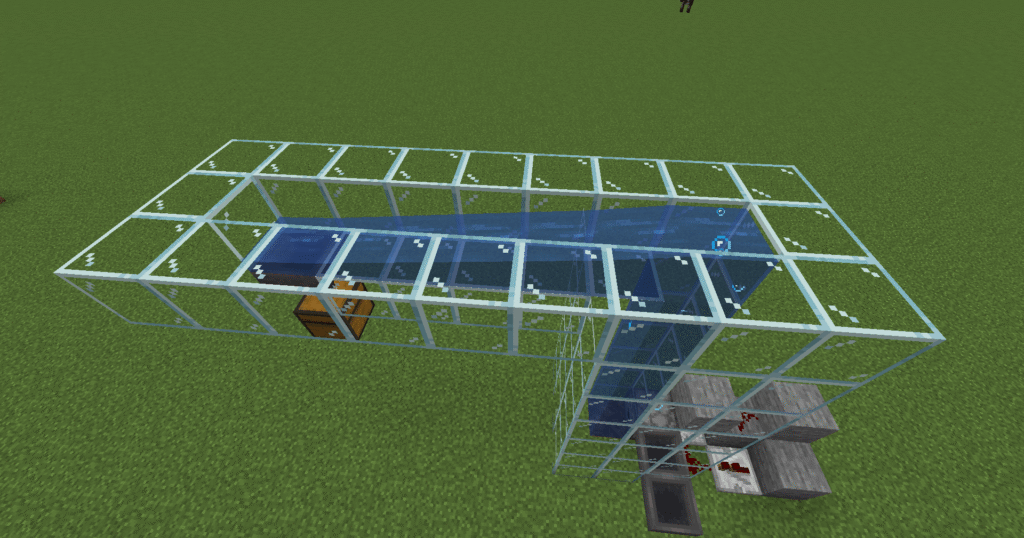
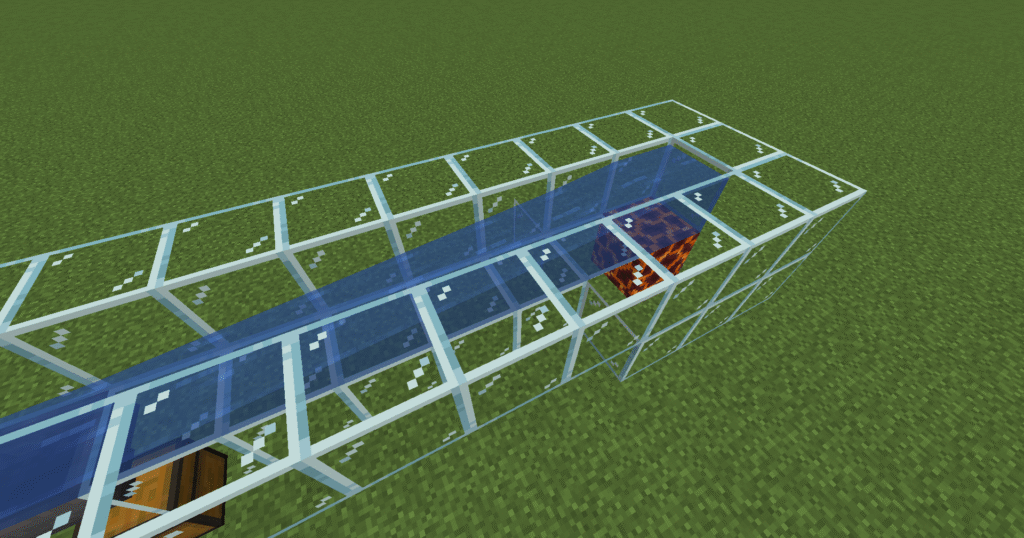
- Place powered rails all the way under the dirt blocks.
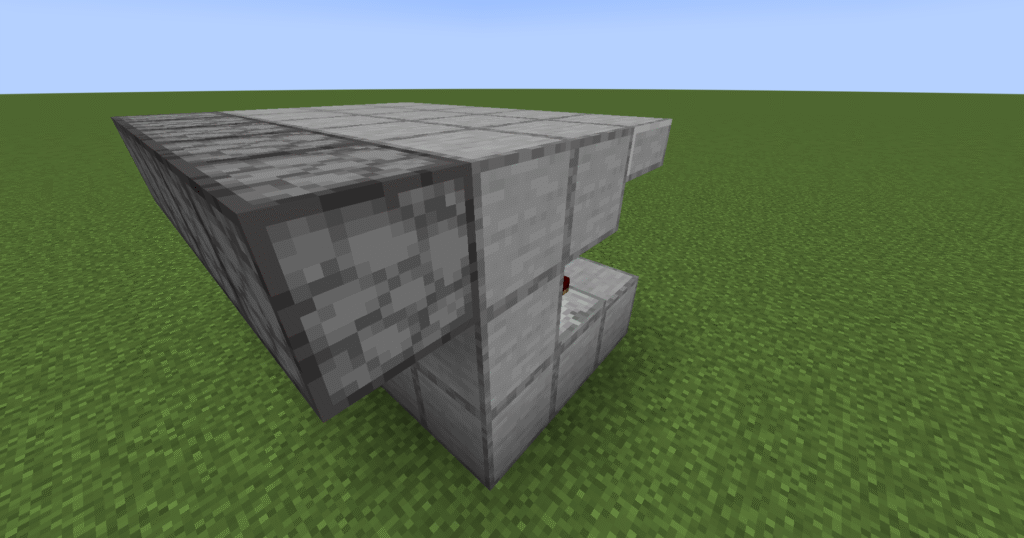
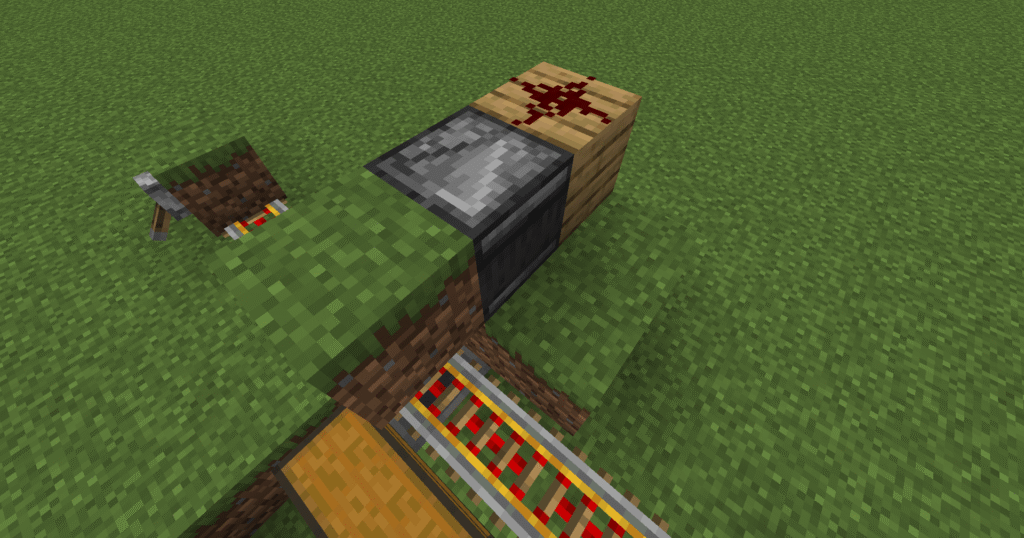
- Place a redstone torch near the rails.
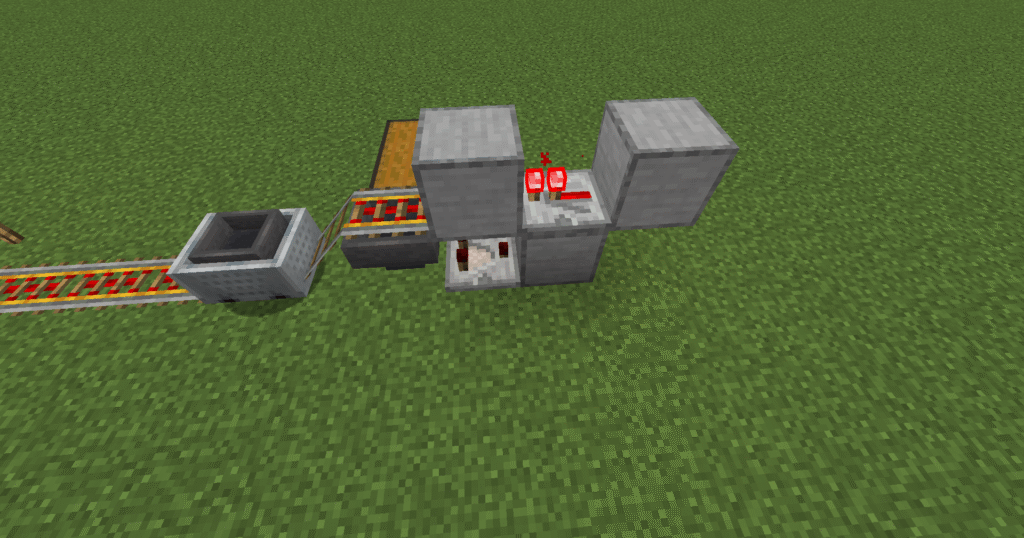
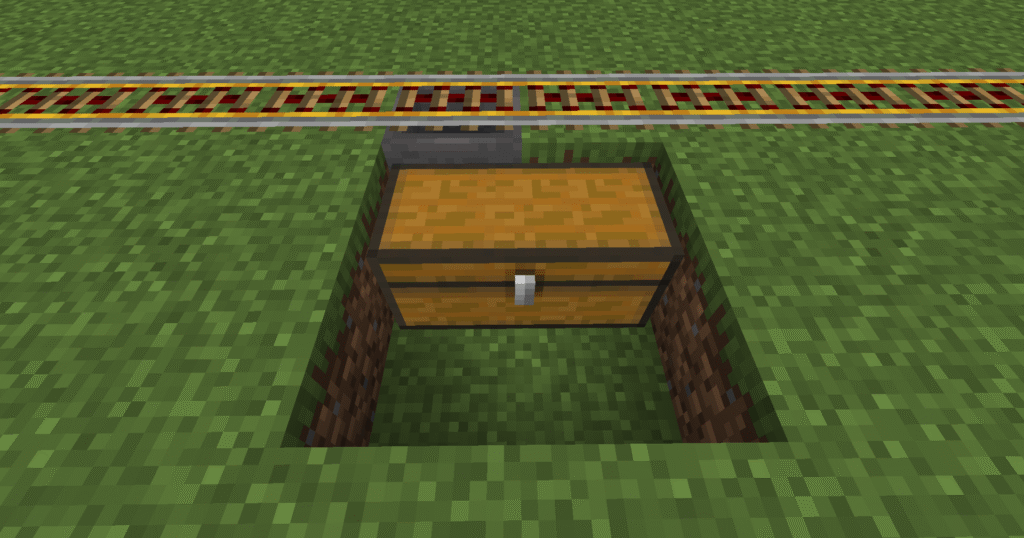
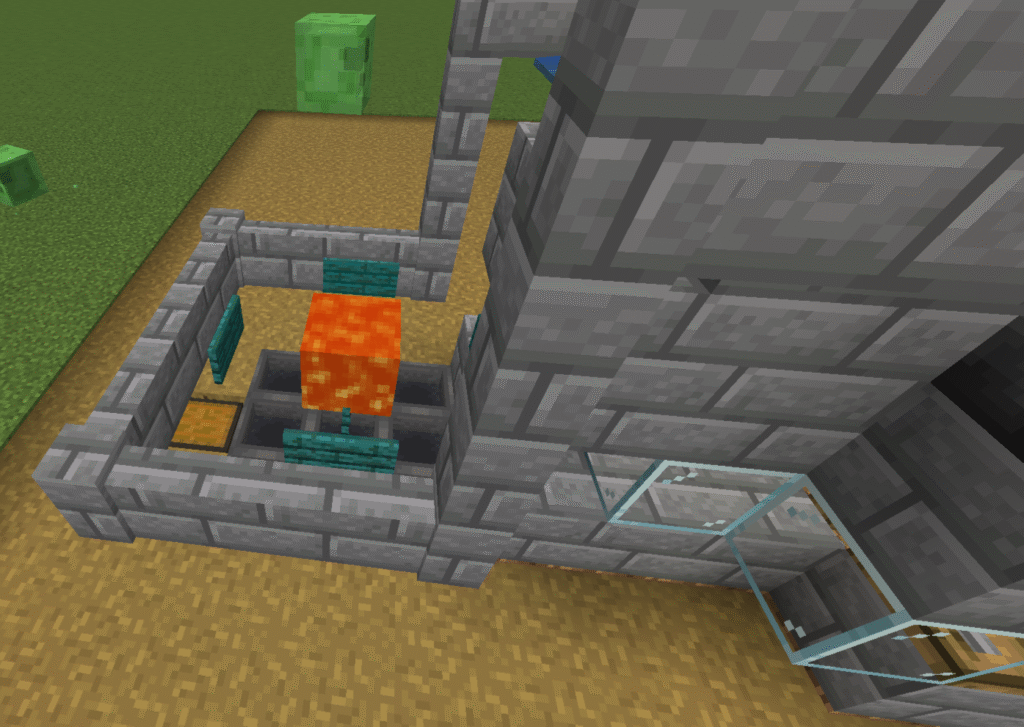
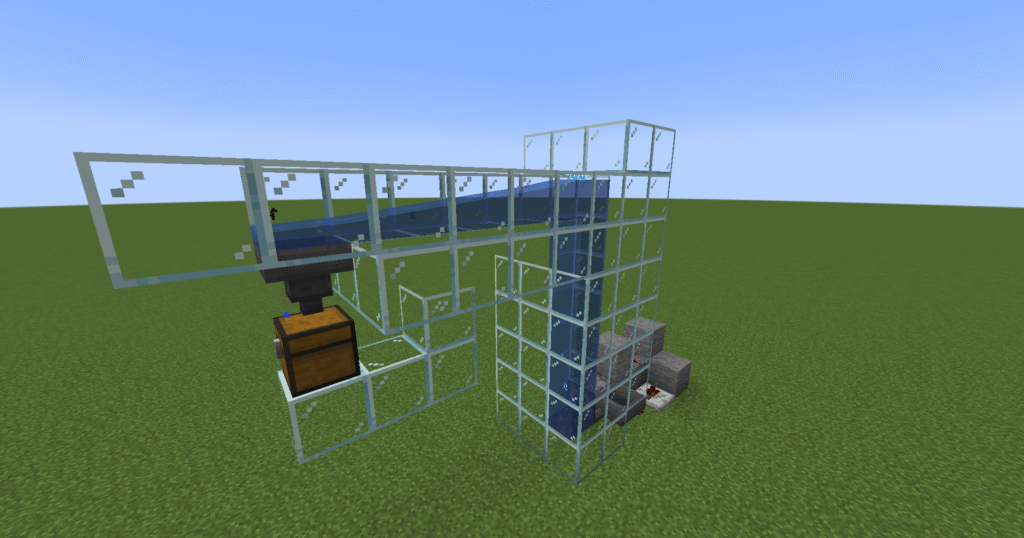
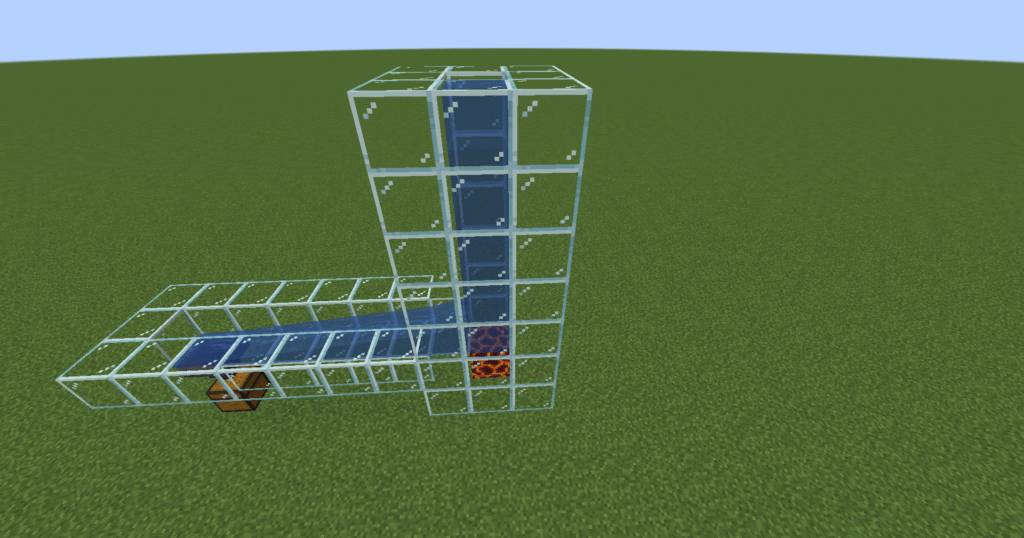
- This is the collection system. Please click to go to this build.
Hints and tips
What can go wrong – sugar cane not being collected.
- This can be caused by the transport system being to far away from the grass blocks. Ensure that the minecart is directly underneath the grass blocks.
- Minecarts can only collect sugar cane if they are going on powered rails. Ensure that all the rails under the grass blocks are powered.
Where next
Additional builds –
- Crafter – you can send the sugar cane off to a crafter. A crafter can automatically craft items. This can then craft sugar automatically.