Description
This is a build for a Minecraft redstone potato farm. This build of a redstone potato farm uses contraptions to harvest crops for you. This works by releasing water to wash crops into a hopper and chest system so that the potatoes are harvested. The player must ensure that the crops are fully grown. Once the crops are into the chest the player will need to plant the potatoes to start the next cycle.
Potatoes are used in a few ways in Minecraft these include.
- Food source – you can eat raw potatoes though they only restore a little health. Baking them in a furnace or smoker turns them into baked potatoes which restore more hunger points.
- farming – potatoes can be farmed.
- Trading – potatoes can be traded for emeralds.
- Breeding – if you have pigs feeding them potatoes will make them breed.
- Composting – potatoes can be placed into a composter to make bonemeal.
Before being able to farm potatoes you will first need to get them to plant.
- Villages – potatoes can be found in villages.
- Zombie drops – zombies can sometimes drop potatoes.
- Shipwrecks and chests – you may find potatoes in chests in shipwrecks or inside village houses.
- Trading – Farm villagers sometimes trade potatoes for emeralds.
Ingredients
These are the ingredients and recipes that you will need to make this Minecraft redstone potato farm. Please ensure that you have all of the ingredients before you start your build.
| Item | Picture | Amount |
|---|---|---|
| Stone |  | 34 |
| Water bucket |  | 8 |
| Repeater | 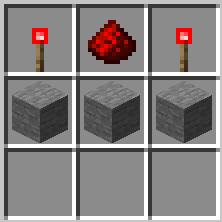 | 8 |
| Redstone dust |  | 10 |
| Chest | 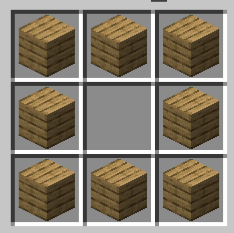 | 2 |
| Hoe | 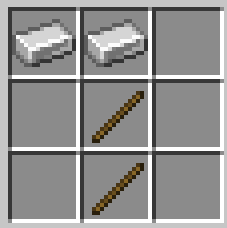 | 1 |
| Lever | 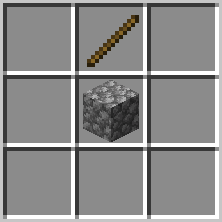 | 1 |
| Hopper | 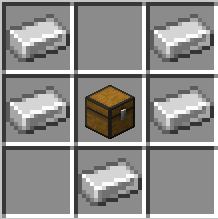 | 8 |
| Sticky piston | 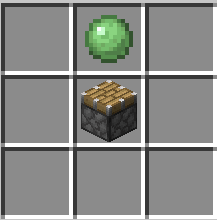 | 8 |
| Potatoes |  | 48 |
- Hopper – this build will need a chest to make a hopper.
- Sticky Piston – you will need to craft a piston before making a sticky piston.
- Repeater – You will need to craft redstone torches to make a repeater.
Build Plans
Here we will explain in detail how to build this Minecraft redstone potato farm. Please follow the instructions carefully.

- The first stage is to prepare for the redstone section of the build.
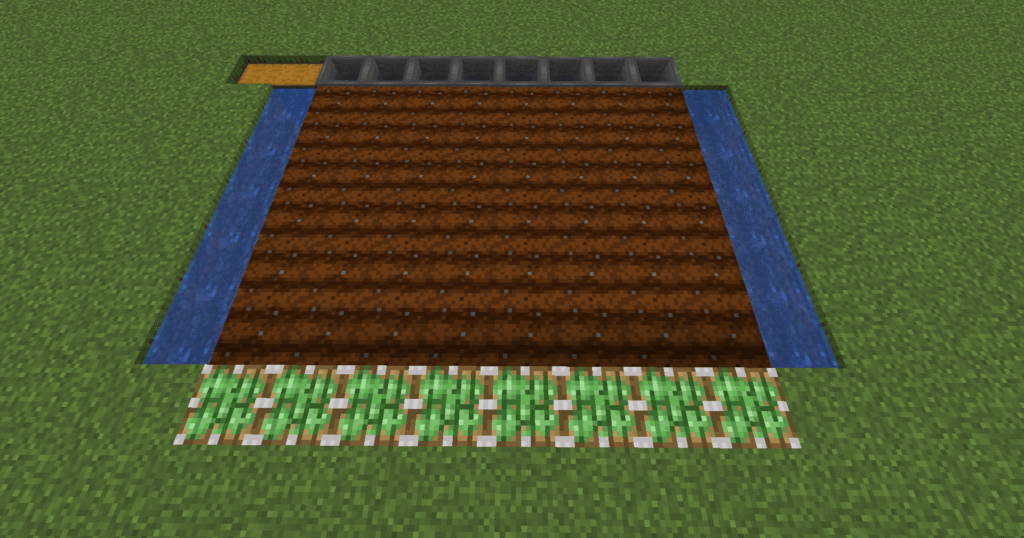
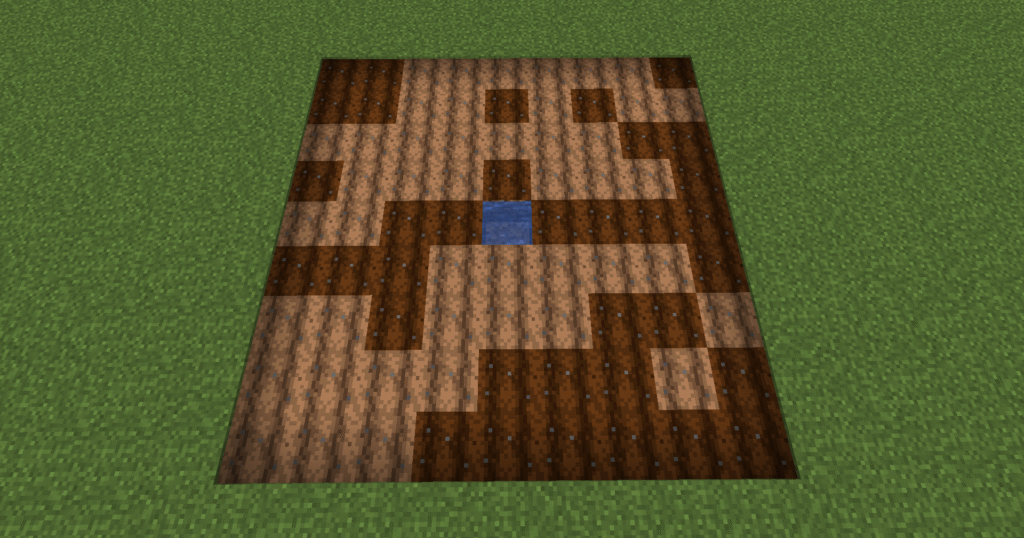
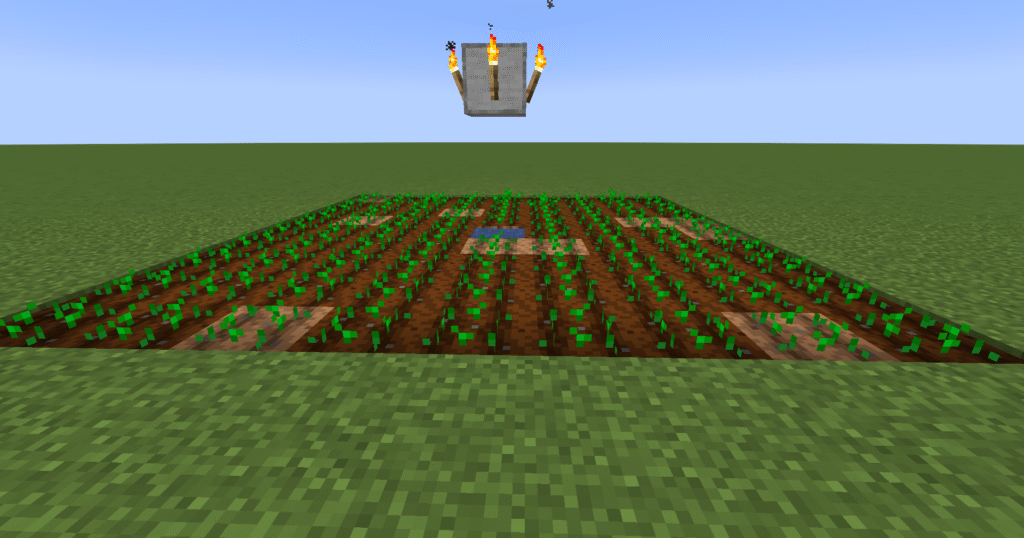
- This entails digging 2 blocks down in a 8 x 3 block section. Then on the left hand side dig 3 x 2 blocks.
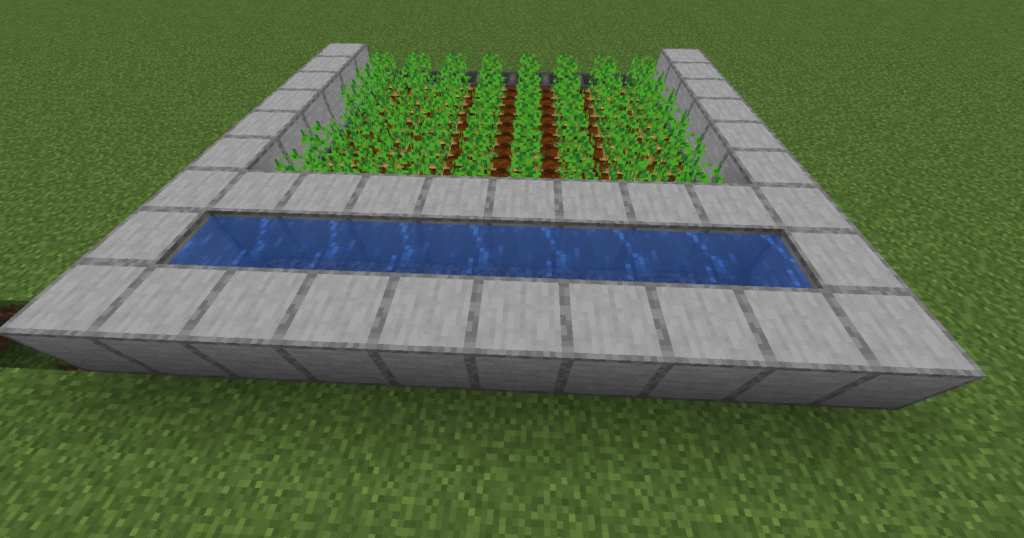
- Finally a 1 block down and a 1 x 2 block to enable you to get out of the hole. Dig this on the end of the 3 x 2 block hole. It should look something like the screenshot.

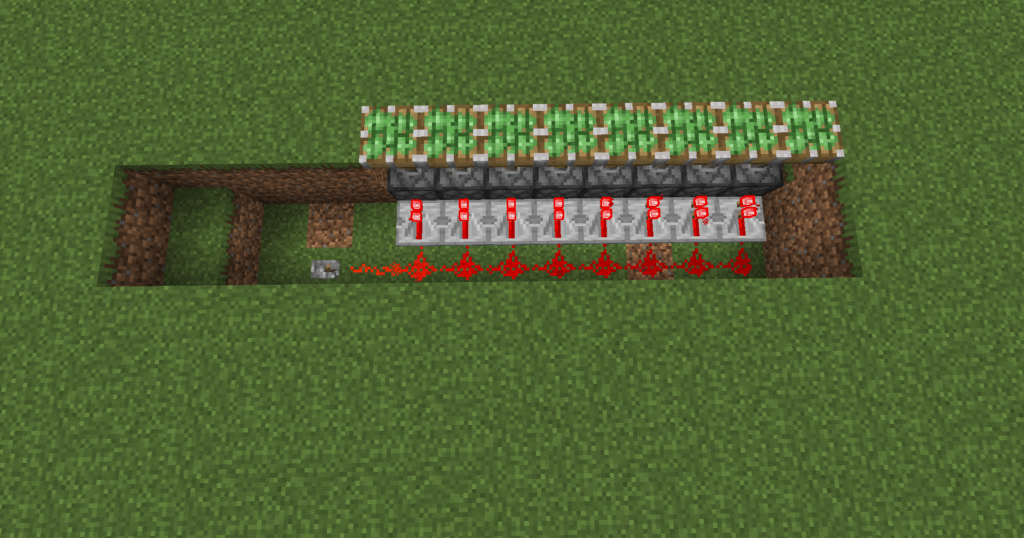
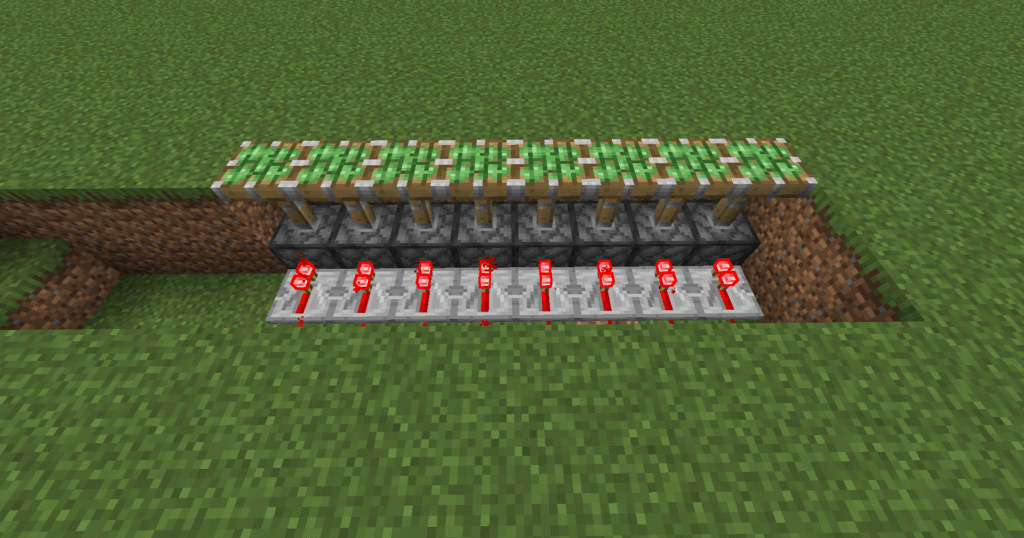
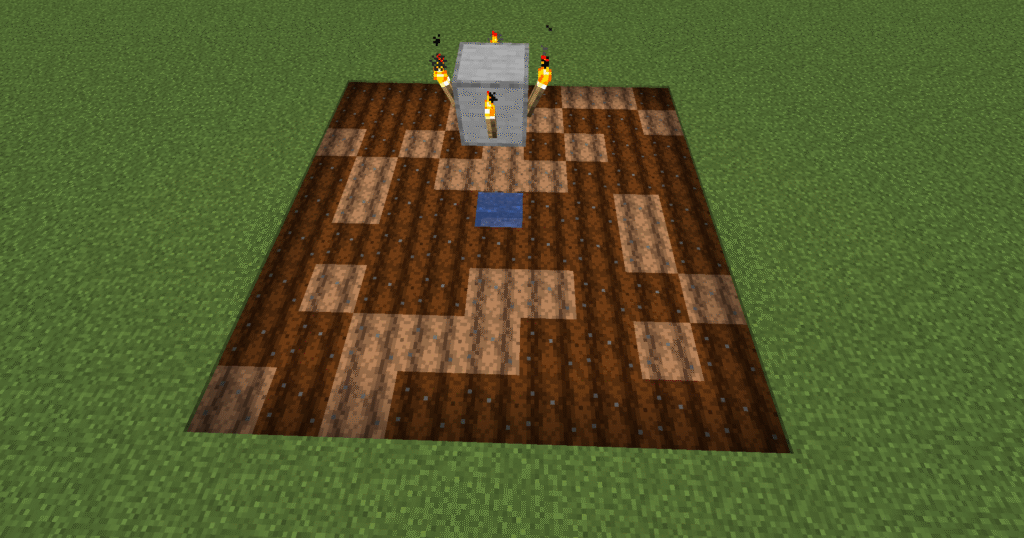
- Lets now place down the sticky pistons. Place the sticky pistons in the back section ensuring that they are green side up.
- Next run repeaters pointing towards the sticky pistons along the whole length of the sticky pistons.
- Then place redstone dust behind the repeaters extending by one block and place down a lever in the next block. When switching the lever the sticky pistons should come level with the earth.

- Lets now switch the lever and ensure that the sticky pistons extend and retract normally.
- Ensure that the pistons are extended to move on to the next section.

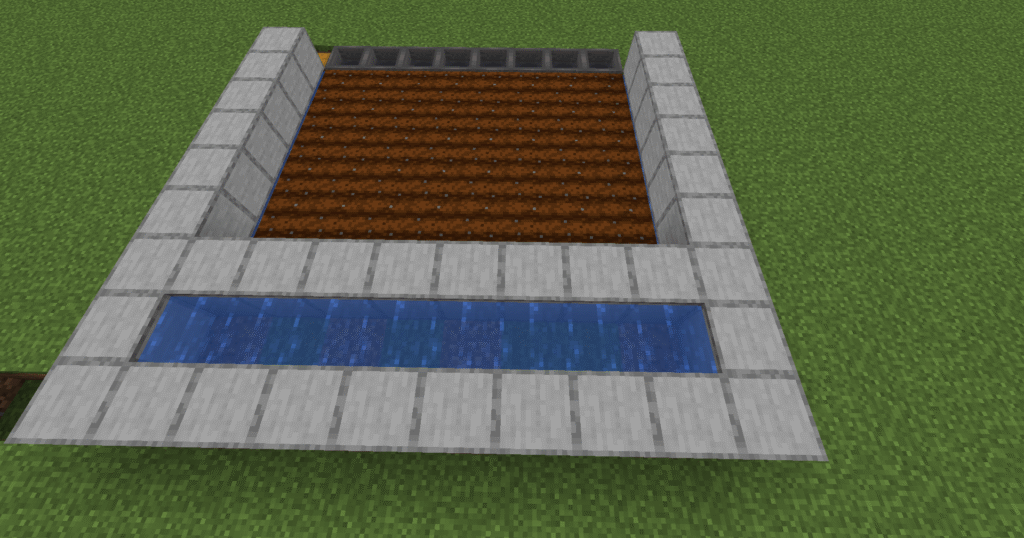
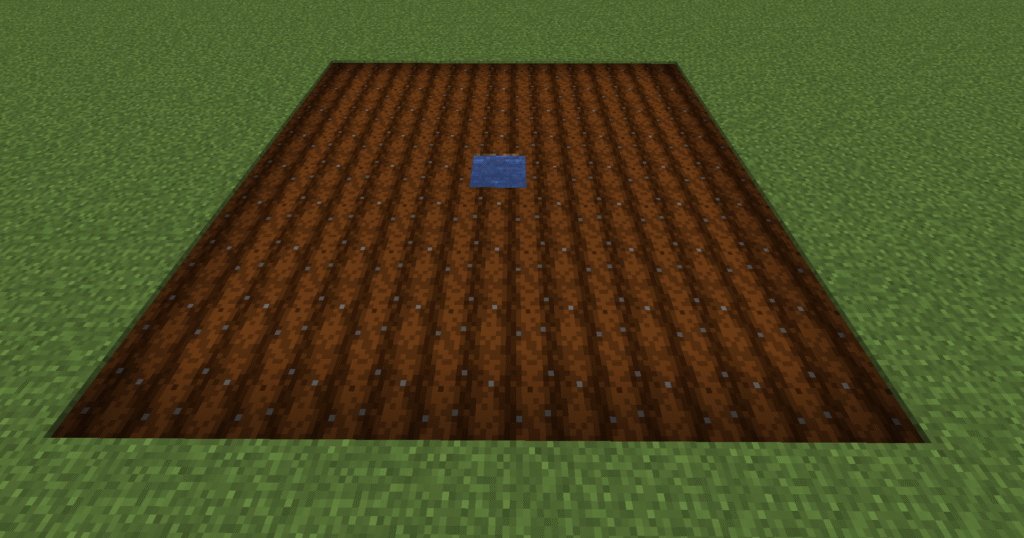
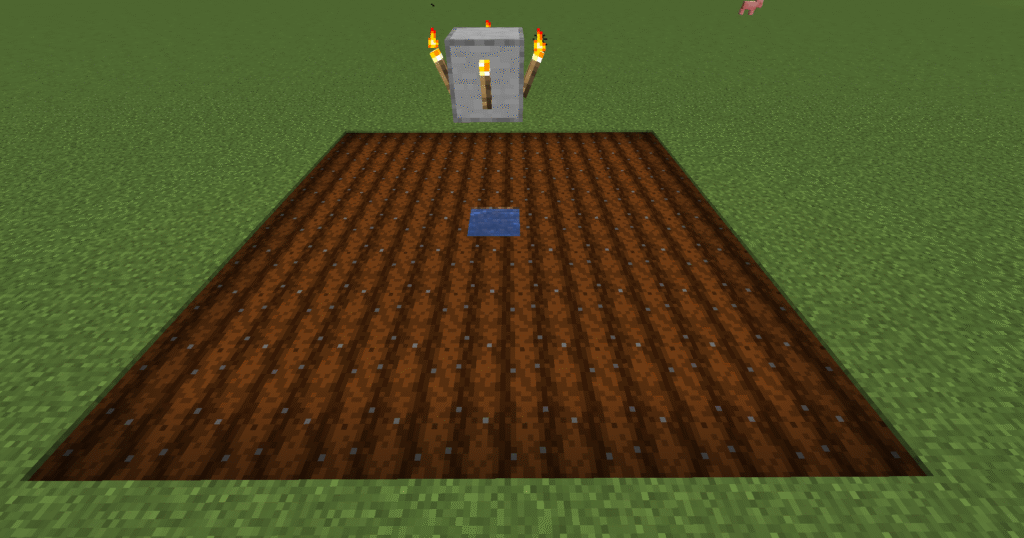
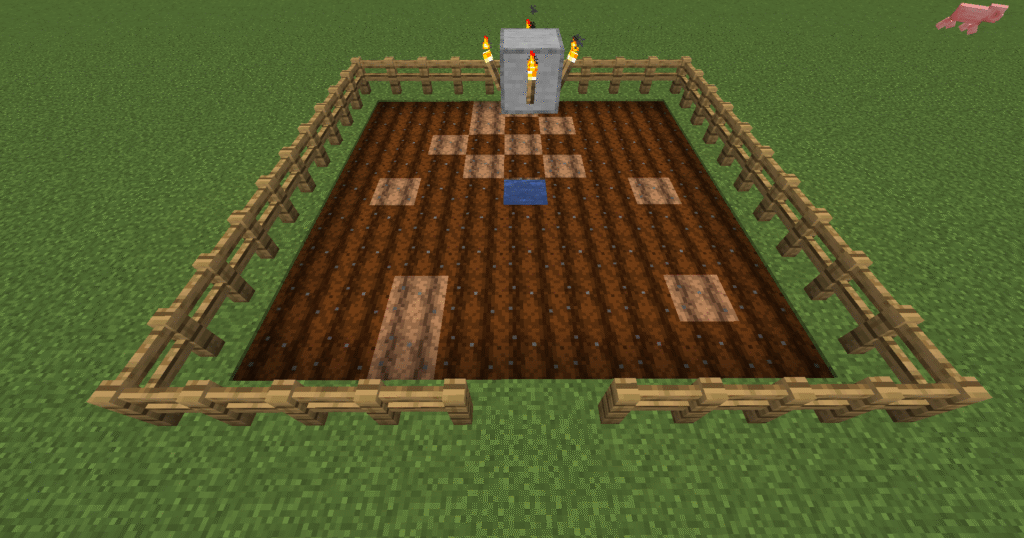
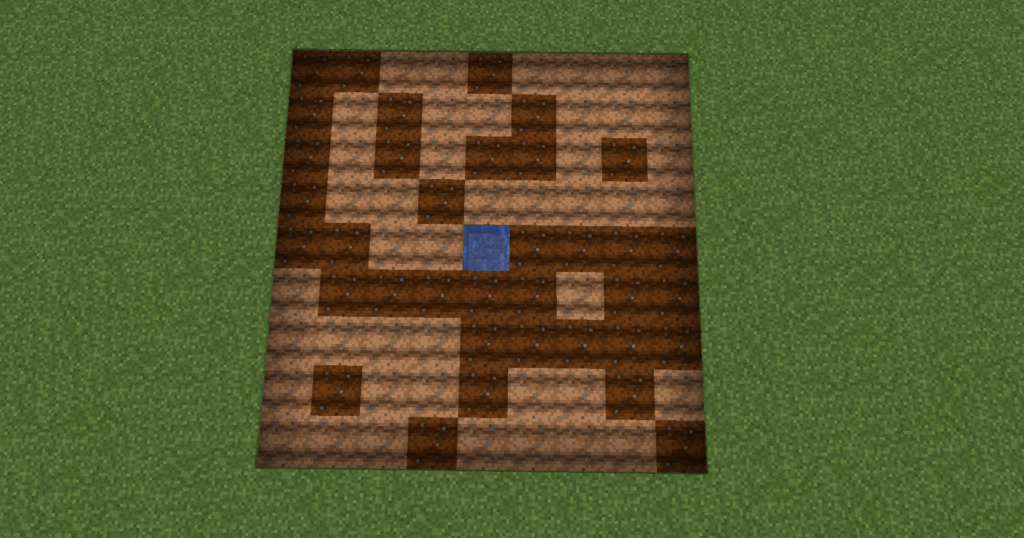
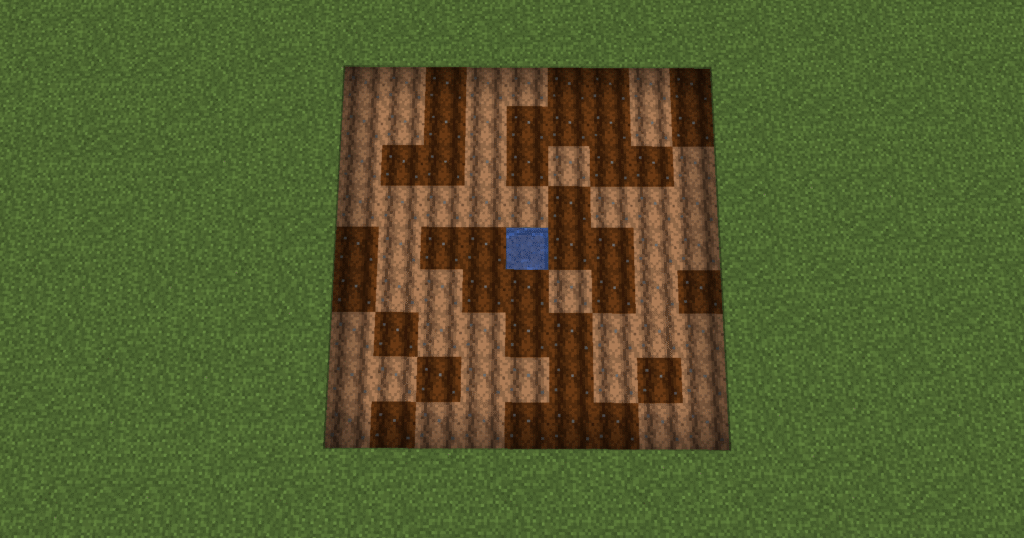
- Ok, first up lets hoe a rectangle, from the sticky pistons, hoe down 6 blocks all the way along to make a rectangle.
- Dig a 1 block hole down each side of the tilled area.
- Next dig a 1 block deep hole along the opposite end to the sticky pistons for 10 blocks (2 blocks longer than the tilled area on one end).
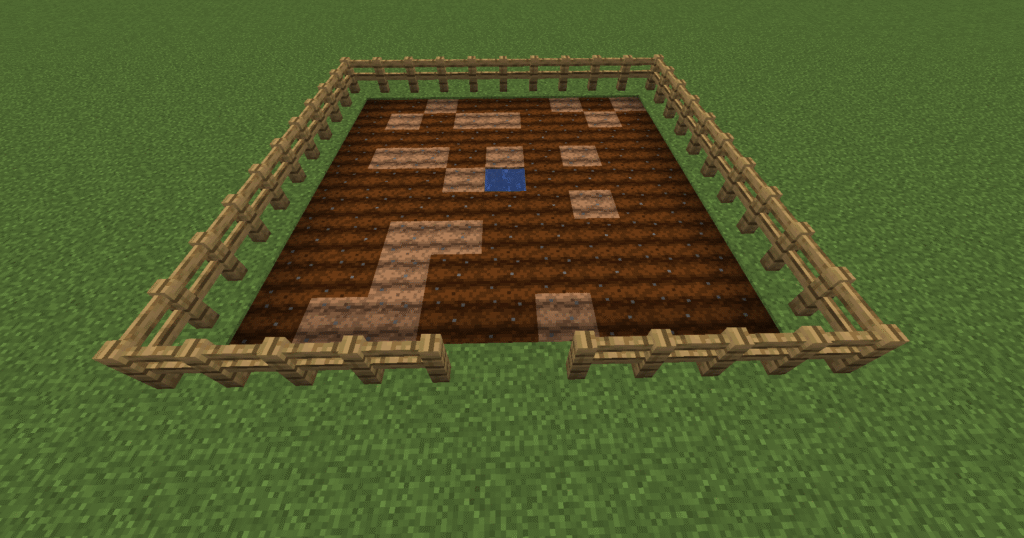
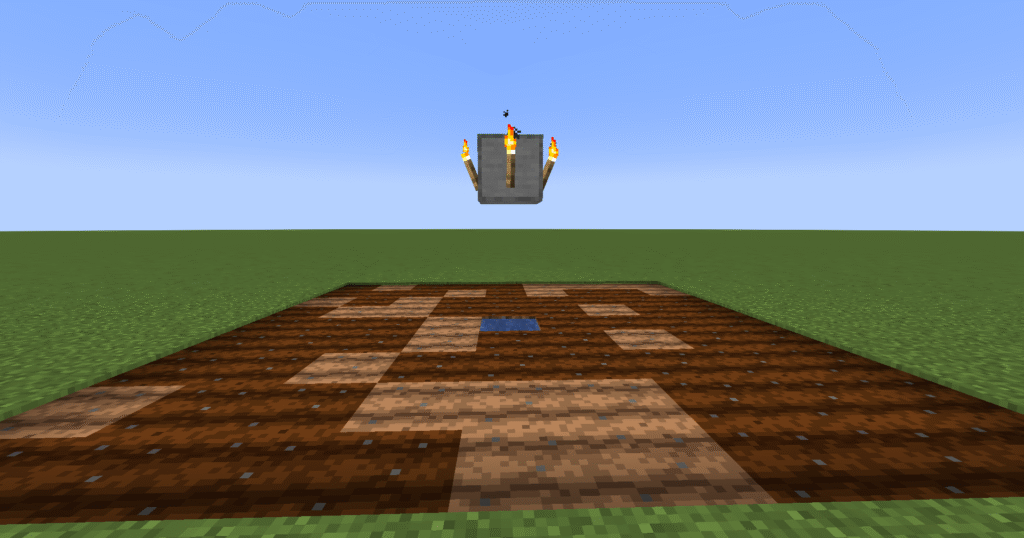
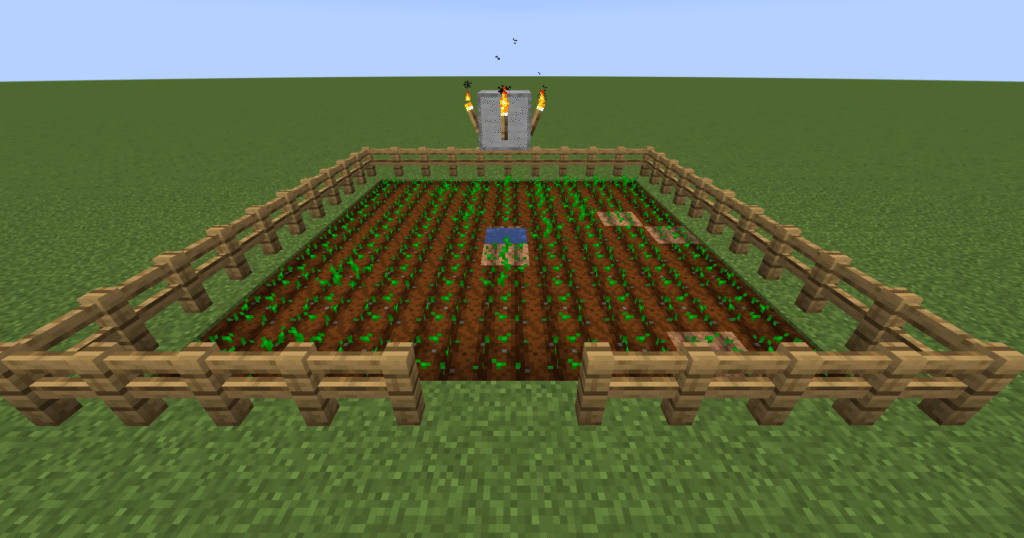
- Place your two chests down as shown in the screenshot. Next you need to place your hoppers leading into the chest.
- Fill the hole by the side of the hoed area with water ensuring it reaches both ends.

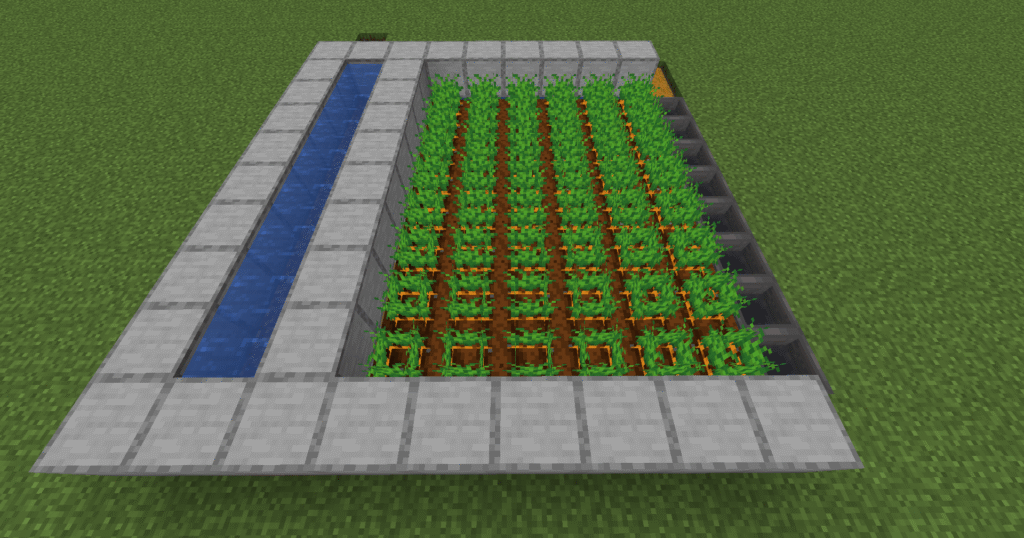
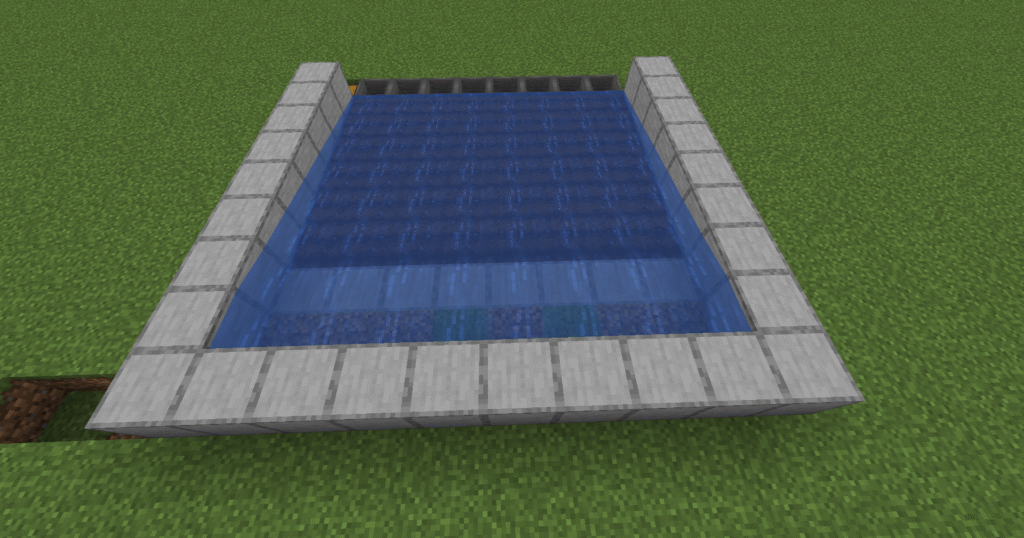
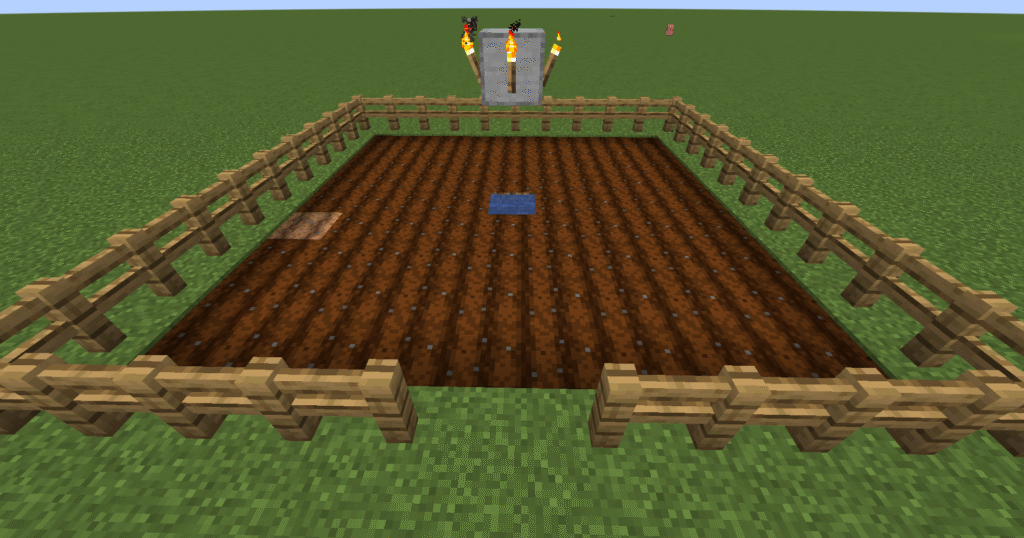
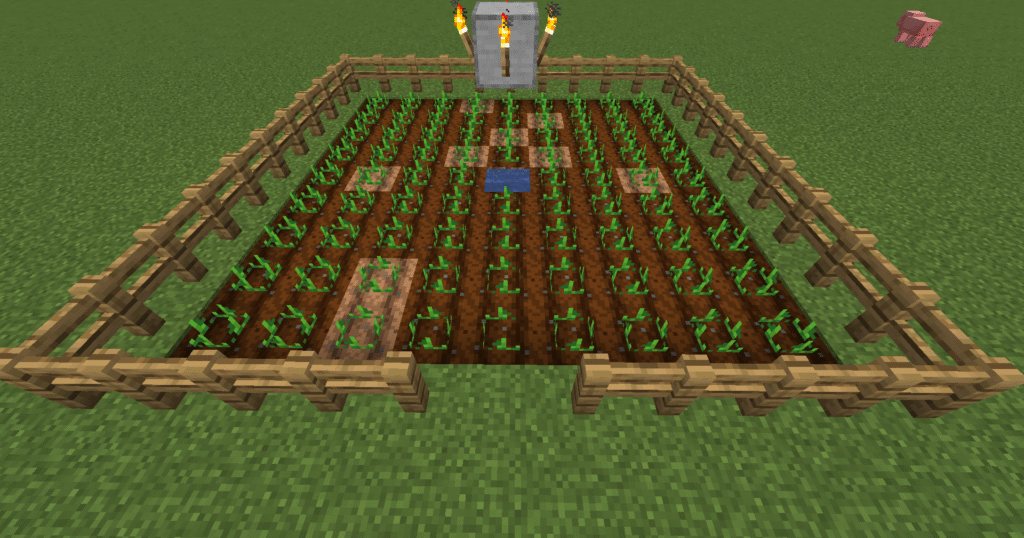
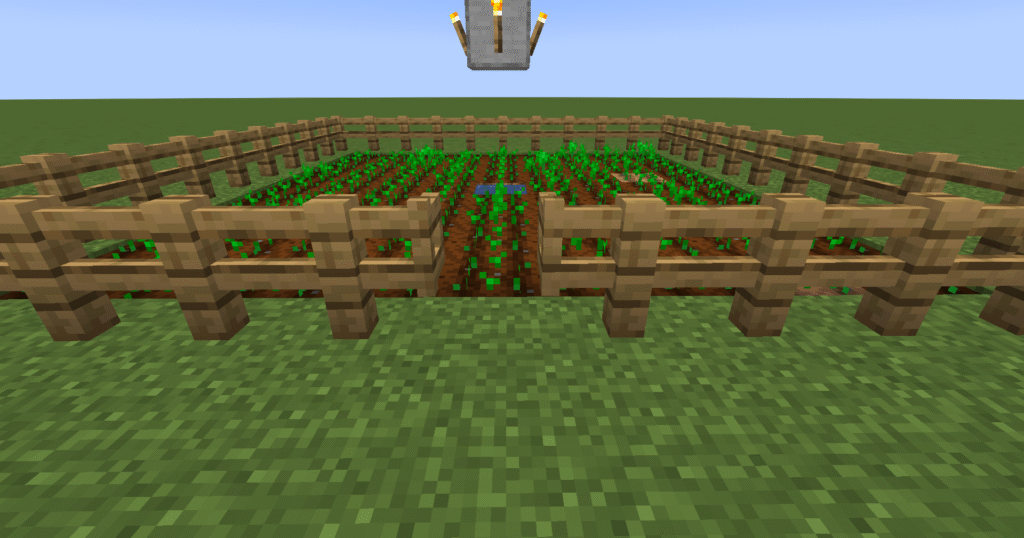
- In this section we need to build the stone walls around the build.
- From the hoppers place stone blocks over the water and go up 9 blocks.
- Next place stone blocks on top of the pistons.
- Then place a second row of stone blocks to join the 2 rows in step 2.
- Place a row of stone blocks above the repeaters making a trough.
- Now lets place water into that gap.
- You should now have something that looks like this.

- Lets now make sure that this works.
- If you select the lever that you placed earlier, the front row of blocks will drop down and the water will flow down the edge of the hoppers.
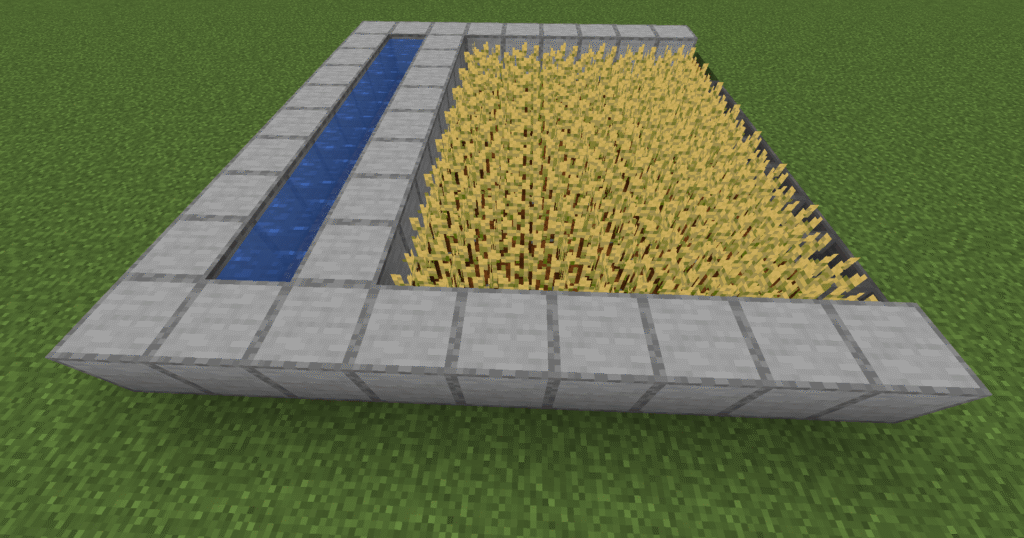
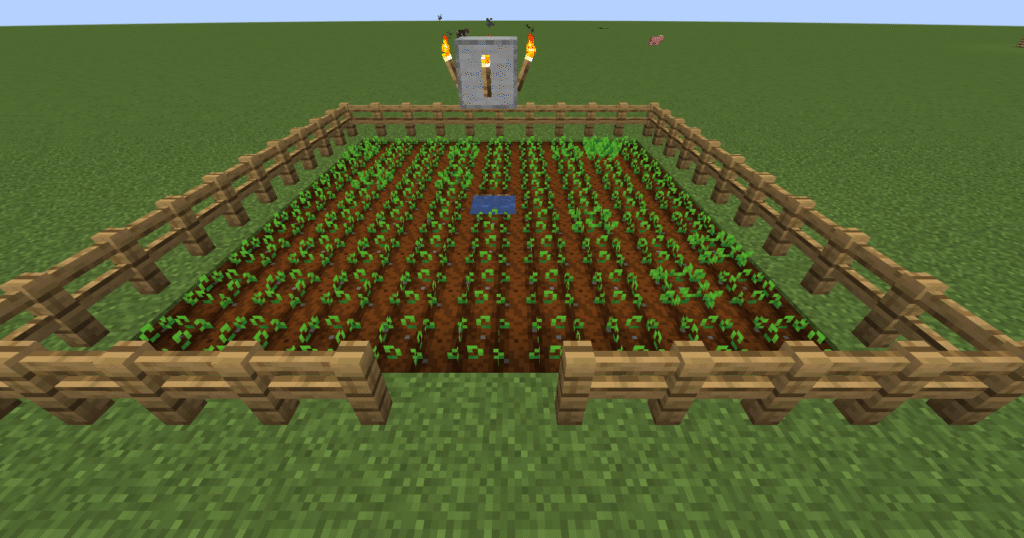
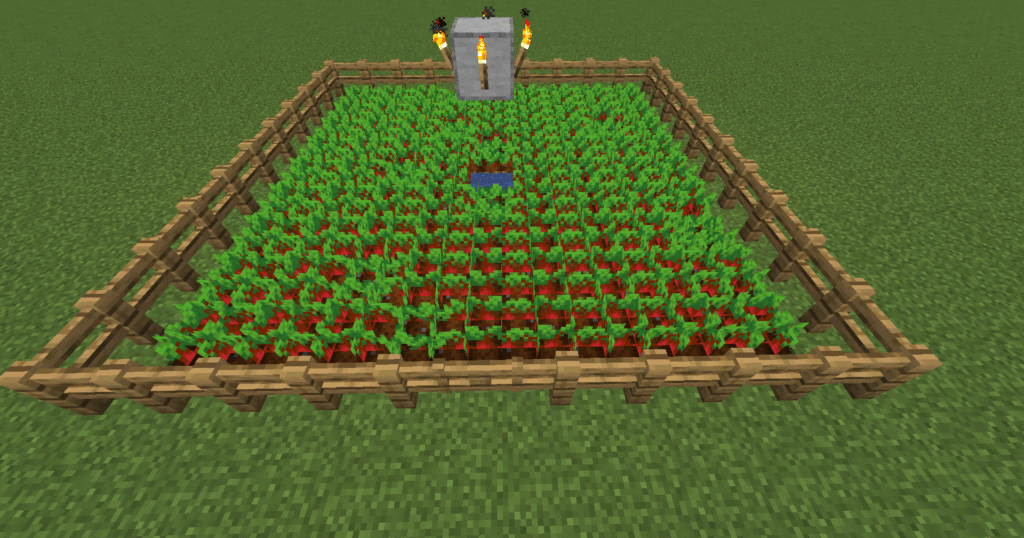
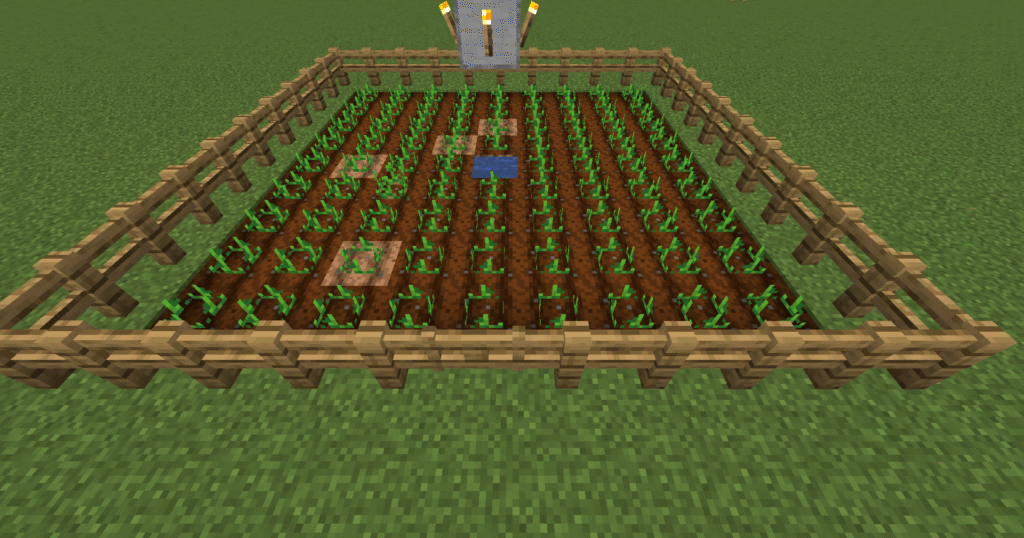
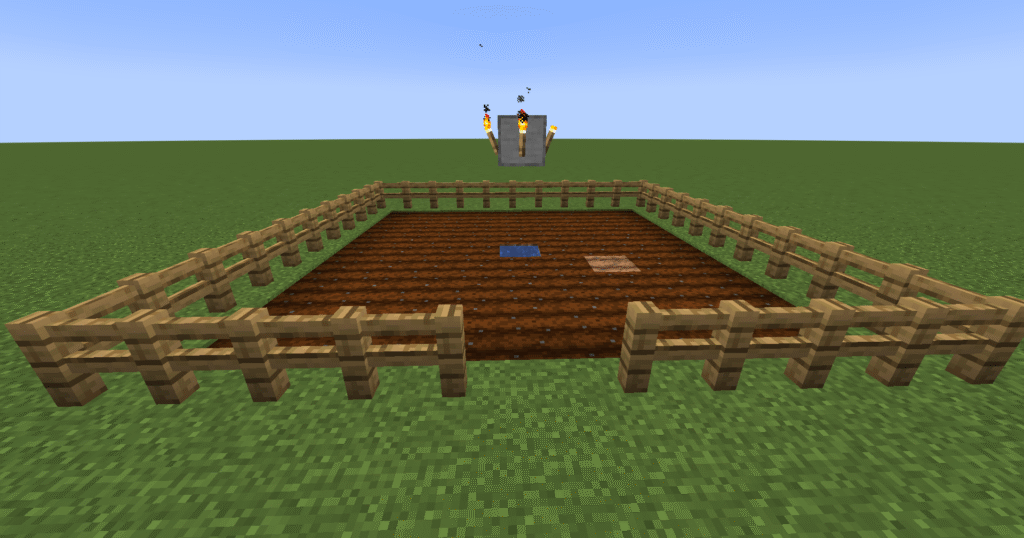
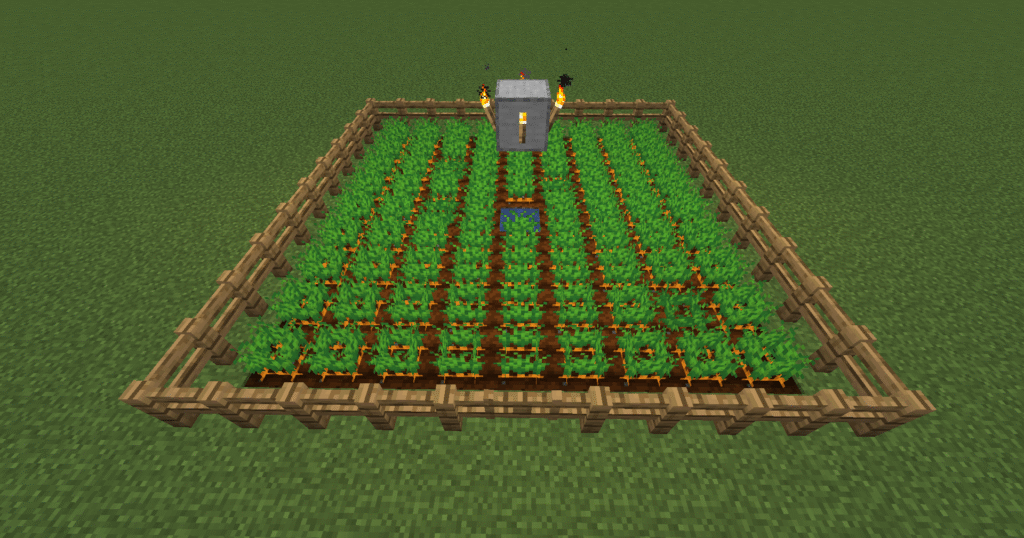
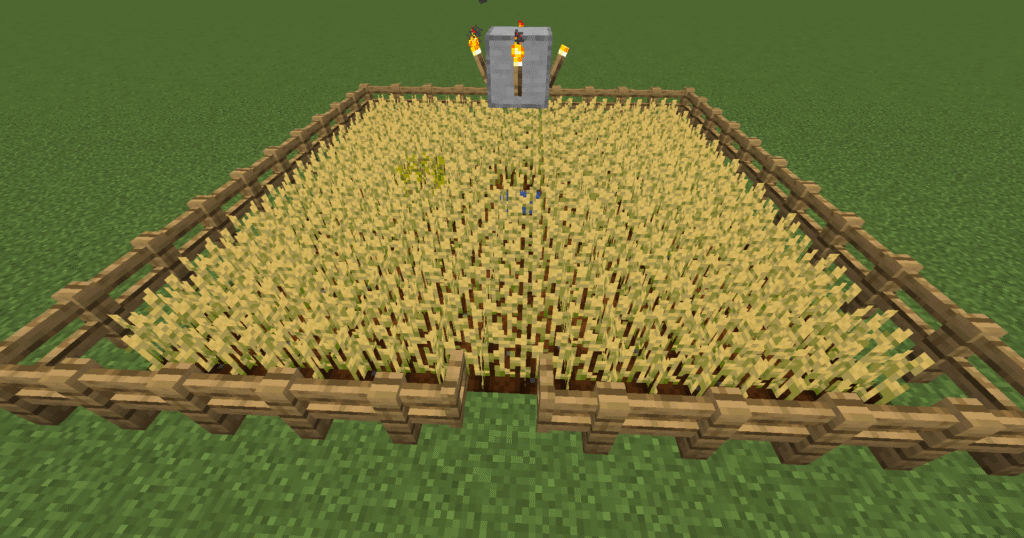
- This is final section, we plant the crops and wait for them grow.
- Once they are fully grown select the lever and watch the crops flow down into the hoppers and then into the chest.
Hints and tips
What can go wrong – water not reaching the hoppers.
- Ensure that there are only 6 blocks of wheat planted. The water will then reach the hoppers.
What can go wrong – mobs trampling crops.
- Place fences around the build.
Where next
Additions to the build –
- Increase crops – This build can be made wider by adding more pistons and hoppers, it cannot be made longer as the water will only reach this far.