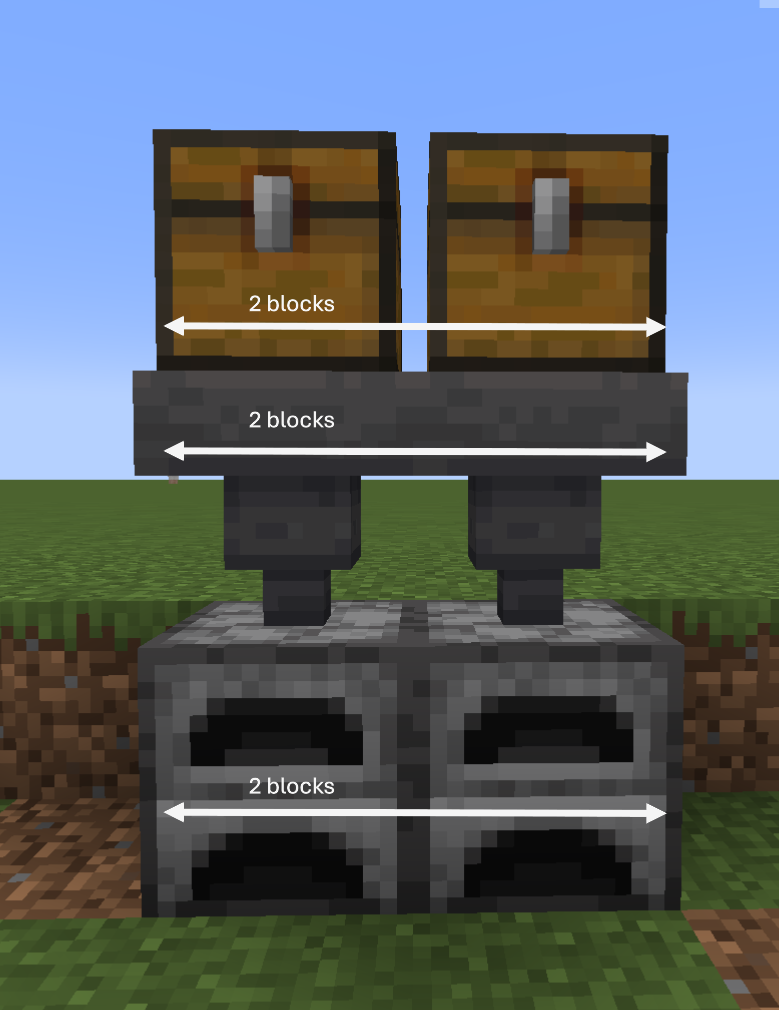
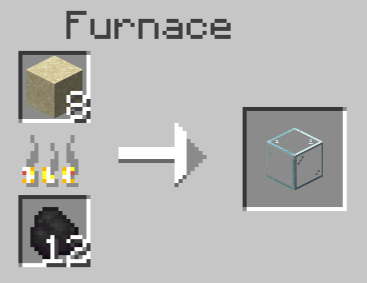
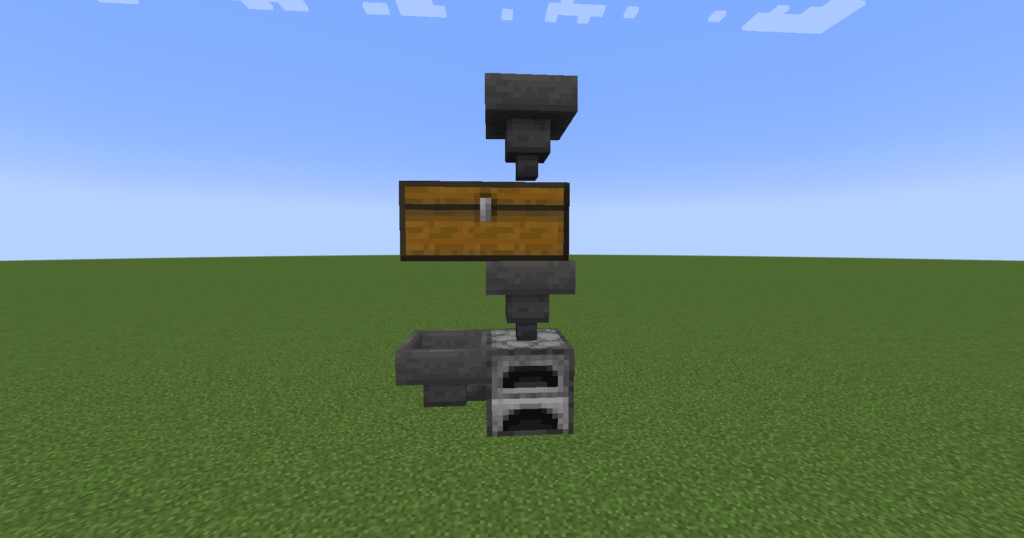
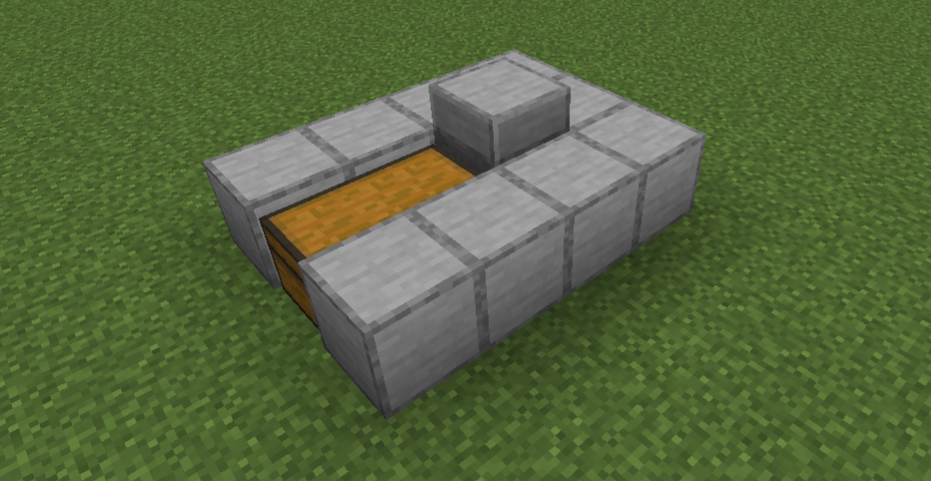
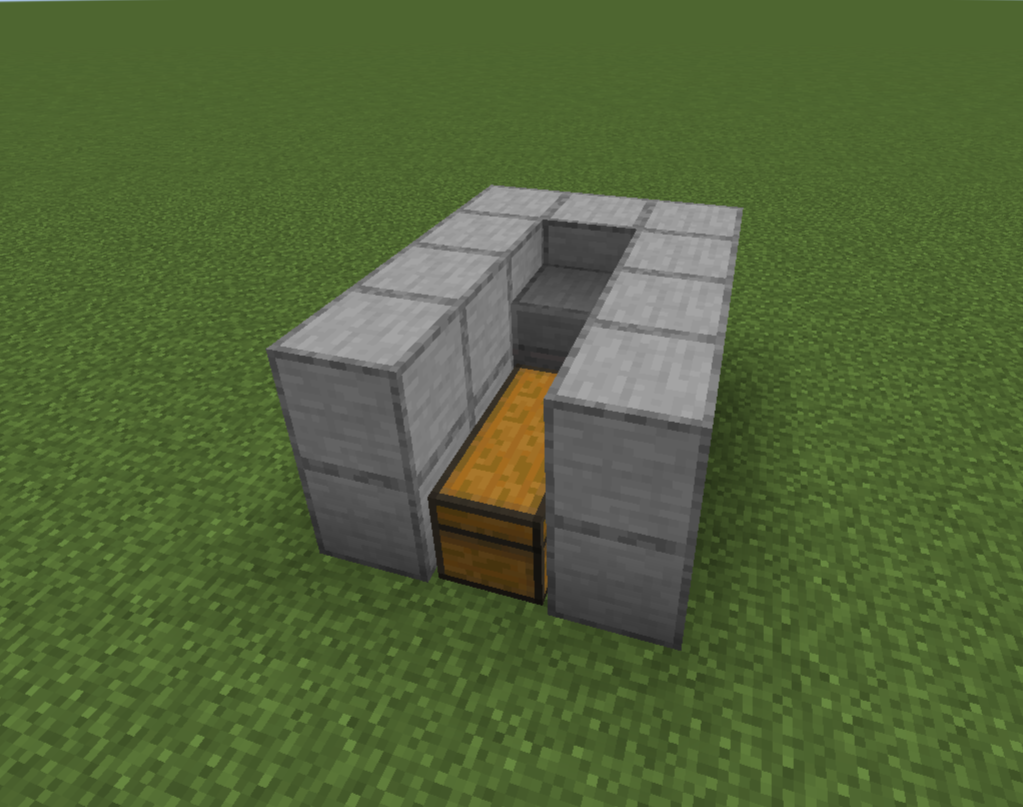
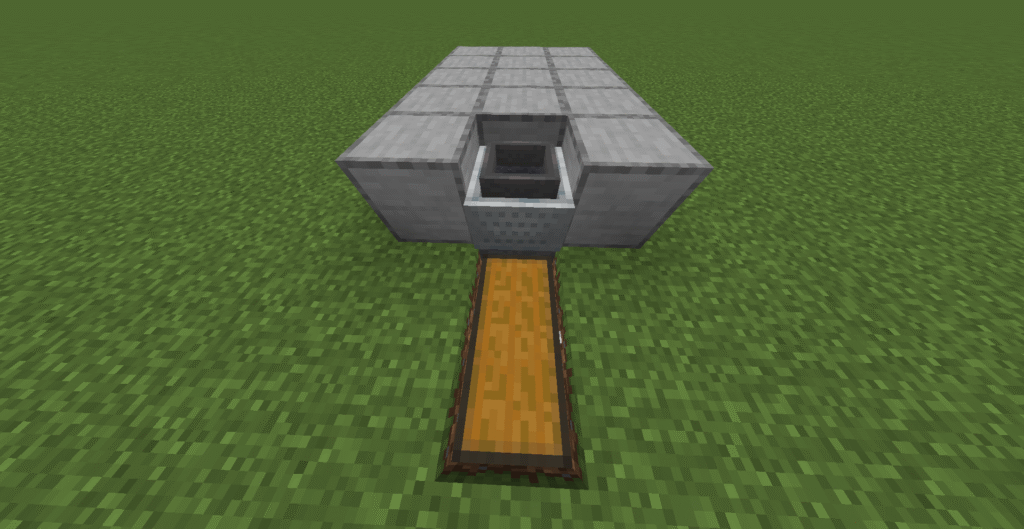
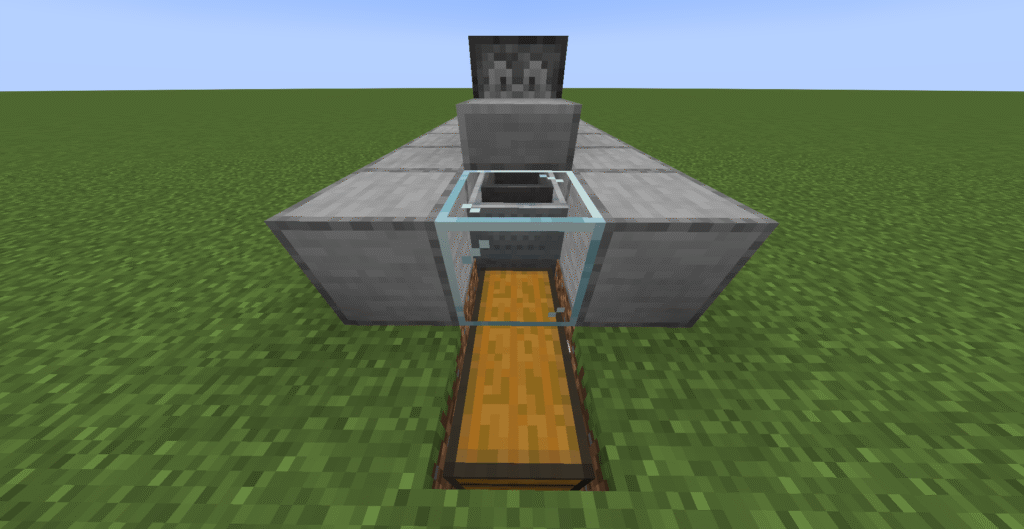
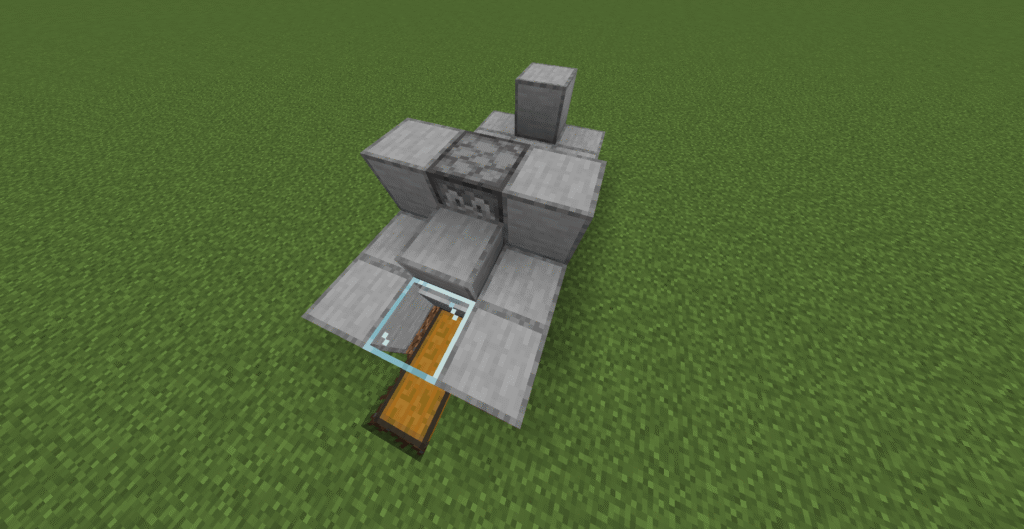
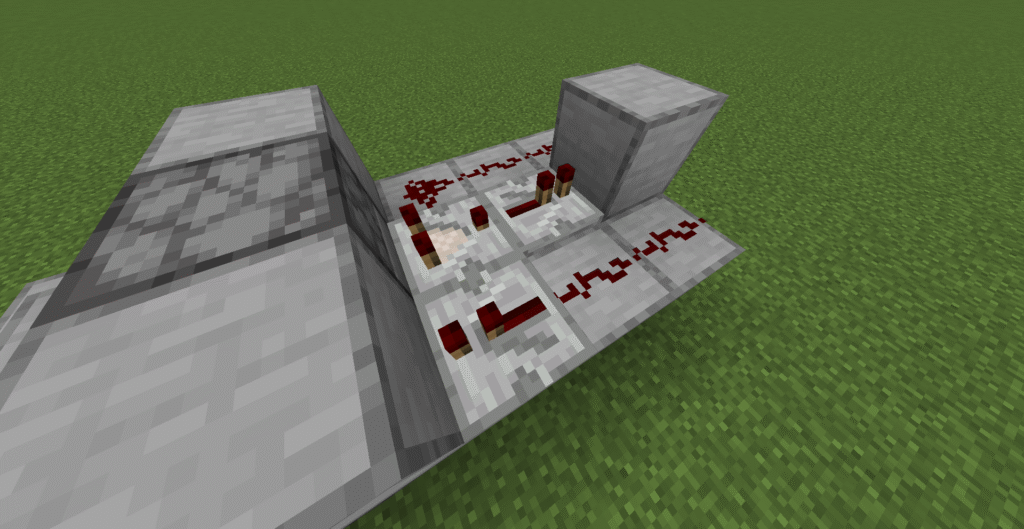
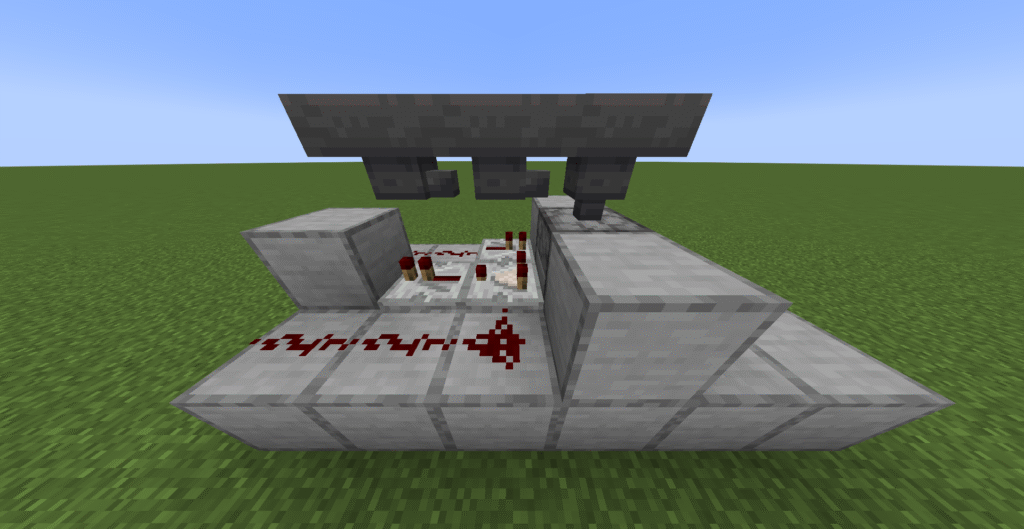
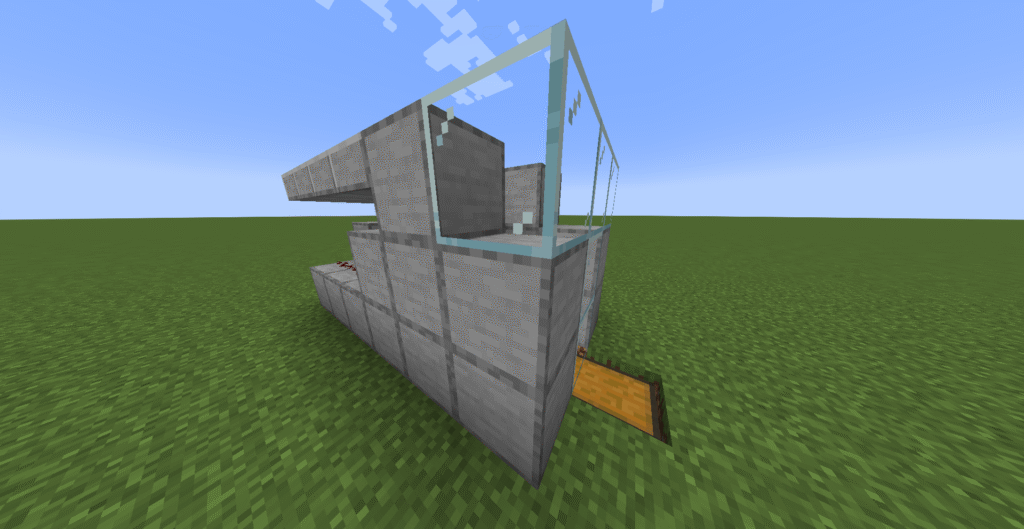
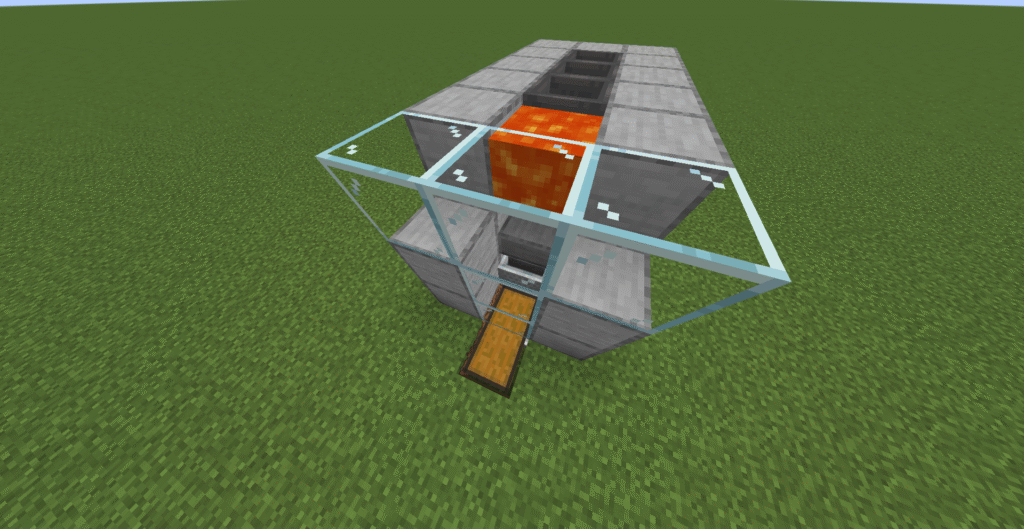
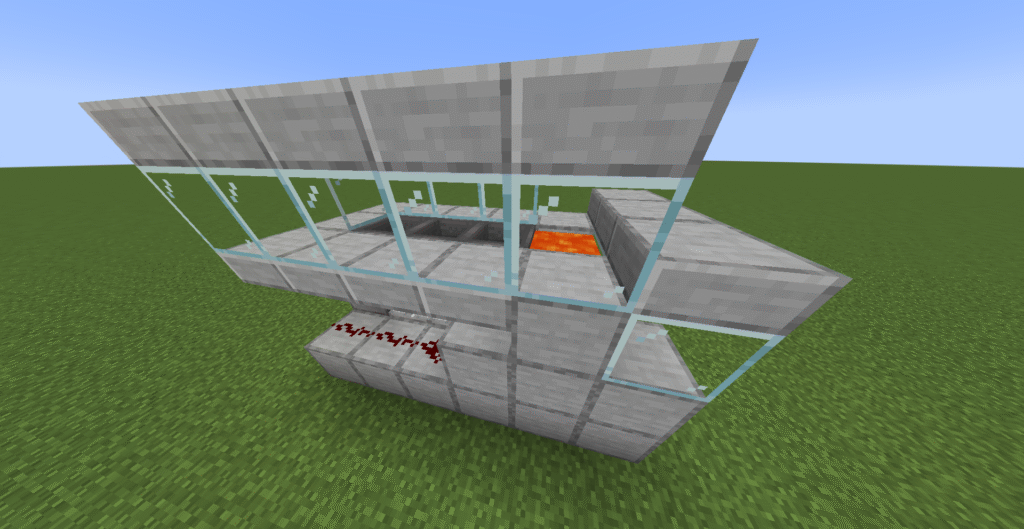
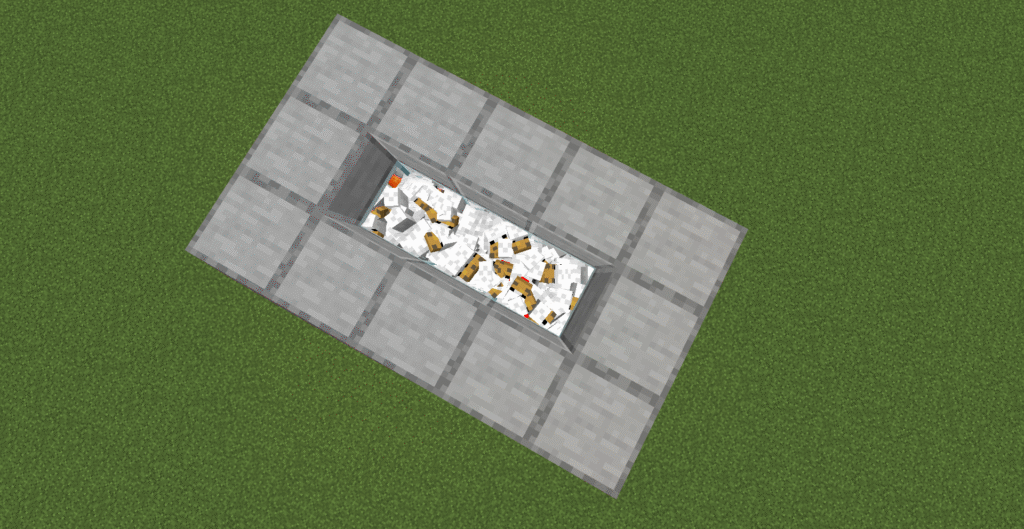
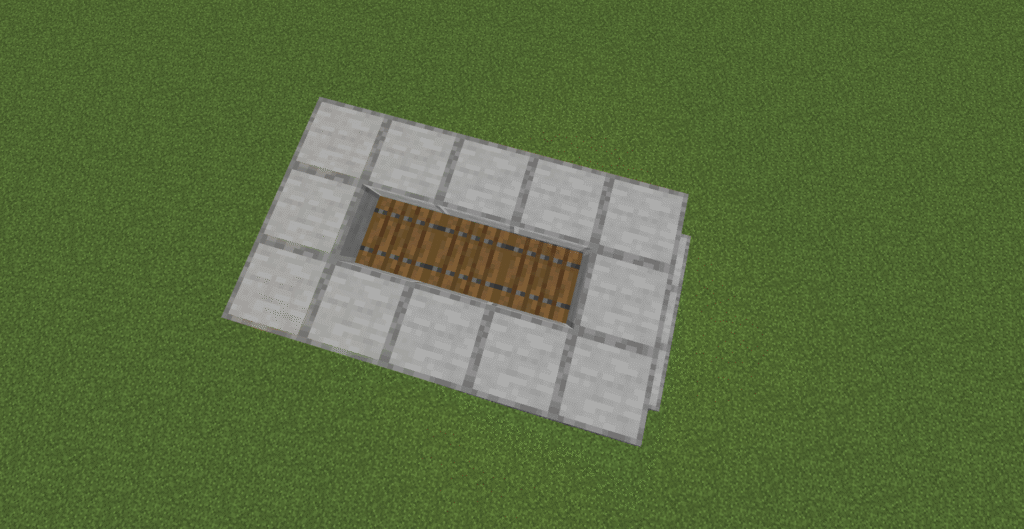
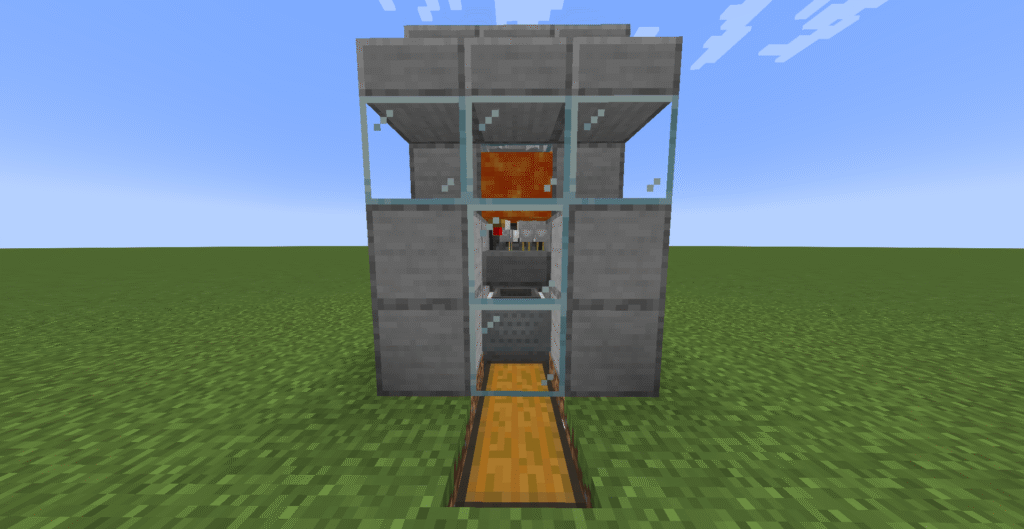
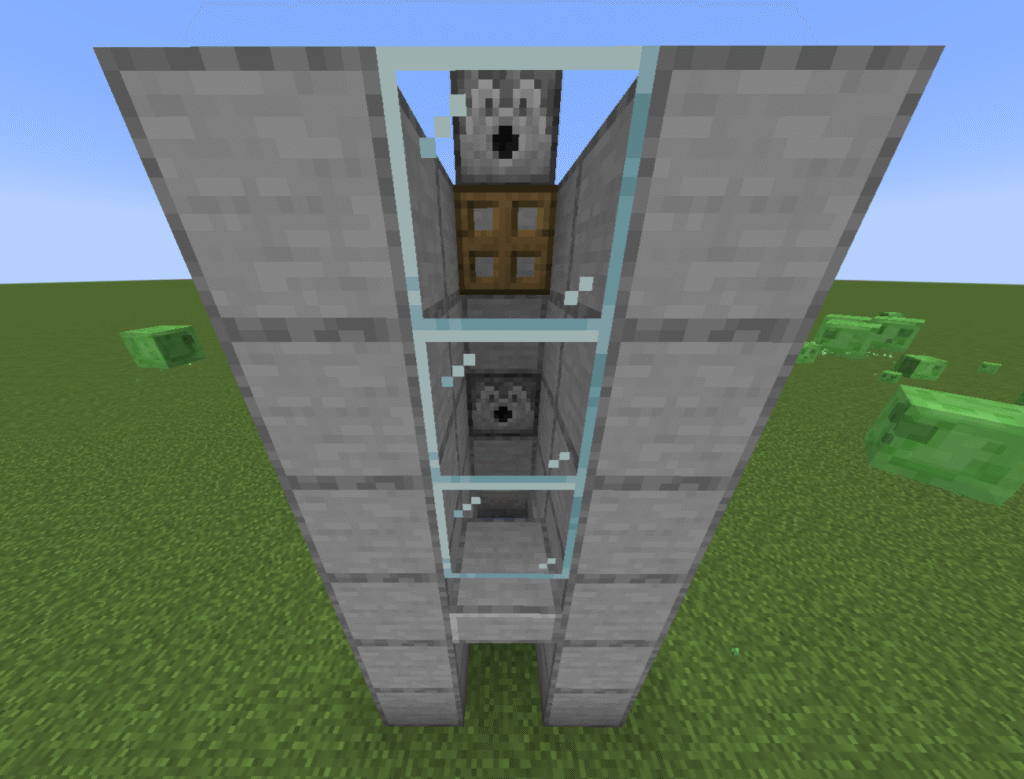
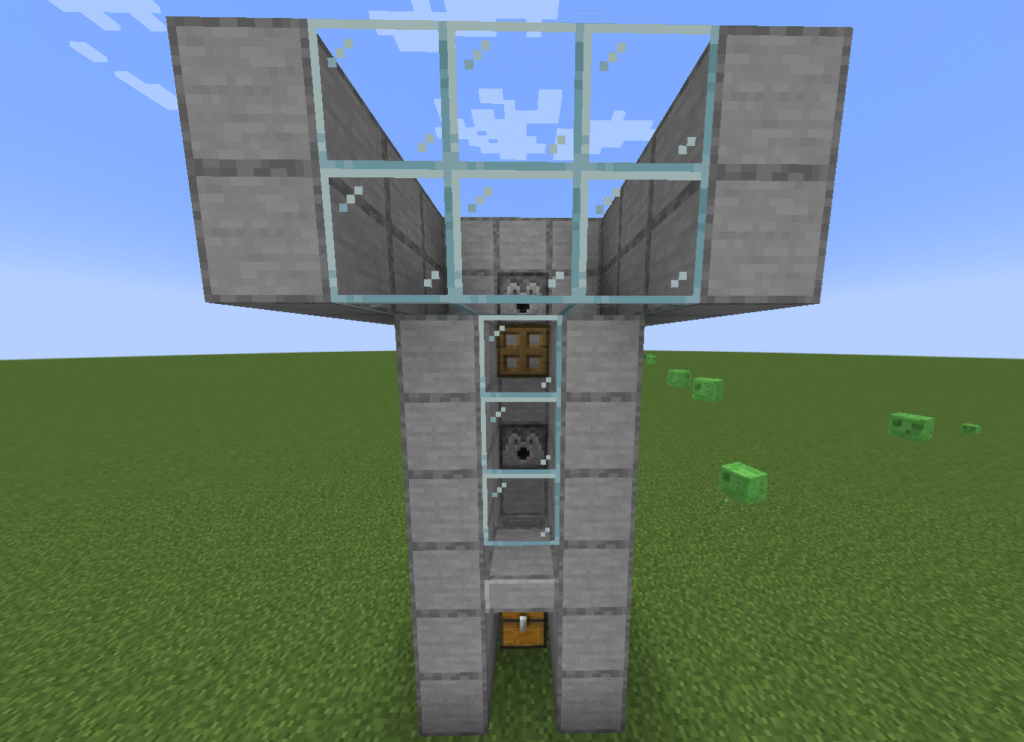
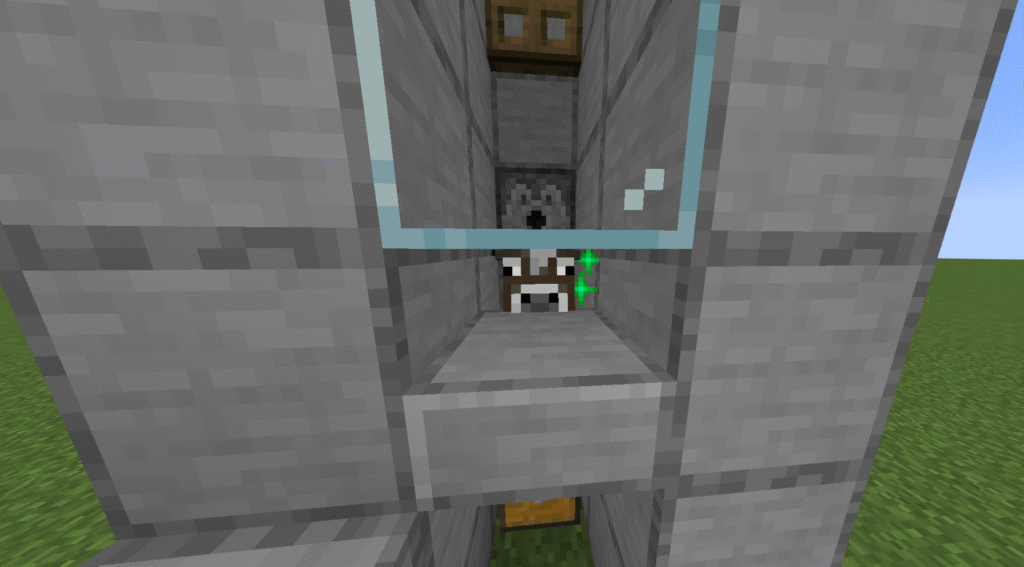
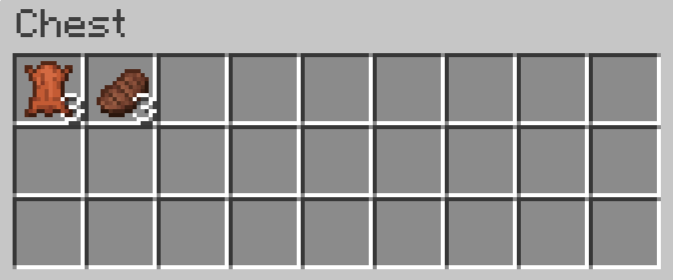
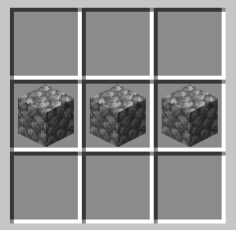
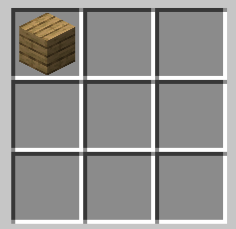
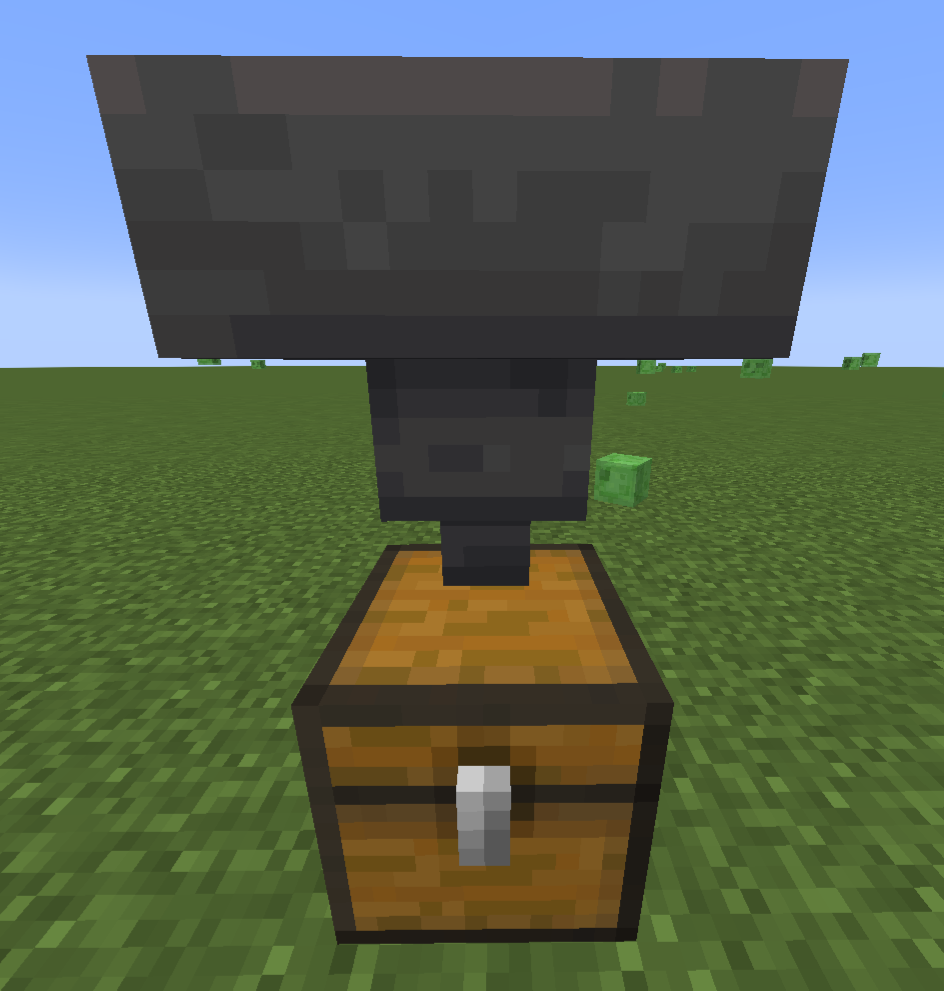
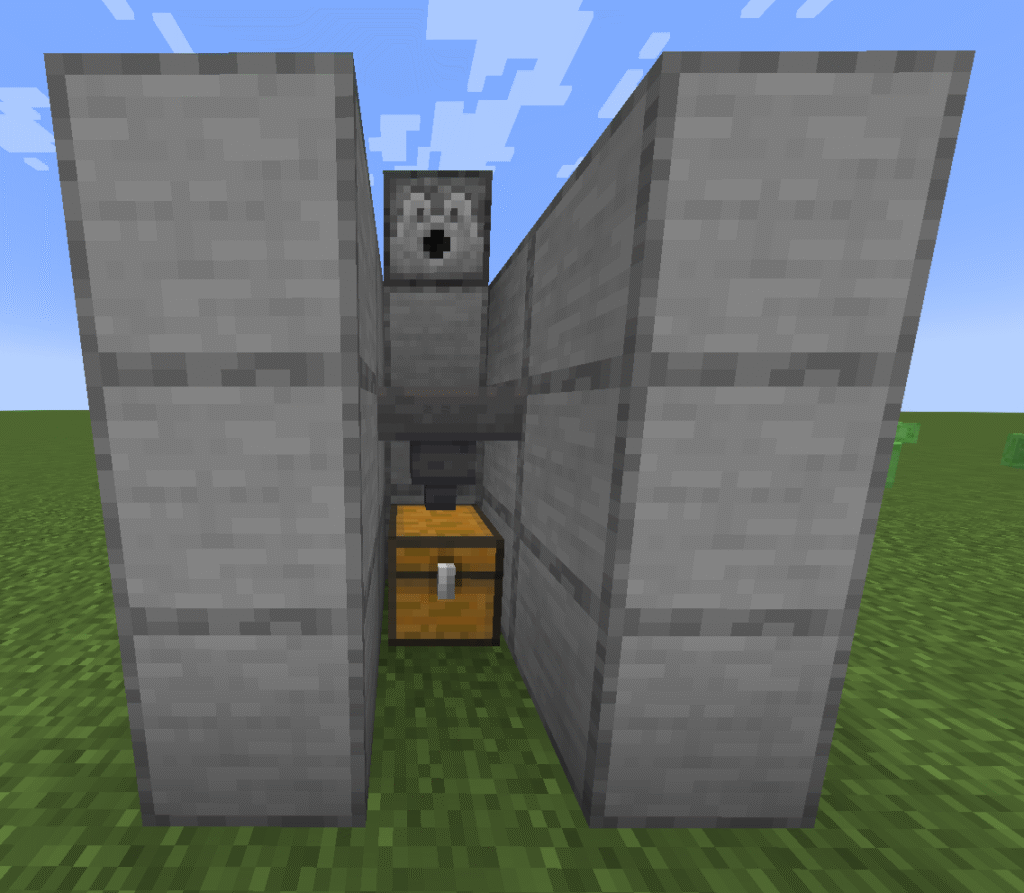
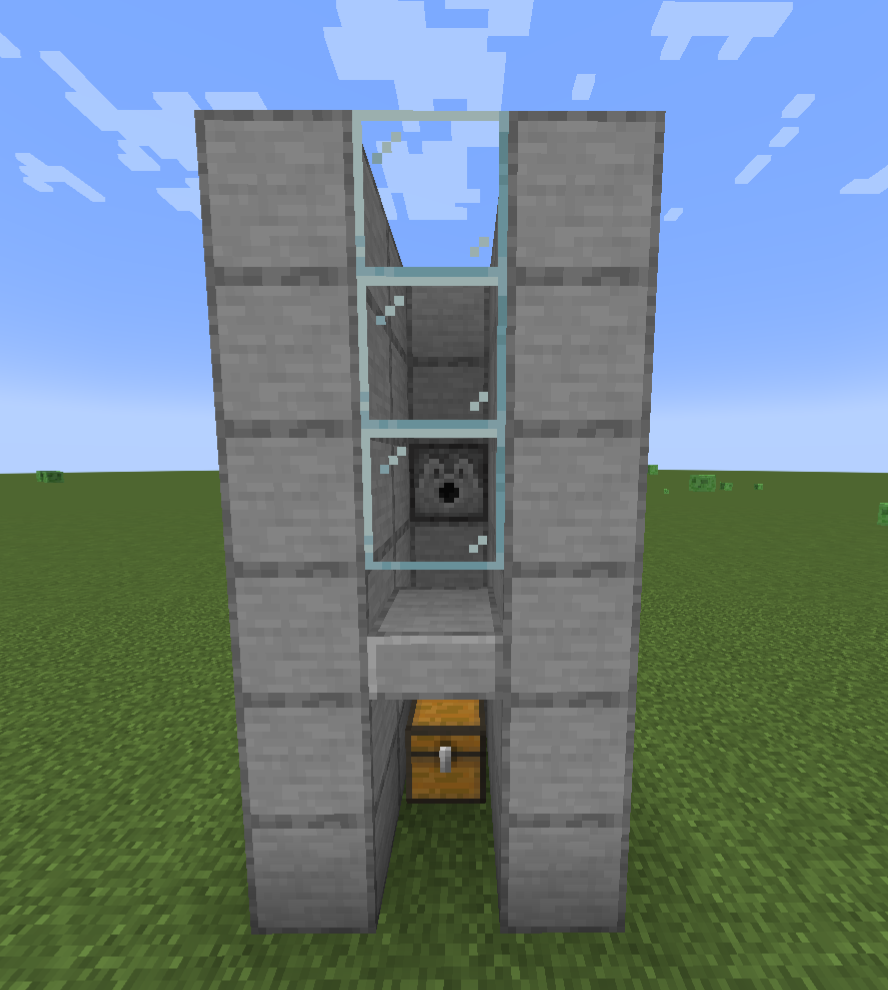
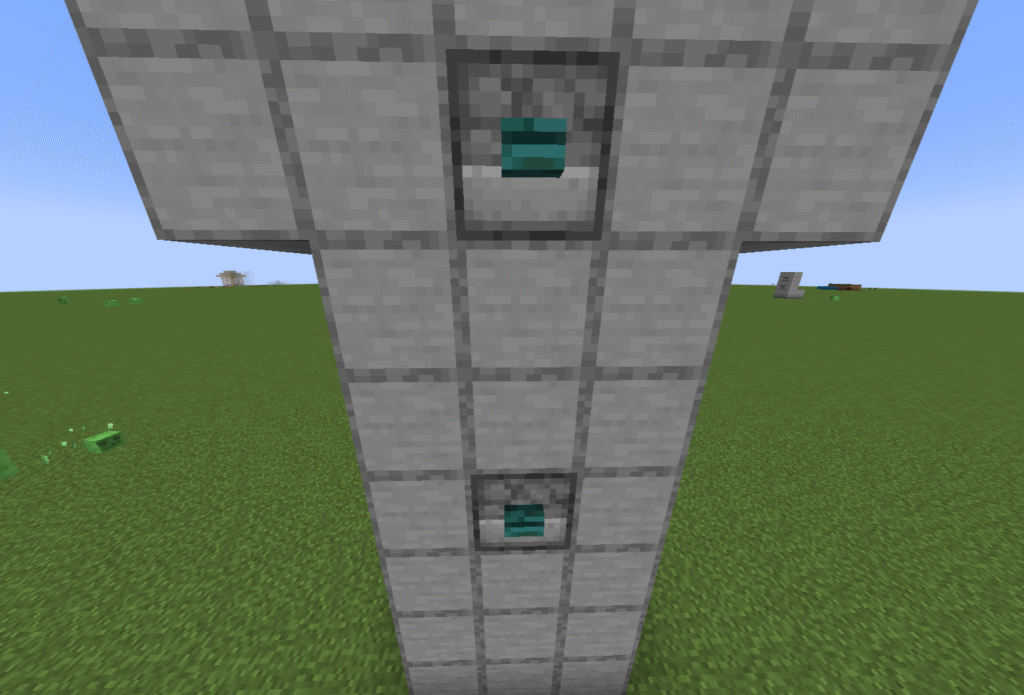
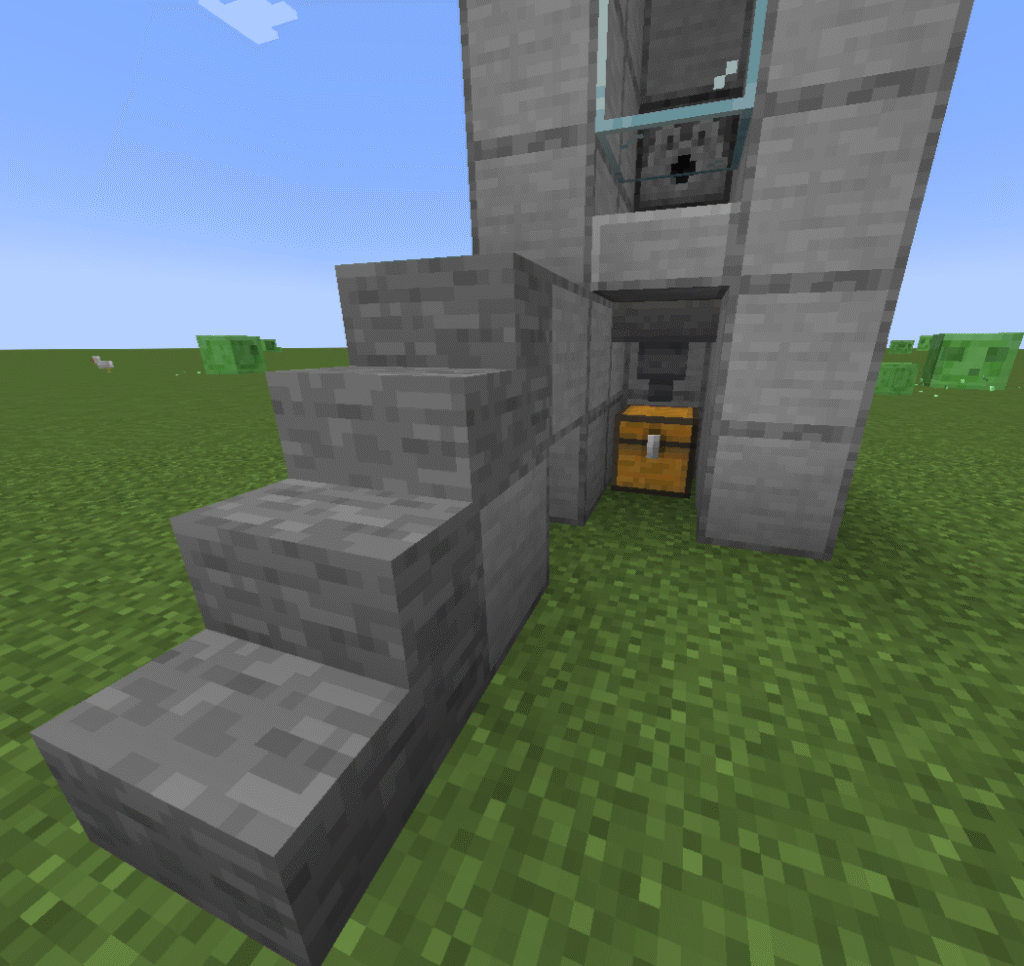
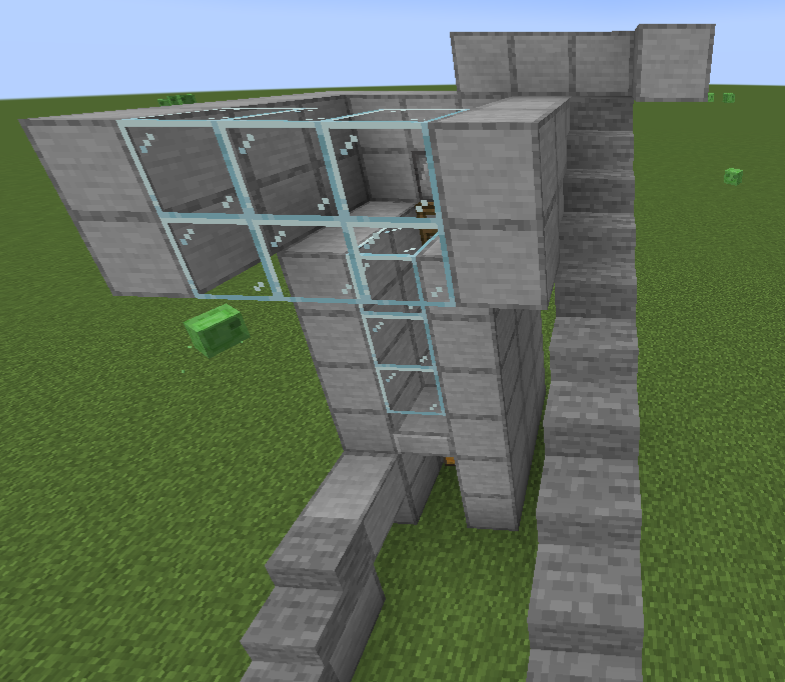
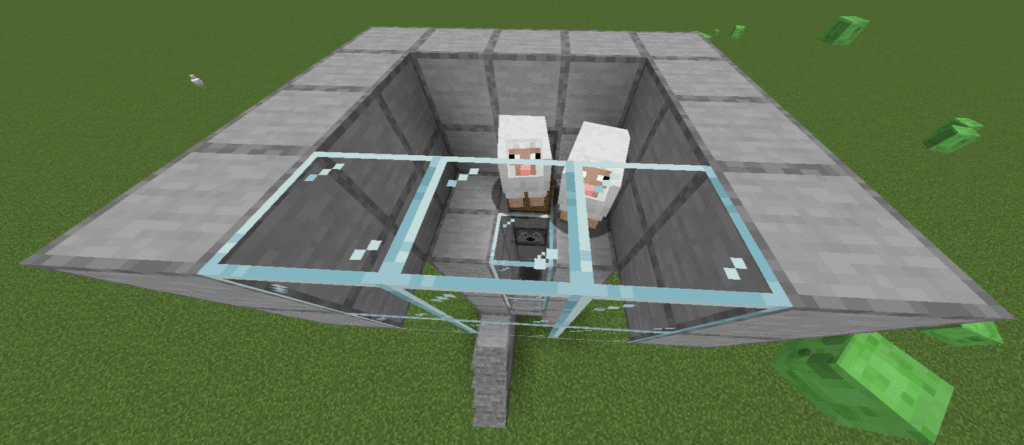
These are the instructions for a Minecraft food XP farm. This is a simple build that just needs some fuel to be placed into a furnace on the bottom. When you place food into the chests on the top this will feed down into the furnace to be cooked, and thus providing the player with XP.
It is essential in Minecraft that you obtain XP. XP can be obtained in a number of ways, some of the most practical ways is to create farms. There are many different farms that can be created to farm XP. XP can also be gained during normal gameplay such as mining minerals and ores and by killing mobs.
XP is used for the following reasons in Minecraft –
Rename equipment – rename equipment using an anvil.
Combine enchantments and equipment – anvils allow the player to combine two broken or used enchanted books, tools, weapons or armour into one fixed item.
Enchanting – use an enchanting table to enchant books, tools, weapons or armour.
Mending – mending is done automatically on any item that has the enchantment of mending. The XP is removed when the mending occurs.
Repairing – repairing is done in the anvil and it depends on what is being repaired on the cost of XP.
Ingredients
These are the ingredients and recipes that you will need to make this Minecraft food XP farm. Please ensure that you have all of the ingredients before you start your build.
Item
Picture
Amount
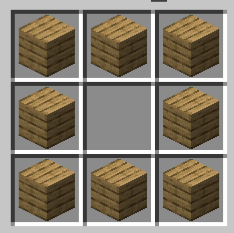
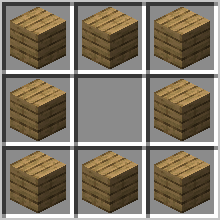
Chest
2
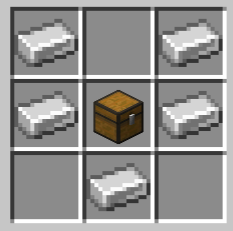
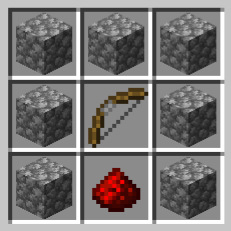
Hopper
2
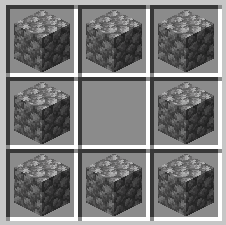
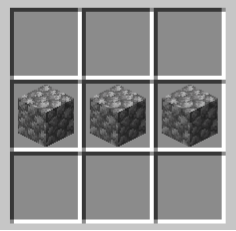
Furnace
2
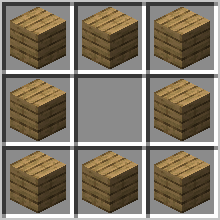
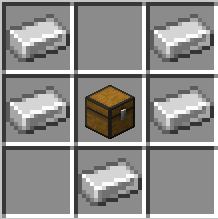
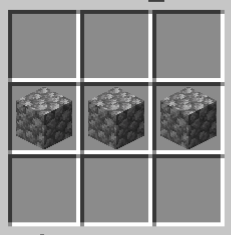
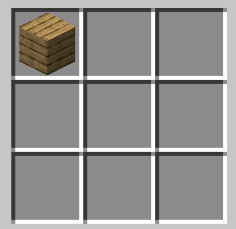
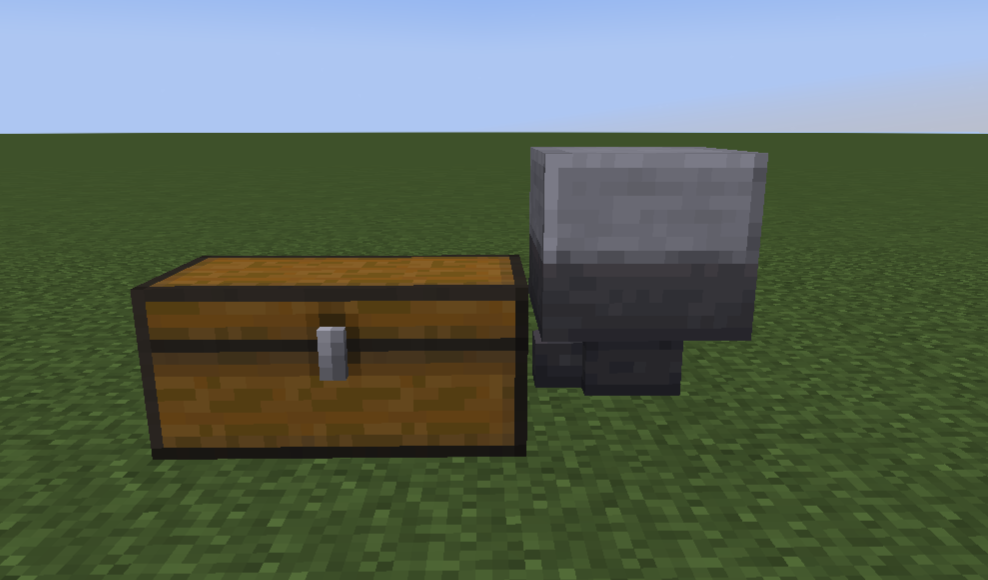
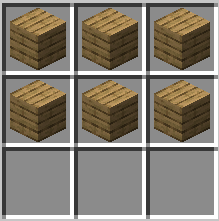
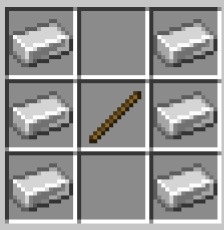
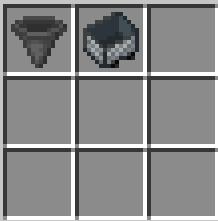
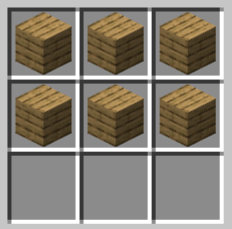
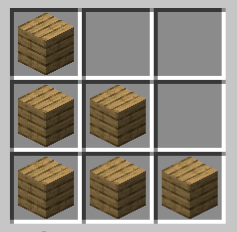
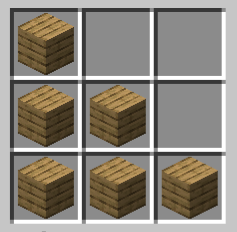
Hopper – for this build you will need to make a chest first.
Build Plans
Here we will explain in detail how to build this Minecraft food XP farm. Please follow the instructions carefully.
First place two or more furnaces down You can use as many as you like.
Place two hoppers leading into furnaces (a hopper needs to be on top of each furnace you have placed).
Place two chests on top of the hoppers (again you would need a chest above each hopper and you will need to crouch to place these).
Place food into the chests in order for it to feed down into the furnaces to be cooked thus giving you XP.
These are instructions for a Minecraft cactus XP farm. It is essential in Minecraft that you obtain have an XP farm for you to obtain XP. XP can be obtained in a number of ways, some of the most practical is to create farms. Their are many different XP farm that can be created to farm XP. XP is also gained during normal gameplay by mining for minerals and ores.
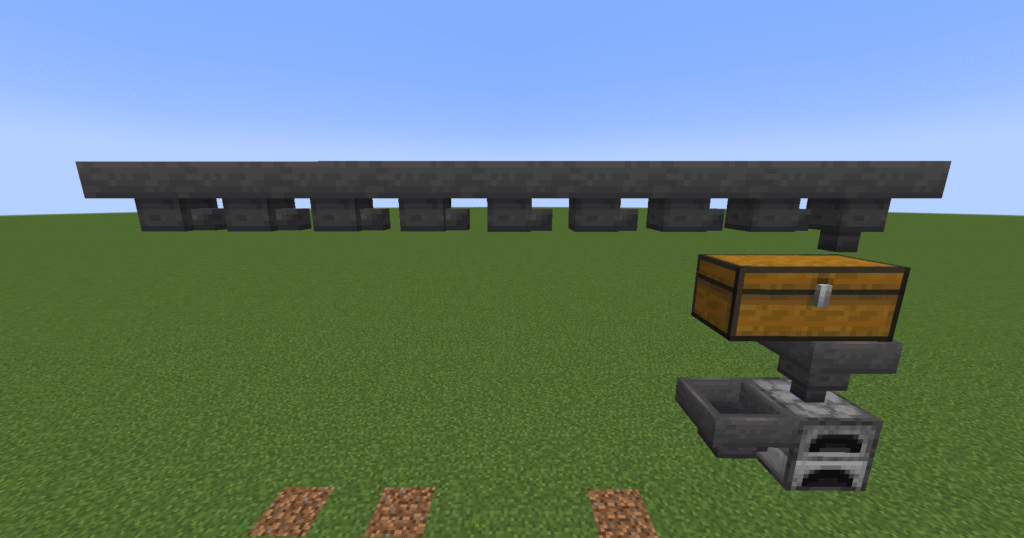
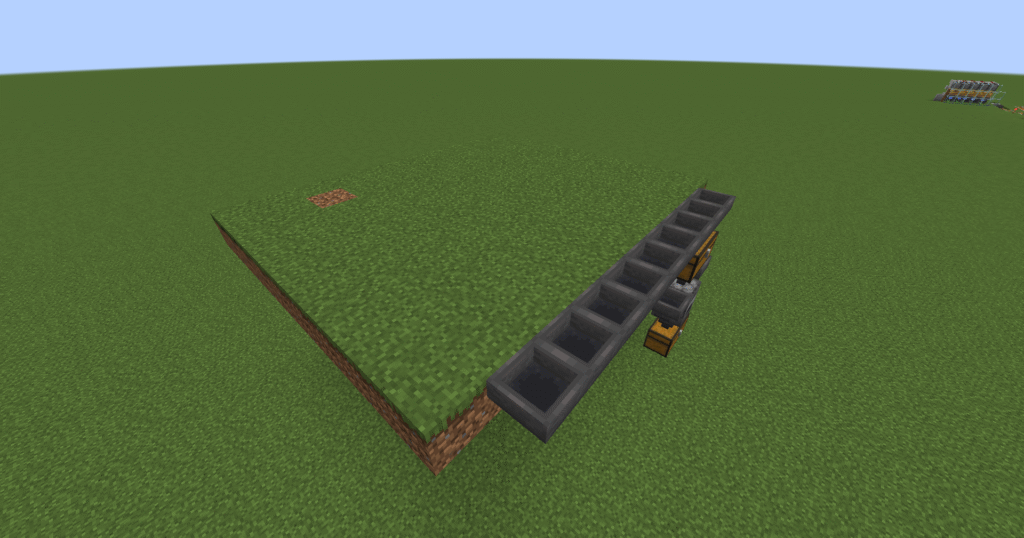
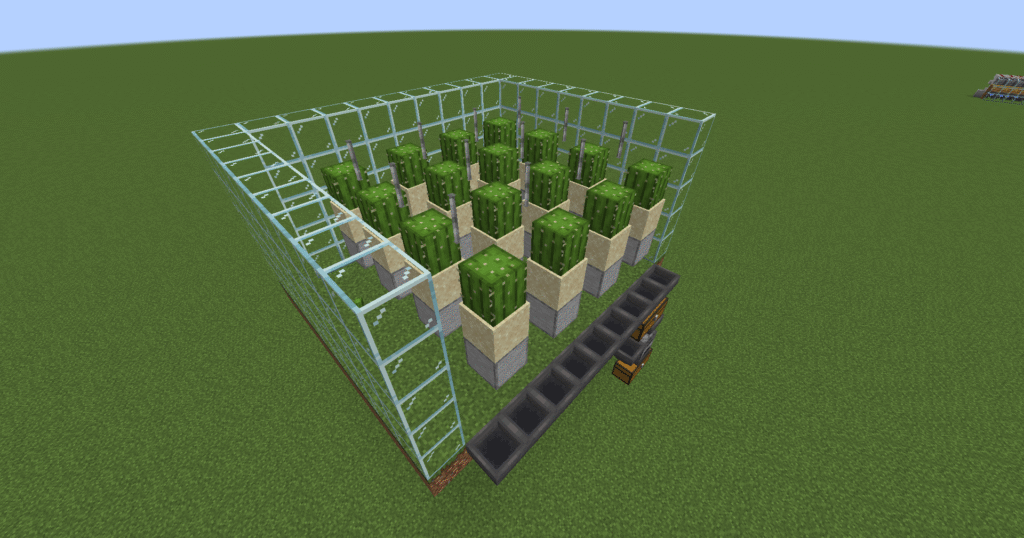
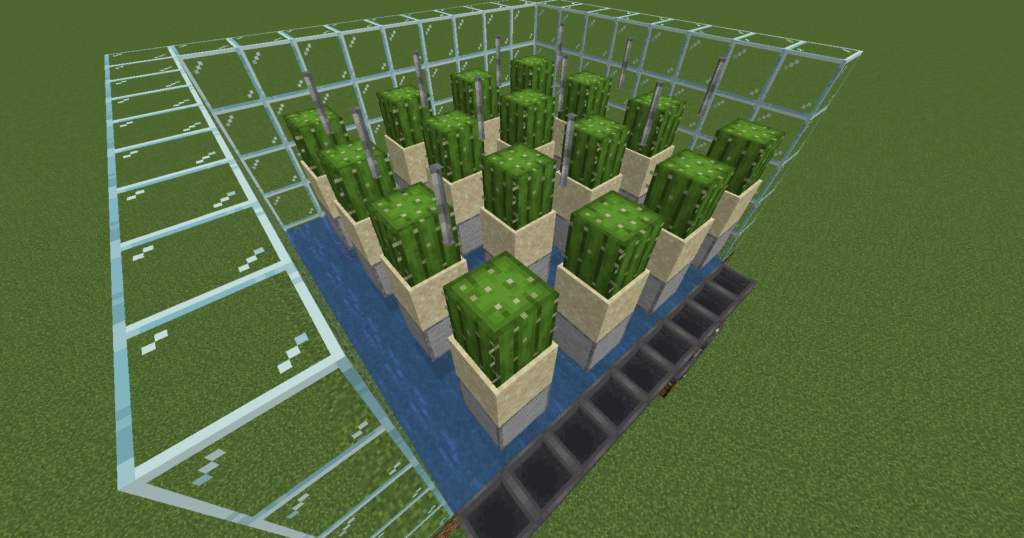
This is a build that will get large amounts of XP. It is quite a complicated build that uses iron bars which will break the cactus when they grow. The cactus will fall into the water which will carry it down to a row of hoppers which will then carry it to a chest and furnace.
What is XP used for –
Rename equipment – items can be renamed in the anvil.
Combine enchantments and equipment – anvils allow the players to combine two used or broken enchanted books or tool/weapons/armour into one fixed item.
Enchanting – use an enchanting table to enchant books, tools, weapons or armour.
Mending – mending is done automatically on any item that has the enchantment of mending. The XP is removed when the mending occurs. The amount depends of what is being mended.
Repairing – repairing is done in the anvil and it depends on what is being repaired on the cost of XP.
Ingredients
These are the ingredients and recipes that you will need to make this Minecraft cactus XP farm. Please ensure that you have all of the ingredients before you start your build.
Item
Picture
Amount
Chest
2
Furnace
1
Hopper
11
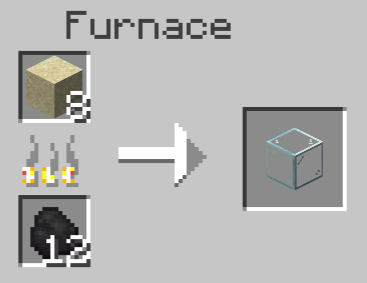
Glass block
135
Dirt block
99
Stone block
16
Sand block
16
Cactus
16
Bucket of water
9
Iron bars
12
Hopper – You will need to craft a chest first.
Build Plans
Here we will explain in detail how to build this Minecraft cactus XP farm. Please follow the instructions carefully.
The first step is place down a furnace.
Next attach two hoppers leading into the furnace. One on the side and one on the top. You will need to crouch in order to attach the hoppers.
Place a double chest on top of the hopper that leads into the chest on the top as shown in the picture. You will need to crouch to do this as well.
Next place a hopper leading into the right hand side of the chest above the furnace.
This will enable you to get dye from the cactus and thus XP.
Lets place 8 more hoppers that lead into the hopper that is already there leading into the chest.
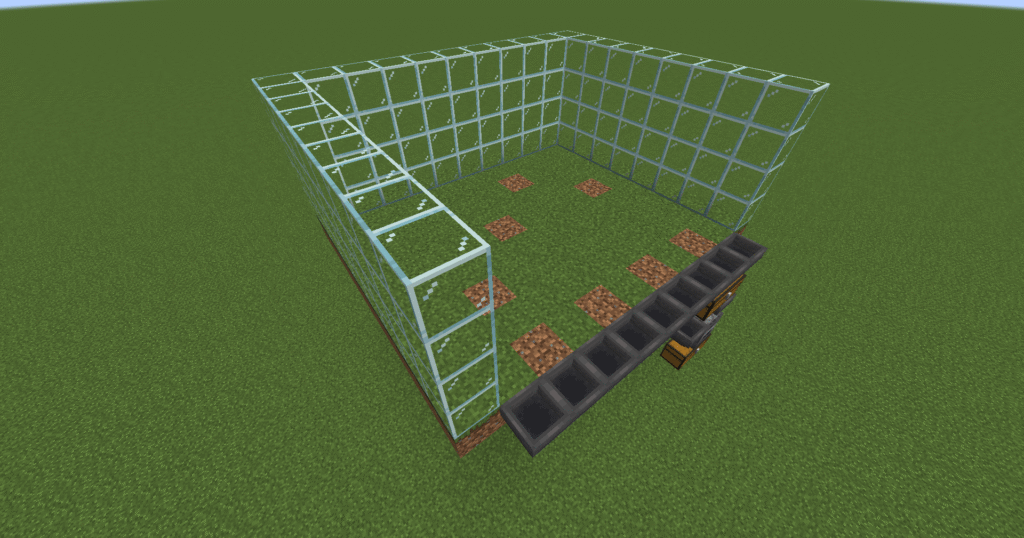
In this step we need to build a 11 x 9 grass block structure that goes out from the line of hoppers.
Ensure that there is one block extra on either side of the hoppers.
Next, lets build a glass wall on the edge of the grass structure on 3 sides leaving the edge by the hoppers free.
This needs to be 4 blocks high.
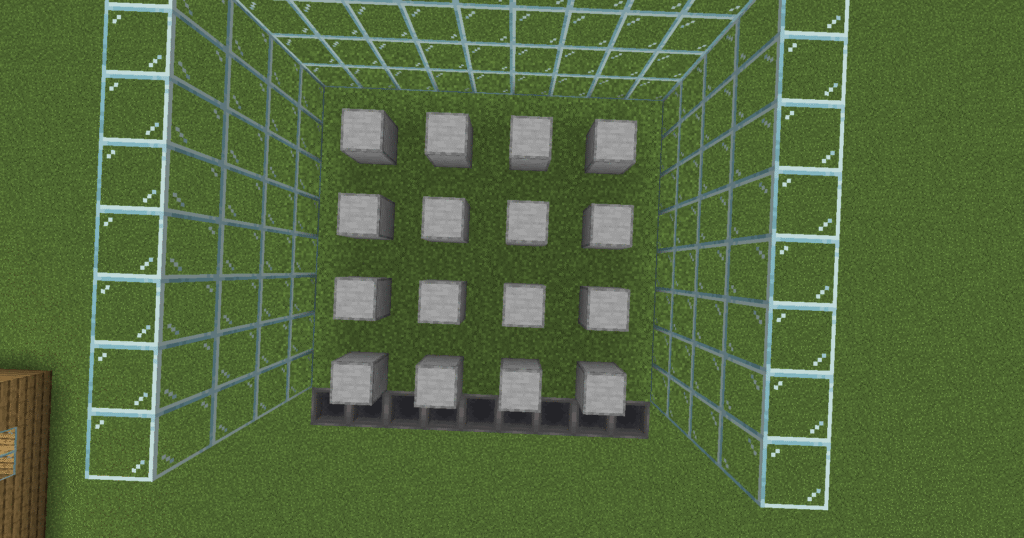
In the next stage we need to place stone blocks down one block above the grass structure so they look like they are floating. This will allow water to flow underneath.
Each stone block should be 1 block away from anything else. Except the front blocks which touch the hoppers.
If you start at the edge of the hoppers it will make it easier to place them in the right place.
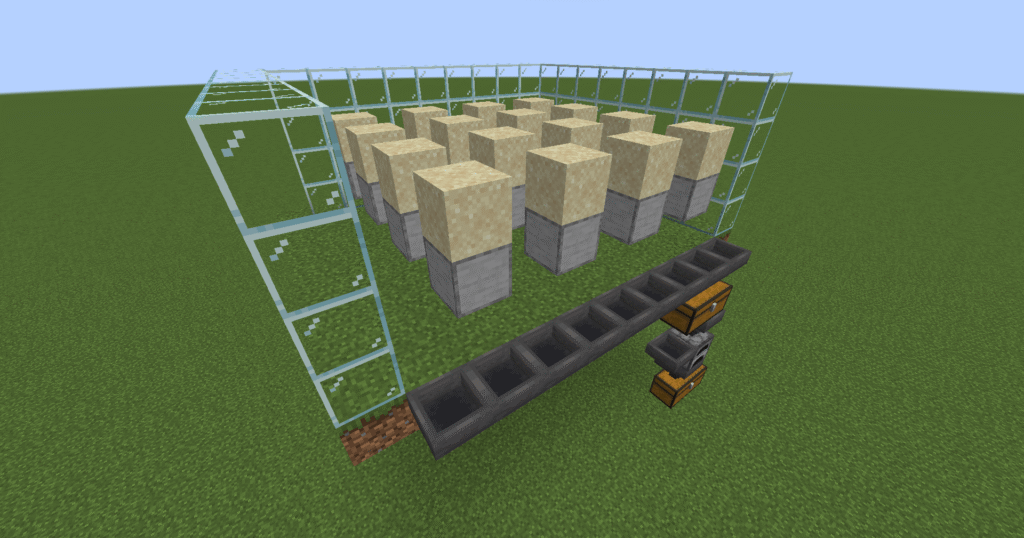
Next we need to place a sand block on top of each of the stone blocks.
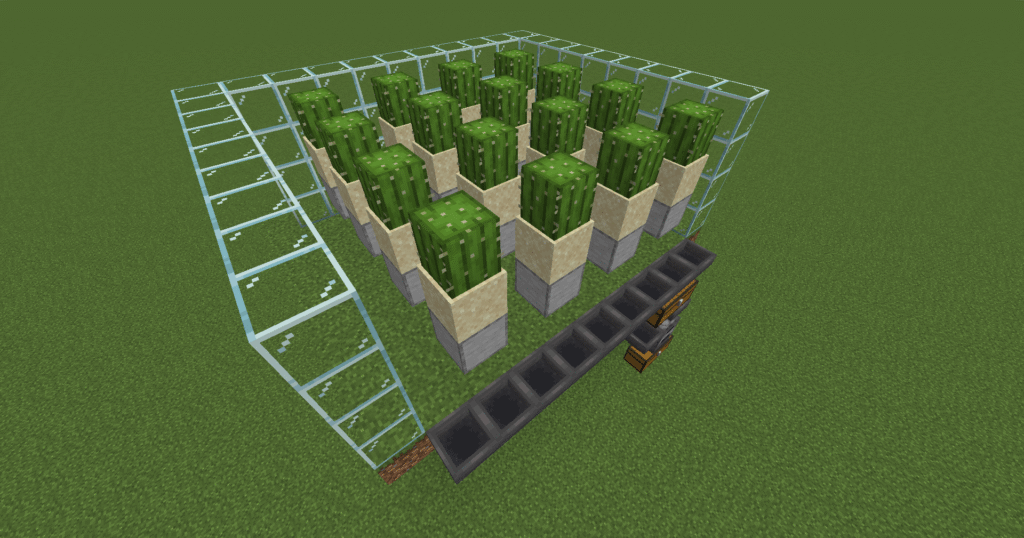
In this section we will place a cactus on top of each of the sand blocks.
This is because cactus will only grow on sand.
Now we need to place iron bars between the cactus and ensure they are in line front to back.
Now place your buckets of water along the bottom at the back of the build so that it flows towards the hoppers.
If this is the correct length the water will stop at the hoppers.
Hints and tips
What can go wrong – water not flowing properly.
If the water is not flowing properly this normally means that you have placed a block that is touching the grass blocks on the bottom of the build. Remove this block and the water will flow normally. When building ensure that you build with a space of 1 block between the grass and the stone blocks.
What can go wrong – Water not reaching hoppers.
If the water is not reaching the hoppers this means that you have placed the hoppers to far away. Remove the blocks on the end so that the water reaches the hoppers.
What can go wrong – cactus not breaking.
When the cactus is not breaking this means that you have your iron bars set up wrong. Please go back and review the section dealing with the iron bars. Ensure that the bars go front to back, in between the cacti not side to side.
What can go wrong – Cactus not changing to dye.
This will happen if you run out of fuel for your furnace. Please ensure that the furnace is stocked with fuel at all times.
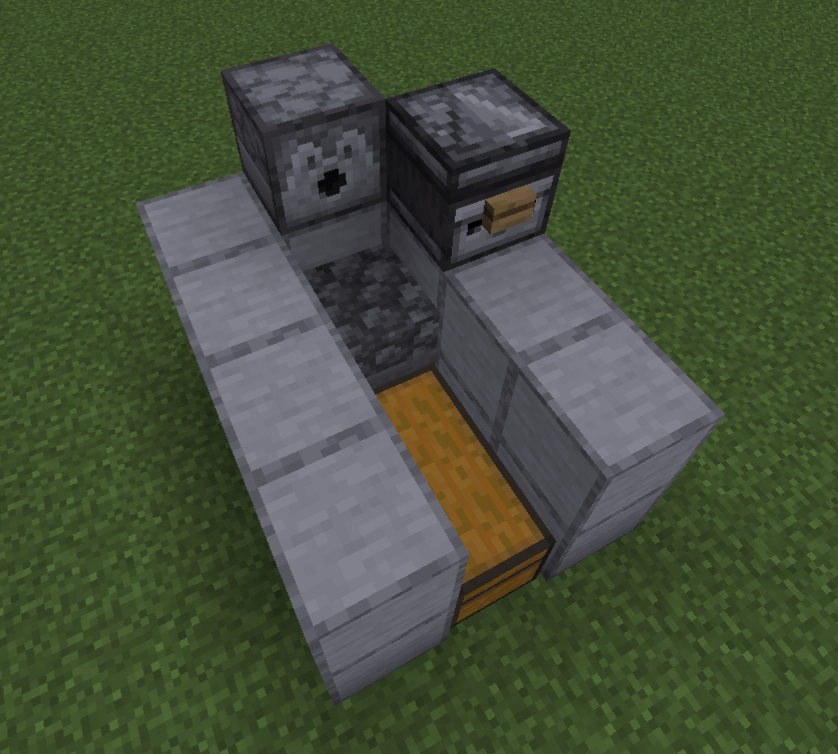
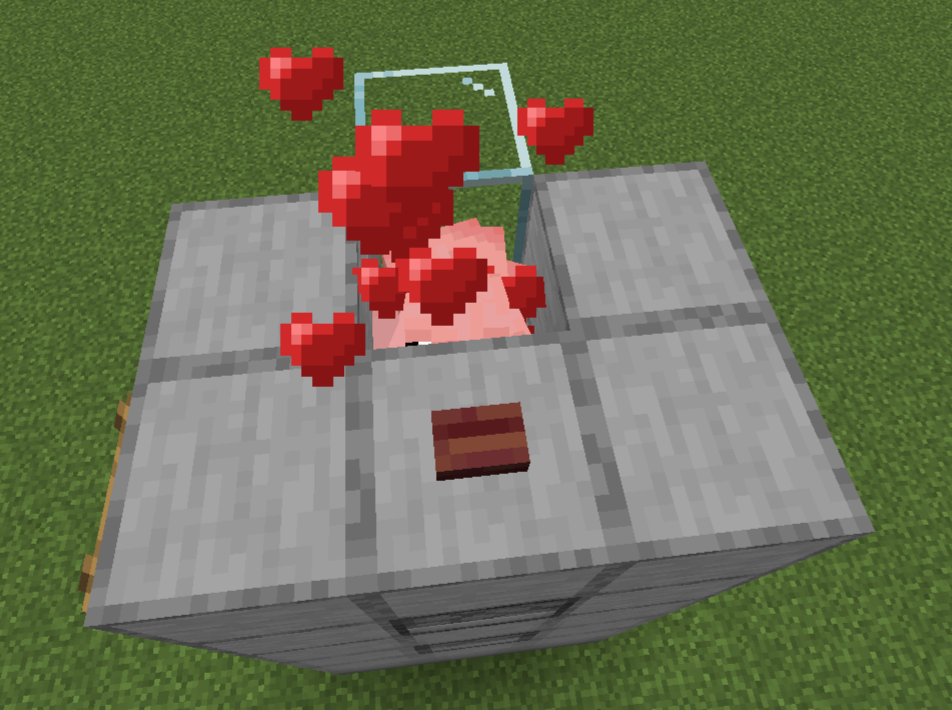
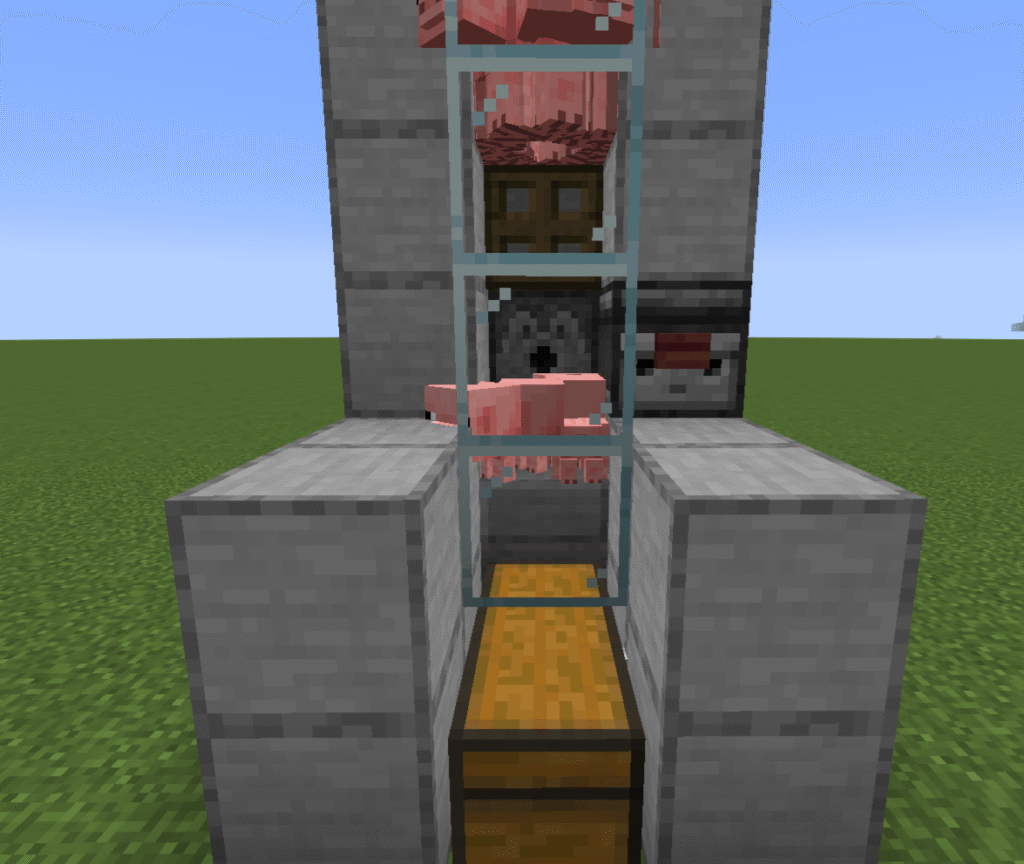
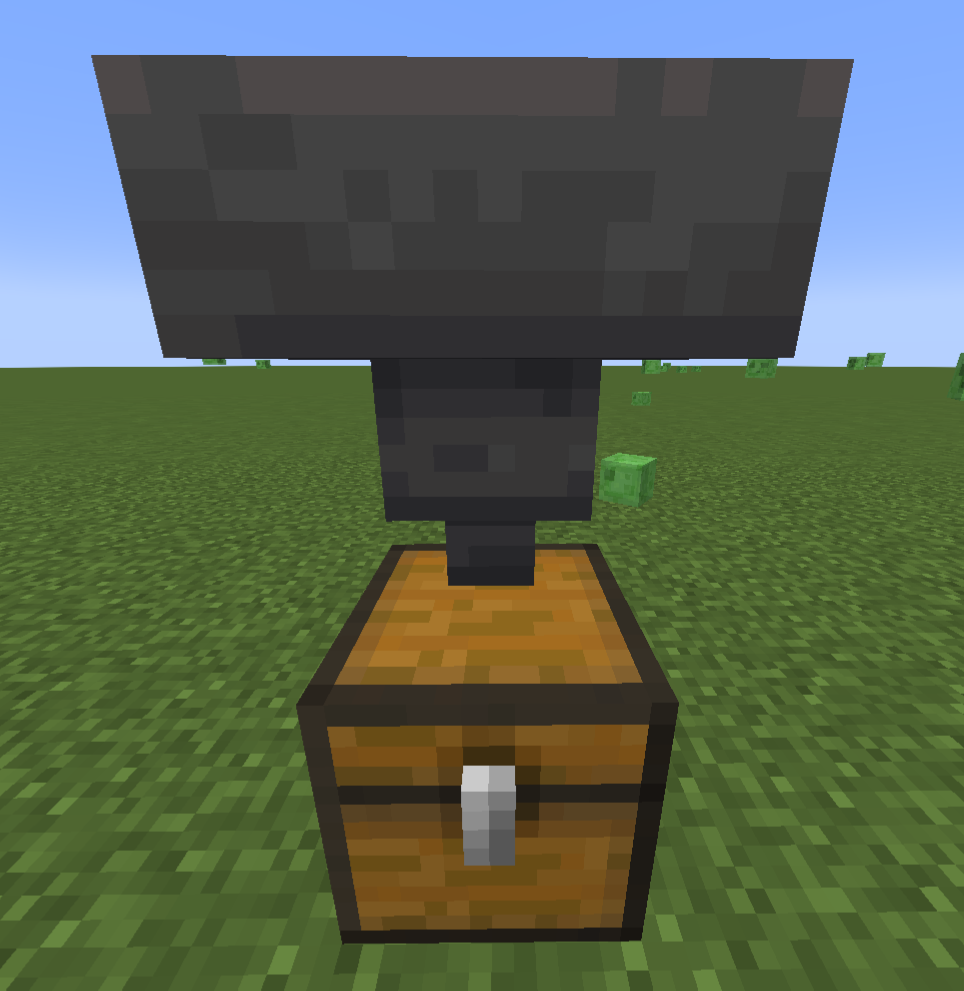
These are the instructions for a Minecraft semi auto pig farm. This is a very simple build for an automatic pig farm. This is an ideal early build. It allows you to get food without waiting for it to cook in a furnace in Minecraft.
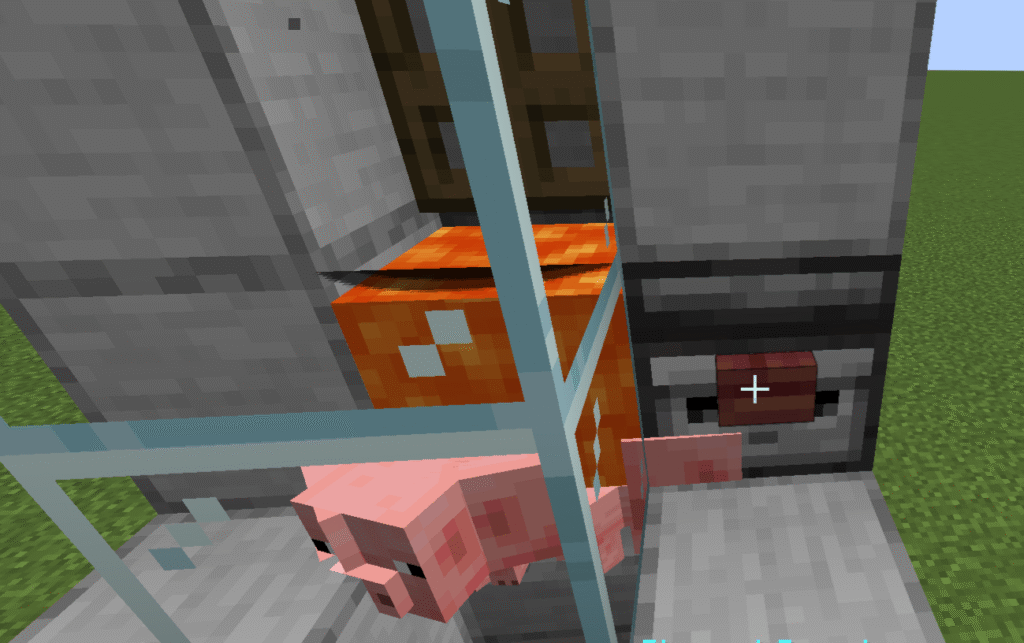
This works by breeding pigs in the top section of the build. When the pigs breed the baby pigs will fall through a trapdoor and then when they are fully grown you can press a button to release the lava to kill and cook the pigs. Ensure that the bb are fully grown before you push the lava button otherwise you will not receive anything.
Food – cooked pork is an ideal food source.
Breeding – pork can be used to breed and heal wolves.
Growth – pork can be used to speed up wolf puppy growth.
Trade – pork can be traded with butchers.
Pork is mainly gained from pigs in Minecraft. However it can sometimes found in either
A generic village chest
A hoglin stable chest in a Bastian Remnant in the Nether.
Ingredients
These are the ingredients and recipes that you will need to make this Minecraft semi auto pig farm. Please ensure that you have all of the ingredients before you start your build.
Item
Recipe/Image
Amount
Chest
2
Hopper
1
Stone slab
1
Glass block
5
Observer
1
Dispenser
2
Stone block
29
Ladder
6
Button
2
Bucket of lava
1
Bucket of water
1
Pigs
2 minimum
Carrot
2 minimum
Hopper – to create a hopper you must first create a chest.
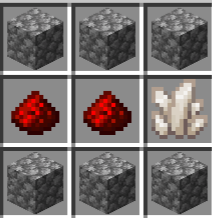
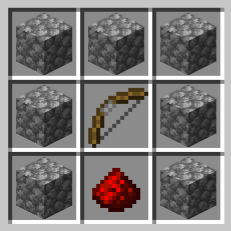
Dispenser – to create a dispenser you must first create a a bow.
Build Plans
Here we will explain in detail how to build a Minecraft semi auto pig farm in Minecraft. Please follow the instructions carefully.
In the first section place a double chest down.
Attach a hopper to the side of the chest, you will need to crouch to do this.
Place a slab on top of the hopper, you will also need to crouch to place the slab.
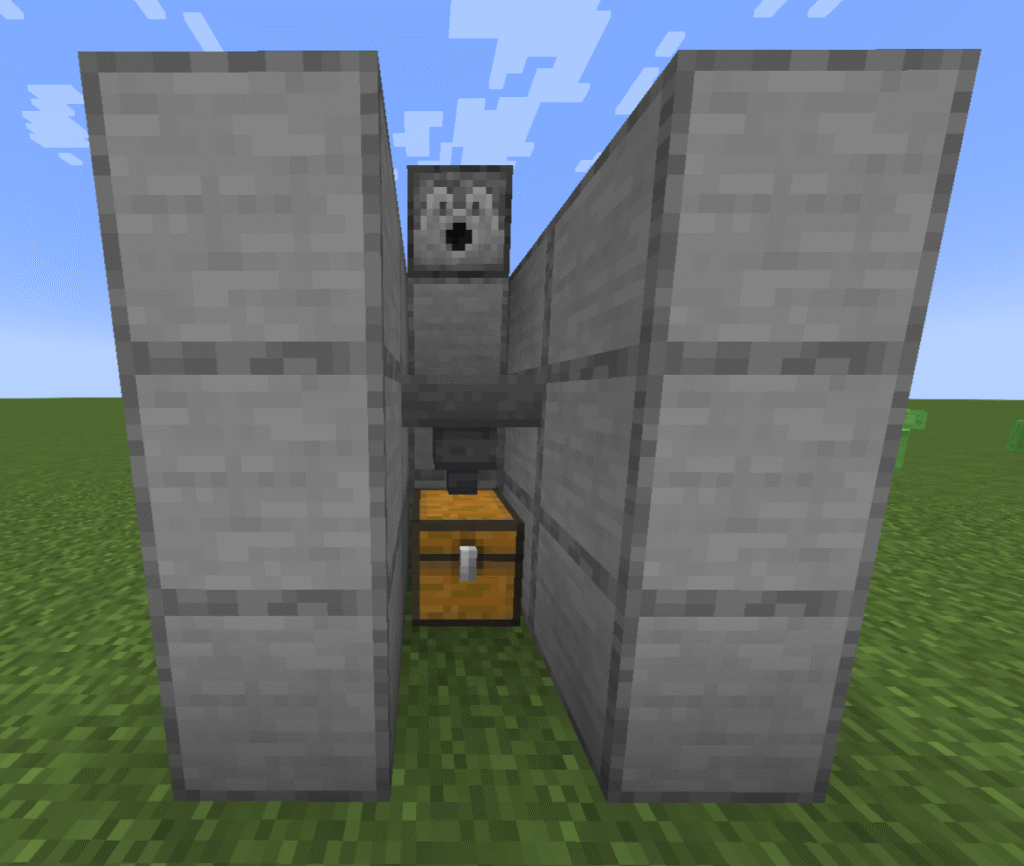
Place blocks to surround the chest and hopper leaving a gap at one end by the chest as shown in the picture.
Build a second layer of blocks on top of the first.
Place a dispenser on top of the middle block behind the hopper.
Place an observer on the block to the right of the slab as shown in the picture.
Place a button on the front of the observer.
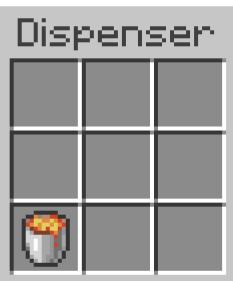
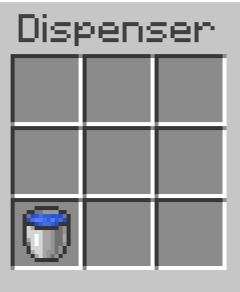
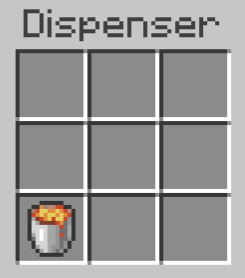
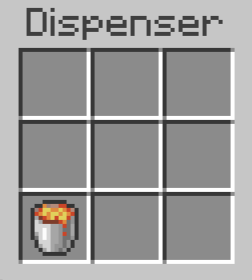
Place a bucket of lava in to the dispenser.
Place stone blocks either side of the dispenser and behind the observer.
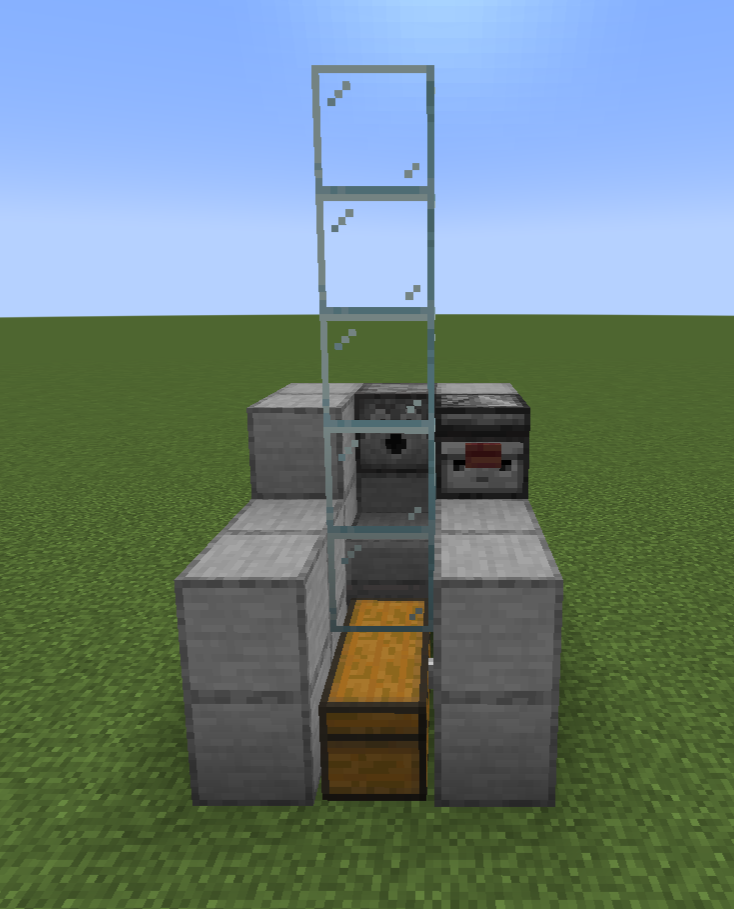
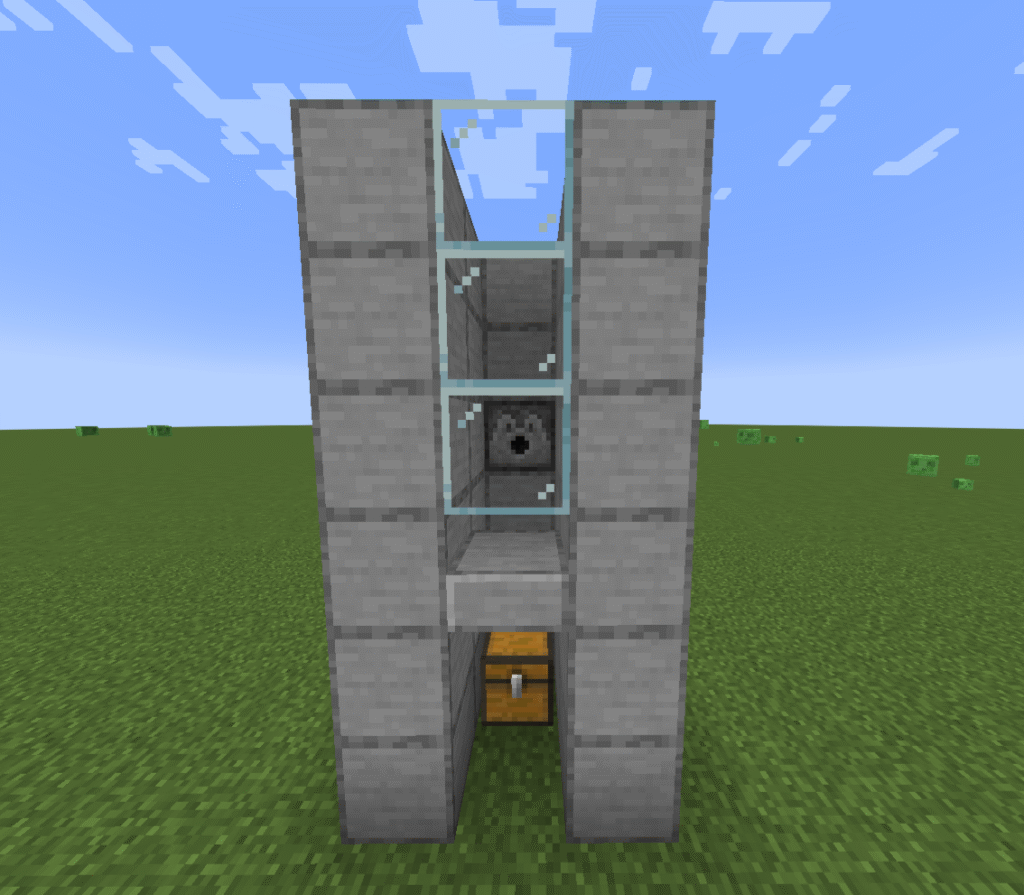
Place 5 glass blocks on top of the first half of the chest closest to the hopper (just in front of the slab) leaving a gap above the slab.
Build up 3 more stone block levels in line with the observer.
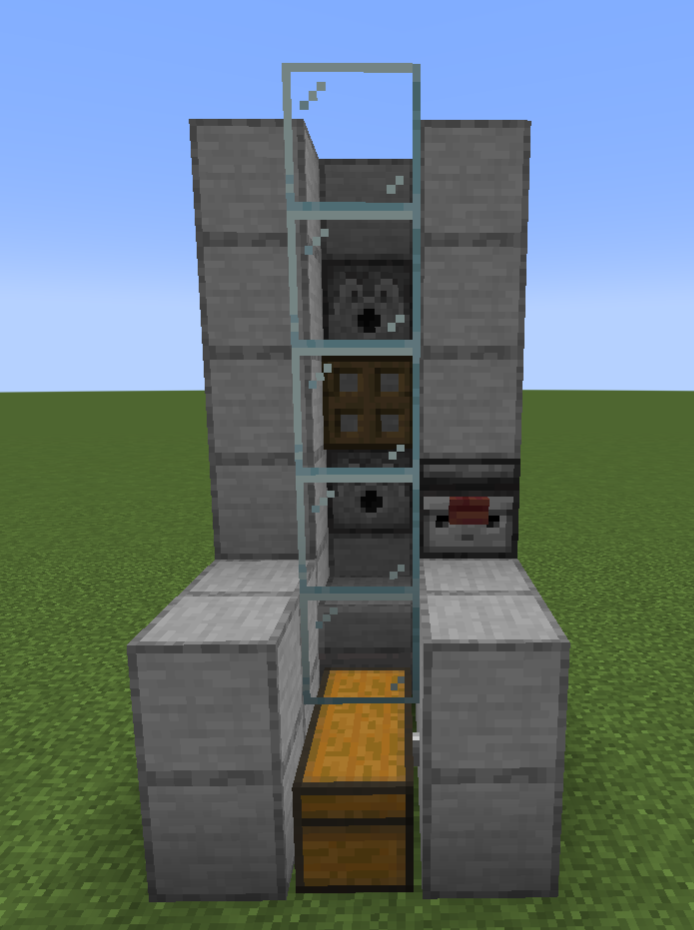
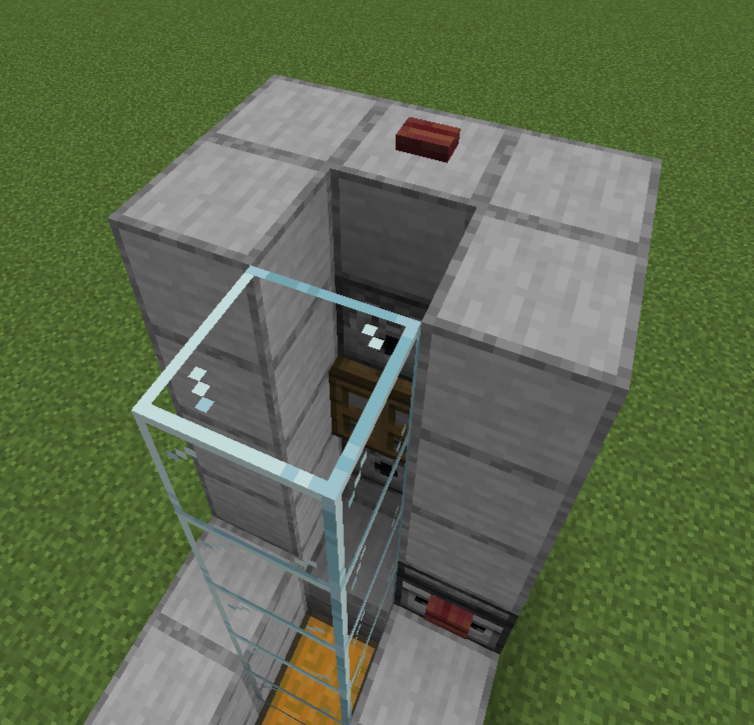
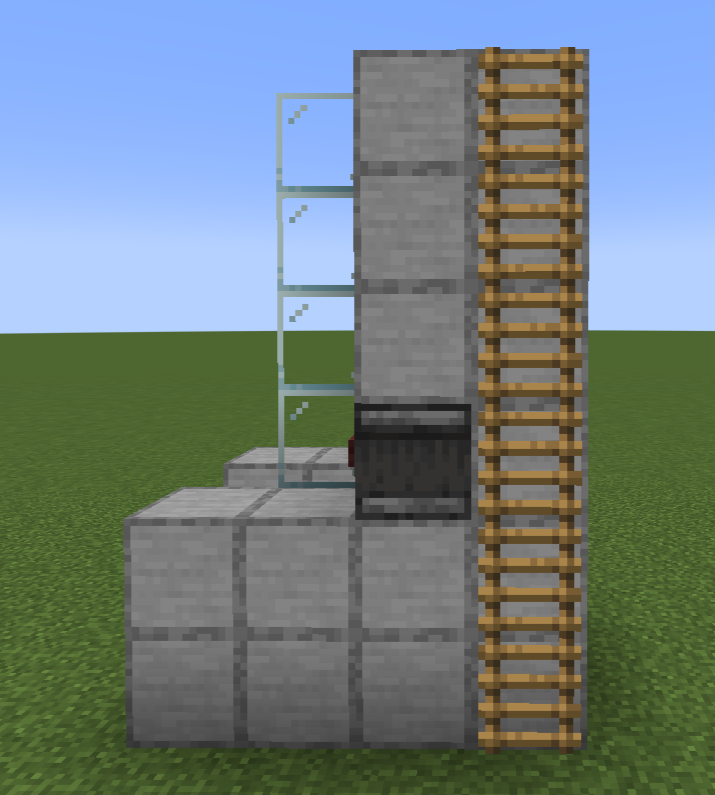
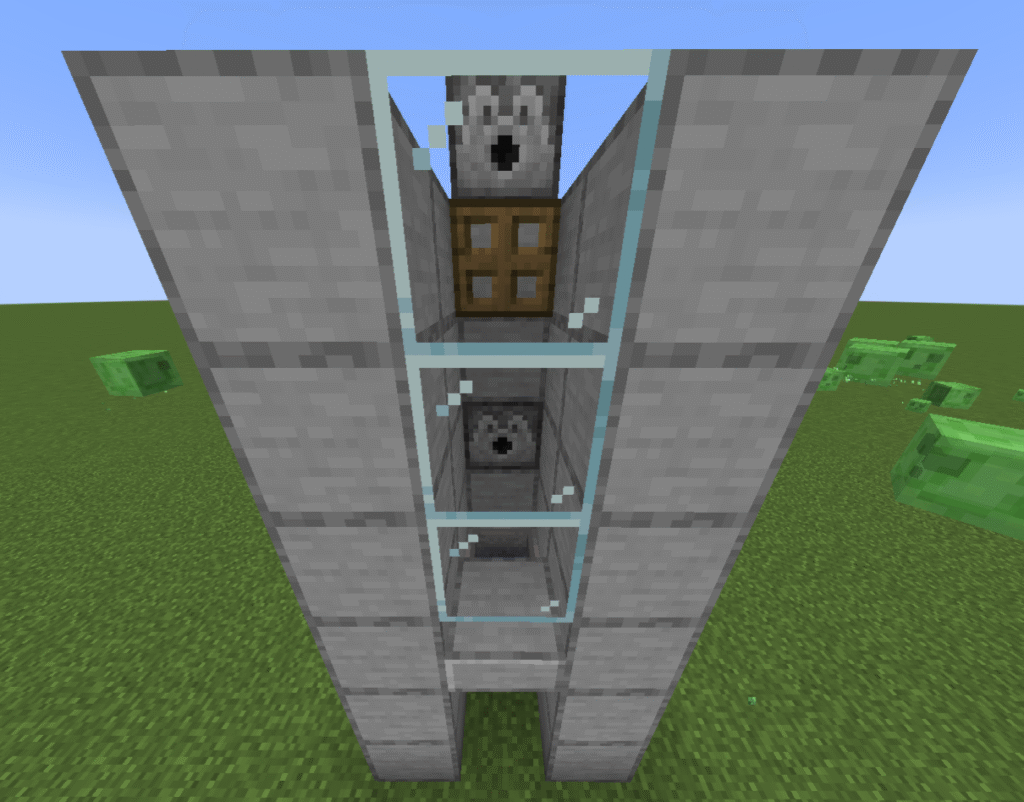
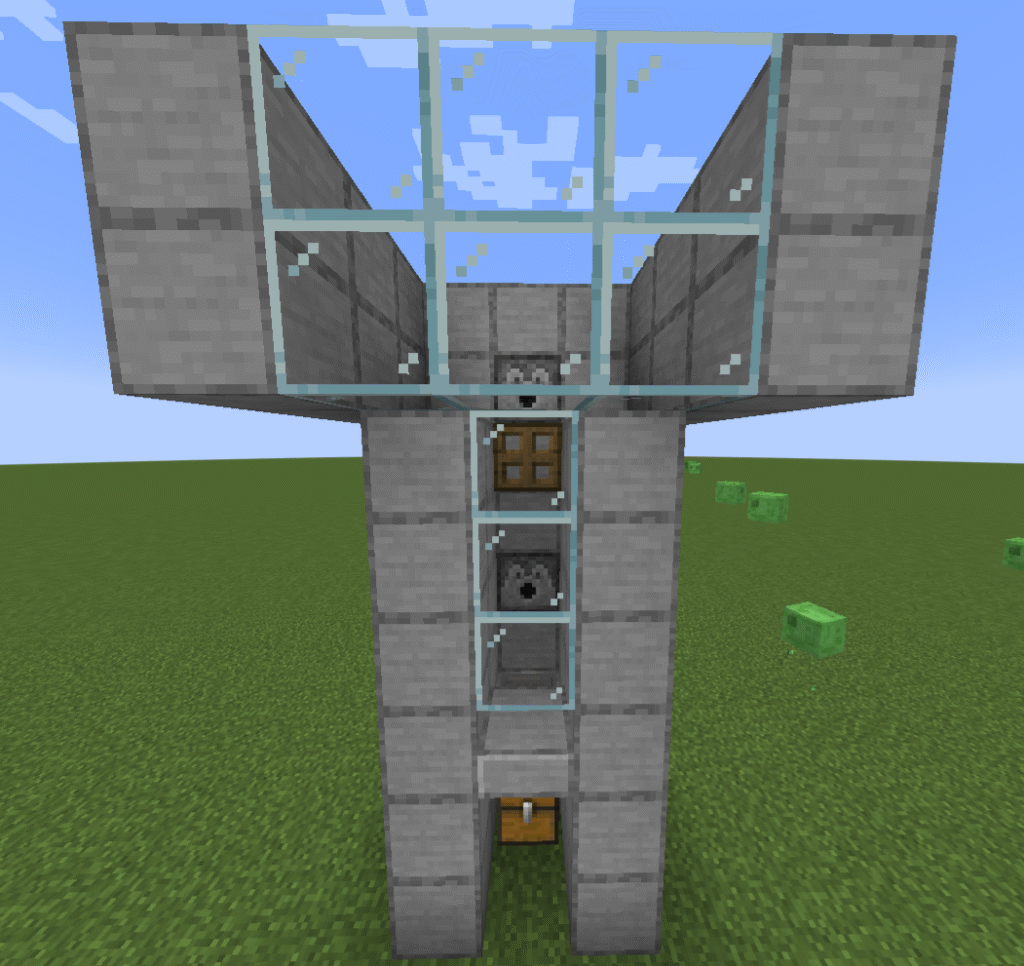
Place a second dispenser 2 blocks above the first. As shown in the picture.
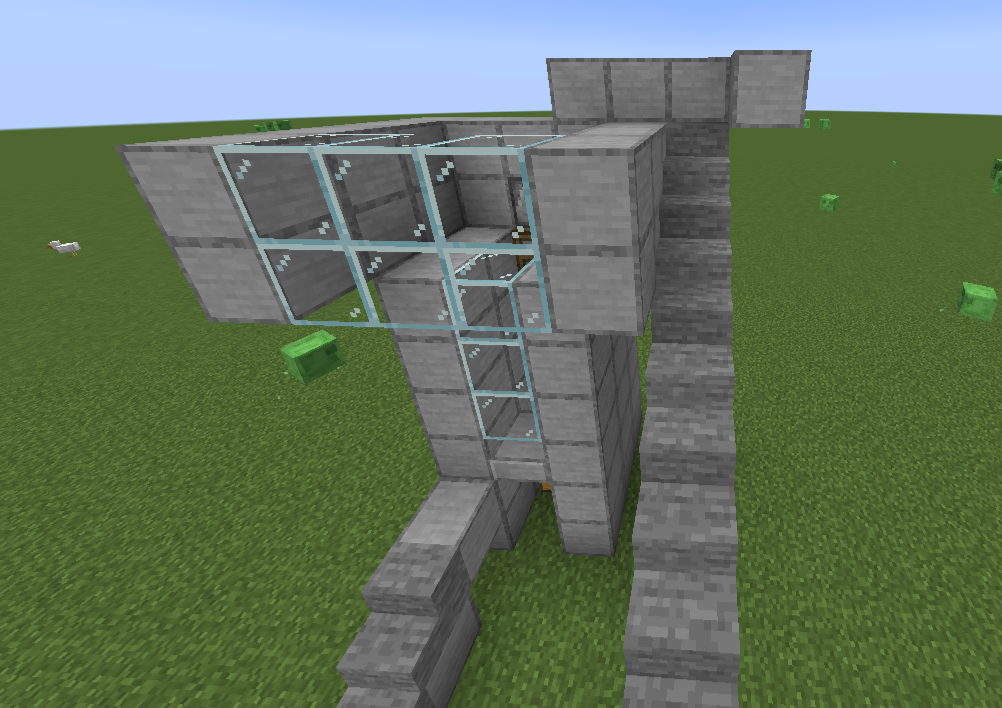
Place an open trapdoor below the second dispenser. You should have a 1 block gap from the top all the way down to the slab on top of the hopper.
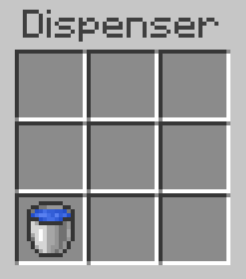
Place a bucket of water into the top dispenser.
Place a button on top of the block above the dispenser so that you can release the water.
Place 6 ladders up the side of the build so that you can get to the top button and to feed your pigs.
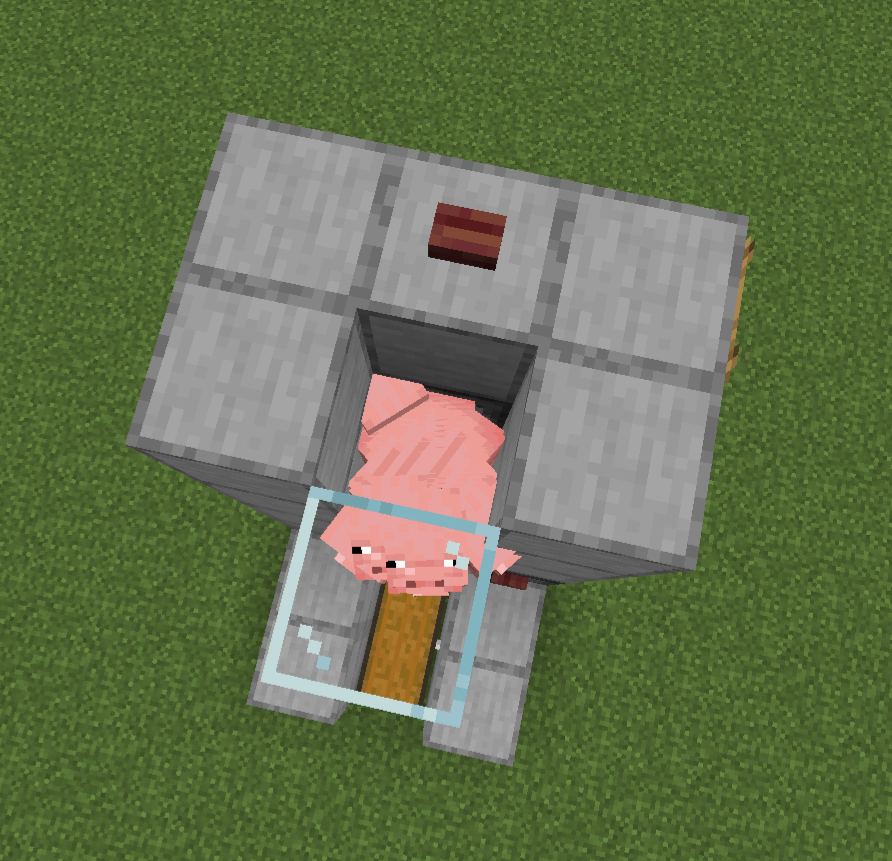
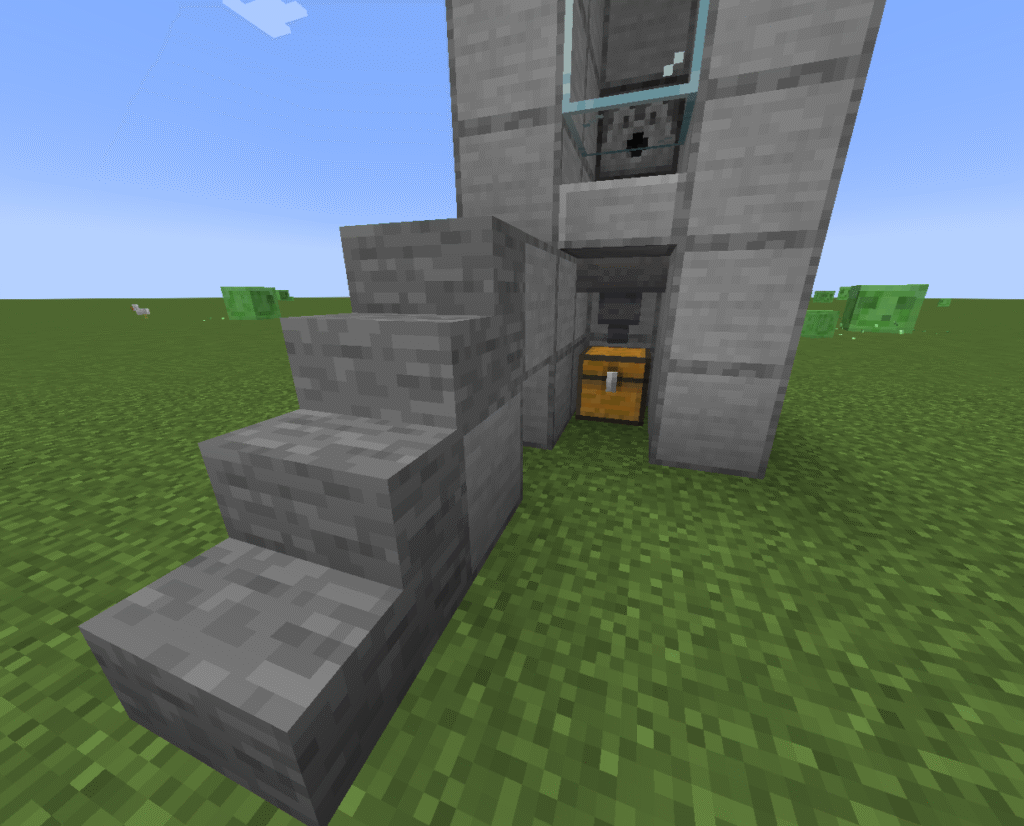
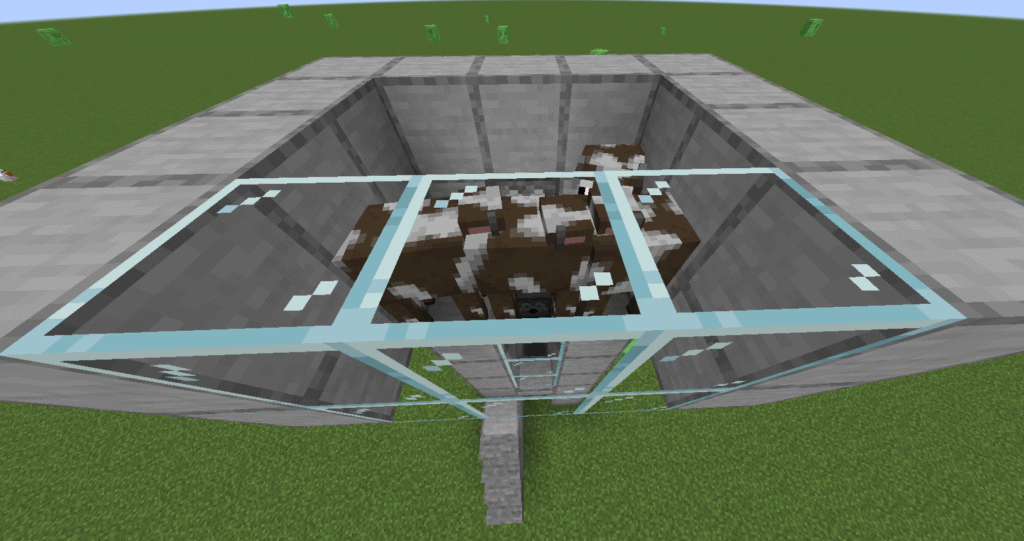
Build yourself a temporary staircase to the side of your build to get your pigs to the top and into the hole. You will need at least 2 pigs to breed, however you can have as many as you can fit into the hole.
Make sure to destroy the staircase once the pigs are in the hole otherwise you will have mobs in with your pigs.
Press the button to release the water and raise the pigs high enough to feed them.
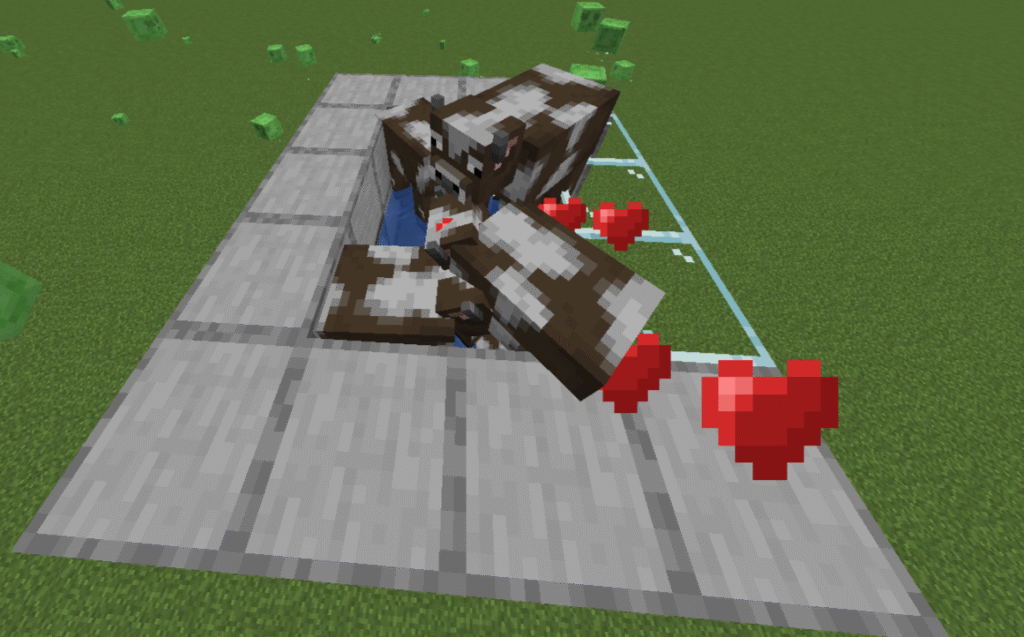
Feed them with carrots so that they breed (they will produce hearts when they breed)and baby pigs appear.
The baby pigs should drop through the hole where they will grow to full size.
You may need to move the pigs around by tempting them with a carrot to get the baby pigs to drop down if you have many pigs in the top pen.
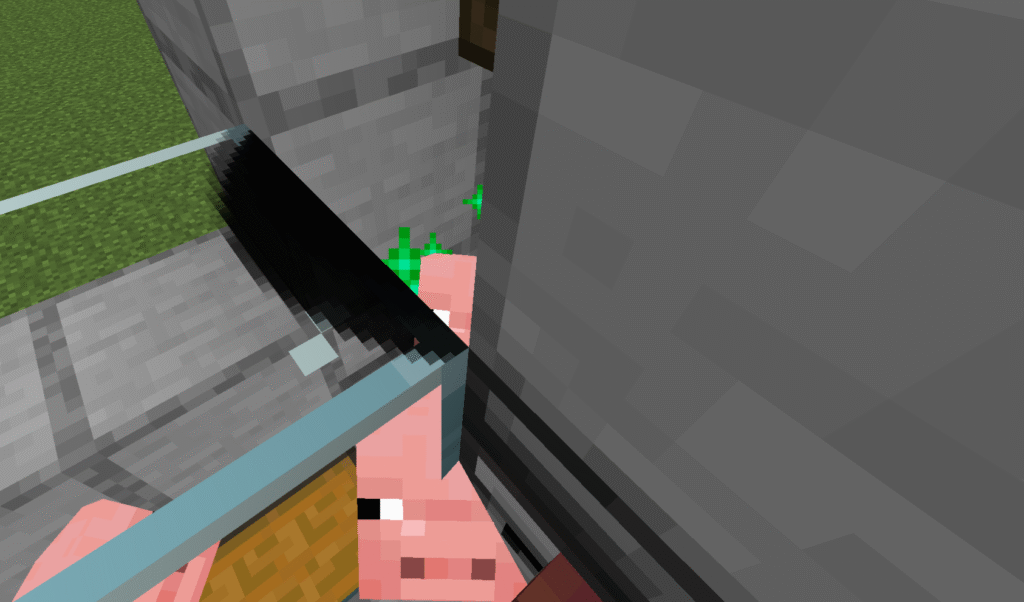
You can feed the baby pigs to make them grow faster (green sparkles will appear to show they are growing).
Make sure the pigs are fully grown before moving on to the next step.
Once the pigs are fully grown press the button on the observer to release the lava then press again to pull the lava back in. This will kill and cook the pigs.
Check your chest and you should find your cooked pork.
Hints and tips
What can go wrong – not producing pork.
If you aren’t getting pork it is likely because the pigs are not fully grown before you press the button to release the lava.
What can go wrong – Lava flowing out.
Ensure that the dispensers are placed the correct way.
Where next
Additional builds – There is an extra build that can be placed onto this build to improve it. This is a transport system that will enable you to transport your pigs to the top pen, this will save you having to build the stairs and the risk of mobs getting into your build.
These are the instructions for a Minecraft semi auto chicken farm. This automatic chicken farm farm produces cooked chicken and feathers without any interaction from the player. This farm works by housing chickens in a pen above hoppers. The eggs drop through to the hoppers and then to a dispenser and using a simple redstone contraption, the dispenser throws them out, hopefully hatching a chick and once the chicks are fully grown they are cooked by the lava above them. Not every egg will hatch a chicken so this build sometimes takes a while to get going.
The main product of this build is cooked chicken and can be used for the following:
Food -chickens are a great source of food.
Breeding – chickens are great for breeding and healing tamed wolves.
Feathers are the another product of this build and can be used for the following things:
Crafting – feathers can be used to craft arrows, firework stars and brushes.
Book and quill – can be made by combining a book, ink sac and a feather.
Trading – with fletcher villages
Drops – chickens will drop between 0-2 feathers upon death.
Chickens can be found in any grassy biomes usually in groups of up to four. They will lay eggs randomly in the wild. There are two new chicken variants now warm chickens which will spawn in jungles, badlands and savannahs and cold chickens which will spawn in windswept hills or taigas.
Ingredients
These are the ingredients and recipes that you will need to make this Minecraft semi auto chicken farm Please ensure that you have all of the ingredients before you start your build.
Item
Recipe/Image
Amount
Stone block
25
Stone slab
25
Chest
2
Hopper
4
Dispenser
1
Bucket of lava
1
Glass block
17
Trapdoor
3
Redstone Dust
5
Redstone repeater
2
Redstone comparator
1
Rail
1
Minecart and hopper
1
Chicken
2 minimum
Wheat seeds
4 minimum
Hopper – to make this item you will first need to make a chest.
Dispenser – to make this item you will first need to make a bow.
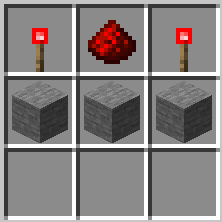
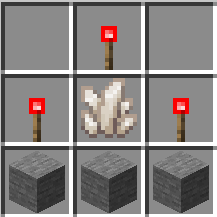
Redstone repeater and comparator – you will first need to make redstone torches.
Minecart and hopper – you will need to make both a minecart and a hopper and then combine them.
Build Plans
Here we will explain in detail how to build an semi auto chicken farm in Minecraft. Please follow the instructions carefully.
First of all you need to dig a 3 block by 1 block trench.
Next you need to place down 2 chests to make a large chest.
Now we need to place a hopper leading in to one end of the large chest as shown in the picture, you will need to crouch to do this.
This is our collection system.
Now you need to place down stone blocks in a 5 block x 3 block rectangle leaving a gap above the hopper.
You now need to place the rail on top of the hopper (you need to crouch to place this).
Then you will place the minecart and hopper on top of the rail.
Lastly in this section break the rail so that the minecart stays in place above the hopper.
You now need to place a dispenser behind the hopper on top of the stone block. Make sure it is facing towards the minecart.
Place a slab on the bottom half of the dispenser above the minecart and hopper again you will need to crouch.
Place a glass block above one half of the large chest and then a stone block either side of that, leaving access to the bottom half of the chest.
Now we need to start the redstone contraption.
Place a stone block either side of the dispenser and then another one on the middle block at the back of the build. There will be a 1 block gap between them as shown in the picture.
You now need to place down a comparator directly behind the dispenser. The 2 prongs need to be directly behind the dispenser.
Place one repeater to the right of the comparator and one in front of it as shown in the screenshot.
Place redstone dust on the top of the remaining 5 stone blocks.
Now place 3 hoppers starting with one leading into the dispenser and the other 2 behind leading into the first.
Place slabs around all the edge of the hoppers.
Build up the stone blocks at the front as shown in the picture.
Now place 2 glass blocks on top of the one on top of the chest and then one either side of the top one.
You now need to place a bucket of lava into the hole left above the minecart and hopper.
Now you need to make the pen for the chickens.
Place glass blocks around the hoppers on top of the slabs. Make sure one goes above the lava.
Place slabs on top of all of the glass blocks including the ones at the front of the build.
You now need to gather your chickens by tempting them with wheat.
You can create a temporary staircase and herd them in or collect eggs and throw them in this will not always produce chickens though.
You will need at least 2 adult chickens in order to breed them. You can have as many as you wish in your pen.
The more you have the more eggs they will produce.
Once you have as many chickens as you need cover the top with trapdoors.
Once the chickens lay eggs they will drop into the hoppers and eventually into the dispenser.
The dispenser will then throw them out and some will become baby chicks below the lava.
Once they are fully grown they will reach the lava and be cooked.
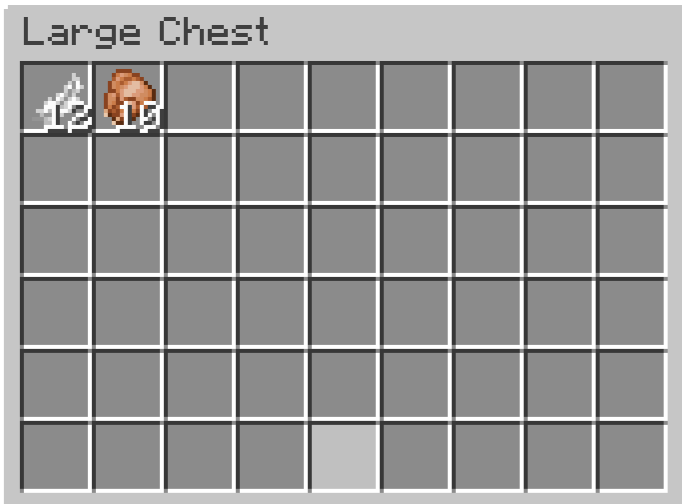
If you check your chest you will find feathers and cooked chicken.
Hints and tips
What can go wrong -cooked chicken not being produced.
This may be because the eggs have not produced a baby chick yet.
This build takes a while to get going as not every egg produces a chick.
What can go wrong – my chickens are escaping.
This may be because you haven’t placed slabs on top of the glass blocks. Chickens will jump one block high.
Or it may be because you have left the trapdoors open.
What can go wrong – mobs in your chicken pen.
You will get mobs in your build if you don’t remove the temporary stairs at the side of the build that you used to get your chickens into the pen.
How to make the build easier –
Add ladders to the a wall of the build to make it easier to reach the top of the pen in case you need to breed more chickens.
Where next
Additional builds – There is an extra build that can be placed onto this build to improve it. This is a transport system that will enable you to transport your chickens to the top pen, rather than using the stairs and the risk of mobs getting into your build.
This is a Minecraft semi auto cow farm in that it houses the cows making it easier to breed them and then cooks them to produce food.
This automatic cow farm works by keeping the cows for breeding in one pen and dropping the baby cows into another pen, once the baby cows are fully grown you can dispense lava to cook them producing food. The player will have to feed wheat to the cows in the top pen to breed them and also press a button to release the lava.
The main product of this build is steak. Steak is used for the following:
Food – steak restores 8 hunger points and 12.8 saturation, this makes it one of the most efficient foods in Minecraft.
Wolves – can be used to breed and heal tamed wolves, it can also speed up growth in baby wolves.
This build also produces leather which is a useful resource:
Books – can craft books when combined with paper. these can then be turned into bookcases.
Item frames – used to display items on walls
Armour – can be used to craft armour and horse armour.
Bundles – can be used to craft a bundle which is used to store multiple items.
Trade – can trade with ‘leatherworker’ villagers.
Here’s where you can find cows and leather and other uses for them:
Cows – can be found in most places on the map where there are grass blocks.
Milk – can be gained by placing a bucket on a cow. The milk can be drunk when you have been poisoned.
Bartering – piglins in the nether may give leather if given a gold ingot.
Killing – mooshrooms, horses, donkeys, mules, llamas and hoglins may all drop leather when killed.
Loot chests – leather is sometimes found in village chests or bastian remnants.
Crafting – combining 4 rabbit hides to make leather.
Ingredients
These are the ingredients and recipes that you will need to make this Minecraft semi auto cow farm. Please ensure that you have all of the ingredients before you start your build.
Item
Recipe/Image
Amount needed
Glass block
9
Chest
1
Hopper
1
Stone slab
1
Dispenser
2
Trapdoor
1
Button
2
Ladder
8
Oak Stairs
10
Stone block
88
Bucket of lava
1
Bucket of water
1
Cows
2 minimum
Wheat
4 minimum
Hopper – to craft a hopper you will first need to craft a chest.
Dispenser – to craft a dispenser you will first need to craft a bow.
Build Plans
Here we will explain in detail how to build a Minecraft semi auto cow farm. Please follow the instructions carefully.
To start this build you will need to find a suitable flat space about 10 blocks by 8 blocks.
Then place a chest down with a hopper on top (you will need to crouch to place the hopper).
Start placing stone blocks to around the chest and hopper 3 blocks high, making sure to leave a 1 block space in front of the chest and hopper.
Place a dispenser on top of the middle block behind the hopper.
Place a slab in the gap at the front of the build, on the bottom half of the block at the third block high.
Continue building another 3 layers to make 6 high total.
Place glass blocks at the front so that you can see what is happening.
Place a bucket of lava into the dispenser.
Place a second dispenser 2 blocks above the first.
Next we need to place a trapdoor in the gap above the hopper just below the second dispenser and open it.
Now we need a pen to hold our cows.
Place 2 stone blocks either side of the second dispenser and then 4 blocks on top.
Now place stone blocks along both sides and glass blocks at the front to make a 4 block x 4 block square with a hole above the hopper covered by the open trapdoor.
Place a bucket of water in to the second dispenser.
This shows the view from the back so you can see the back of the dispensers
Place buttons on both dispensers so that you can release the lava and water as and when you need to.
Place 2 stairs at the front of the build to one side of the hopper so that you can reach the gap (above the slab).
This is so that you can reach the baby cows if you wish to feed them rather than wait for them to grow.
Now for the difficult part getting the cows!
Place blocks and stairs as shown in the picture so that the cows end up in your pen and not jumping over the edge.
You will need to lead the cows from wherever you find them back to the build and up the stairs and then into the pen.
They will quite often wander the top wall and need to be knocked into the pen but don’t knock them too many times or you will kill them.
You will need at least 2 cows to start breeding but you can have as many as you can hold in the pen.
Once your cows are in the pen destroy the stairs and blocks so that you don’t get over run with mobs.
Press the button on the top dispenser to release the water so that the cows bob to the top of the pen to make it easier to feed them.
Feed the cows wheat until hearts appear above them and a baby cow is produced.
Press the button the return the water to the dispenser and the baby should drop through the hole above the hopper.
If you have a lot of cows in the top pen you may need to move them around by holding wheat and moving around so the babies can drop through the hole.
Once the babies drop they will sit above the hopper. You can either wait for them to grow naturally or you can feed them wheat through the gap above the slab.
There will be green sparkles to show the cows are growing.
Once the cow is fully grown it can be cooked.
Press the button on the bottom dispenser to release the lava and then again to return it. This will cook the cow.
If you check your chest you should find cooked steak and leather.
Hints and tips
What can go wrong – steak not being produced.
You must ensure that the cows are fully grown. Cows that are not fully grown will not drop anything.
What can go wrong – cows escaping out of the top.
The other problem you might have is cows escaping if the top pen is not high enough. The walls need to be at least 2 blocks high.
What can go wrong – mobs getting into the top pen.
You will get mobs in your build if you don’t remove the stairs at the side of the build.
How to make the build easier –
Add ladders to the back of the build to make it easier to reach the buttons and the pen to feed the cows.
Where next
Additional builds – There is an extra build that can be placed onto this build to improve it. This is a transport system that will enable you to transport your cows to the top pen, rather than using the stairs and the risk of mobs getting into your build.
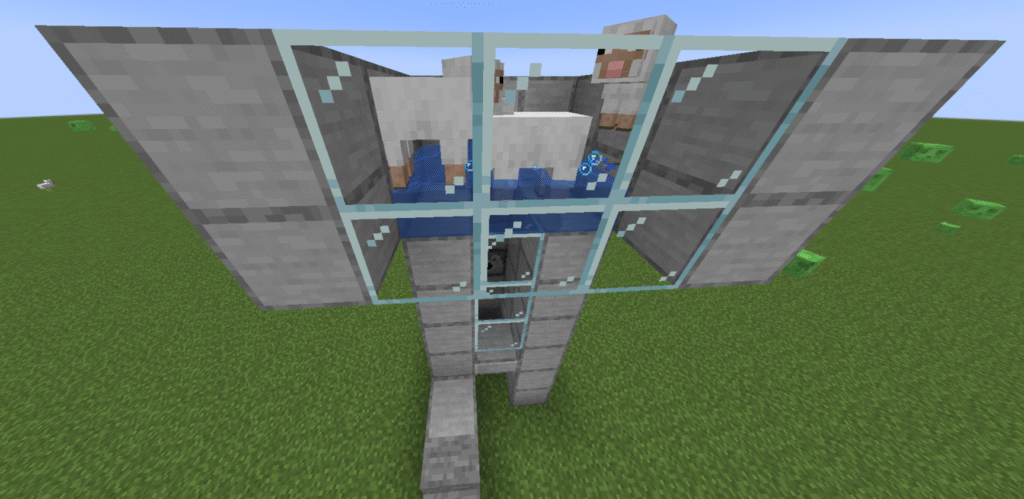
These are the instructions for a Minecraft semi-auto sheep farm. This automatic sheep farm build will allow you to easily breed sheep and then cook them for you providing both cooked mutton and wool.
This works by housing the sheep in a top pen enabling the player to breed them by feeding them wheat, the baby sheep drop through a gap. At this point the player has the option to let them grow naturally or to feed them to speed up the growing process. Once they are fully grown the player releases a bucket of lava from a dispenser which cooks the fully grown sheep and drops the loot into a waiting chest.
The main product of this build is cooked mutton. Here is a break down detailing what cooked mutton can be used for:
Breeding – can be used for breeding and healing tamed wolves and will speed up growth of baby wolves.
A by product of this build is wool as it also gets dropped when the sheep is killed. Wool is a very useful item in Minecraft and here are some of its uses:
Beds – probably the first thing you will use wool for.
Paintings – can be used to create paintings to decorate your buildings.
Banners – can be crafting into a banner.
Carpets – Can be used to craft carpets to decorate your house although carpets are also useful in farm and redstone builds.
Blocking vibrations – Ideal material for blocking vibrations if you’re brave enough to try and face the Warden.
Here’s where you can find sheep and wool.
Grassy biomes – sheep generally spawn in small groups in savannahs, meadows, forests and plains.
Villages – sheep will sometimes spawn in animal pens that already contain sheep. Wool can sometimes be found in the houses of shepherds and fletchers and blocks will be found at meeting places.
Shearing sheep – shearing sheep will provide you with an endless supply of sheep as the wool grows back as long as the sheep can eat and can then be sheared again.
Trading – shepherd villagers will often trade wool for emeralds.
Pillager outposts – wool is often used in tent structures.
Woodland mansions – there are sometimes large wool structures in some rooms.
Ancient cities – wool is used to block vibrations from skulk sensors.
Crafting – wool can also be crafted from 4 strings.
Ingredients
These are the ingredients and recipes that you will need to make this Minecraft semi auto sheep farm. Please ensure that you have all of the ingredients before you start your build.
Item
Recipe/Image
Amount
Stone block
88
Glass block
9
Chest
1
Hopper
1
Stone slab
1
Dispenser
2
Bucket of lava
1
Bucket of water
6
Trapdoor
1
Button
2
Ladder
8
Sheep
2 minimum
Wheat
2 minimum
Stairs
10
Hopper – you will need to craft a chest first.
Dispenser – you will need to craft a bow first.
Build Plans
Here we will explain in detail how to build a Minecraft semi auto sheep farm in Minecraft. Please follow the instructions carefully.
To start this build you will need to find a suitable flat space about 10 blocks by 8 blocks.
Then place a chest down with a hopper on top (you will need to crouch to place the hopper).
Start placing stone blocks to around the chest and hopper 3 blocks high, making sure to leave a 1 block space in front of the chest and hopper.
Place a dispenser on top of the middle block behind the hopper.
Place a slab in the gap at the front of the build, on the bottom half of the block at the third block high. As shown in the picture.
Continue building another 3 layers to make 6 high total.
Place glass blocks at the front so that you can see what is happening.
Place a bucket of lava into the dispenser.
Place a second dispenser 2 blocks above the first.
Next we need to place a trapdoor in the gap above the hopper just below the second dispenser and open it so that it sits flush with the stone block wall behind it.
Now we need a pen to hold our sheep.
Place 2 stone blocks either side of the second dispenser and then 4 blocks on top.
Now place stone blocks along both sides and glass blocks at the front to make a 4 block x 4 block square with a hole above the hopper covered by the open trapdoor.
Place a bucket of water into the second dispenser.
This shows the view from the back so you can see the back of the dispensers.
Place buttons on both dispensers so that you can release the lava and water as and when you need to.
Place 2 stairs at the front of the build to one side of the hopper so that you can reach the gap (above the cobblestone slab).
This is so that you can reach the baby sheep if you wish to feed them rather than wait for them to grow.
Now for the difficult part getting the sheep!
Place blocks and stairs as shown in the screenshot so that the sheep end up in your pen and not jumping over the edge.
You will need to lead the sheep from wherever you find them back to the build and up the stairs and then into the pen.
They will quite often wander the top wall and need to be knocked into the pen but be careful not to knock them too many times or you will end up killing them before you start.
You will need at least 2 sheep to start breeding but you can have as many as you can hold in the pen.
Once your sheep are in the pen destroy the stairs and blocks so that you don’t get over run with mobs.
Press the button on the top dispenser to release the water so that the sheep bob to the top of the pen to make it easier to feed them.
Feed the sheep wheat until hearts appear above them and a baby sheep is produced.
Press the button the return the water to the dispenser and the baby should drop through the hole above the hopper.
If you have a lot of sheep in the top pen you may need to move them around by holding wheat and moving around so the babies drop through the hole.
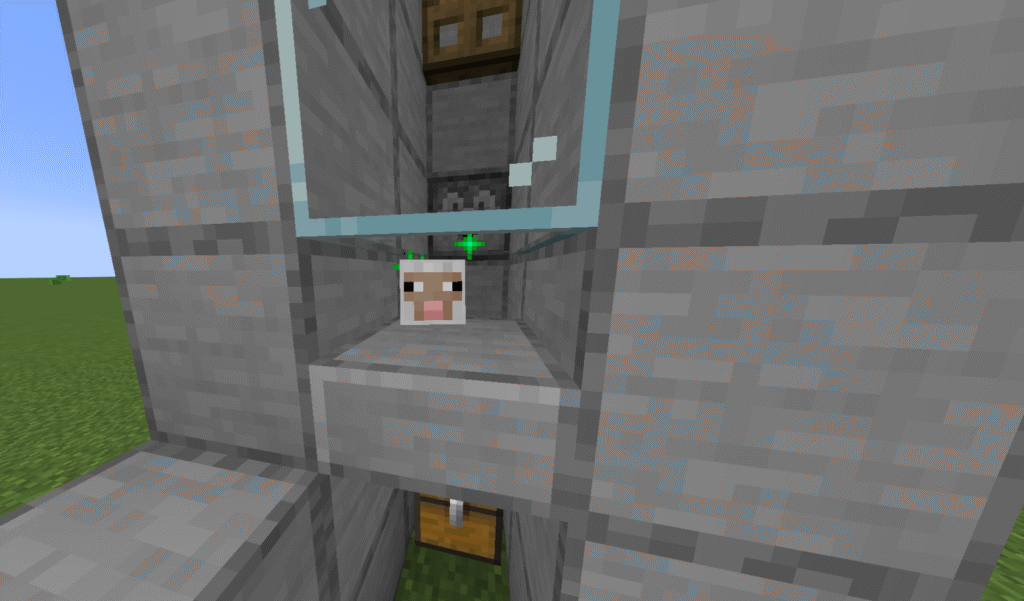
Once the babies drop they will sit above the hopper. You can either wait for them to grow naturally or you can feed them wheat through the gap above the cobblestone slab and speed up the growth.
There will be green sparkles to show the sheep growing.
Once the sheep is fully grown it can be cooked.
Press the button on the bottom dispenser to release the lava and then again to return it. This will cook the sheep.
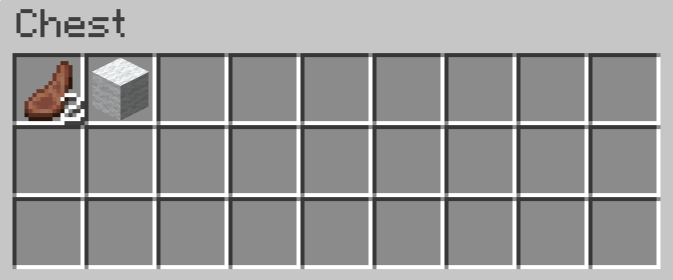
If you check your chest you should find cooked mutton and wool.
Hints and tips
What can go wrong -cooked mutton not being produced.
This may be because the baby sheep are not fully grown before you try to cook them. Baby sheep will not drop any loot.
What can go wrong – my sheep are escaping.
This may be because you only have a block high pen. it needs to be at least 2 blocks high.
If the babies are escaping after dropping it may be that your slab has been placed on the top of the block instead of the bottom.
What can go wrong – mobs in your sheep pen.
You will get mobs in your build if you don’t remove the stairs at the side of the build.
How to make the build easier –
Add ladders to the back wall of the build to make it easier to reach the buttons and top of the pen.
Where next
Additional builds – There is an extra build that can be placed onto this build to improve it. This is a transport system called an up elevator that will enable you to transport your sheep to the top pen, rather than using the stairs and the risk of mobs getting into your build.
These are the instructions for a Minecraft pig farm. This is a very simple build for a pig farm. This makes this an ideal early build to get food in Minecraft especially when you are still trying to find resources like iron. The player will have to completely control this farm with feeding, breeding and killing.
Pigs can be used for the following things:
Food source – pork is an ideal food source.
Breeding – pork can be used to breed and heal wolves.
Growth – pork can be used to speed up wolf puppy growth.
Trading – can be traded with butchers.
Pork is mainly gained from pigs in Minecraft. However it can sometimes found in either a generic chest or a hoglin stable chest in a Bastian Remnant in the Nether.
Ingredients
These are the ingredients and recipes that you will need to make this Minecraft pig farm. Please ensure that you have all of the ingredients before you start your build.
Item
Picture
Amount
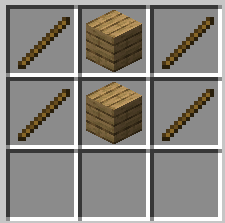
Fence
23
Gate
1
Carrot
Stack
Build Plans
Here we will explain in detail how to build a Minecraft pig farm. Please follow the instructions carefully.
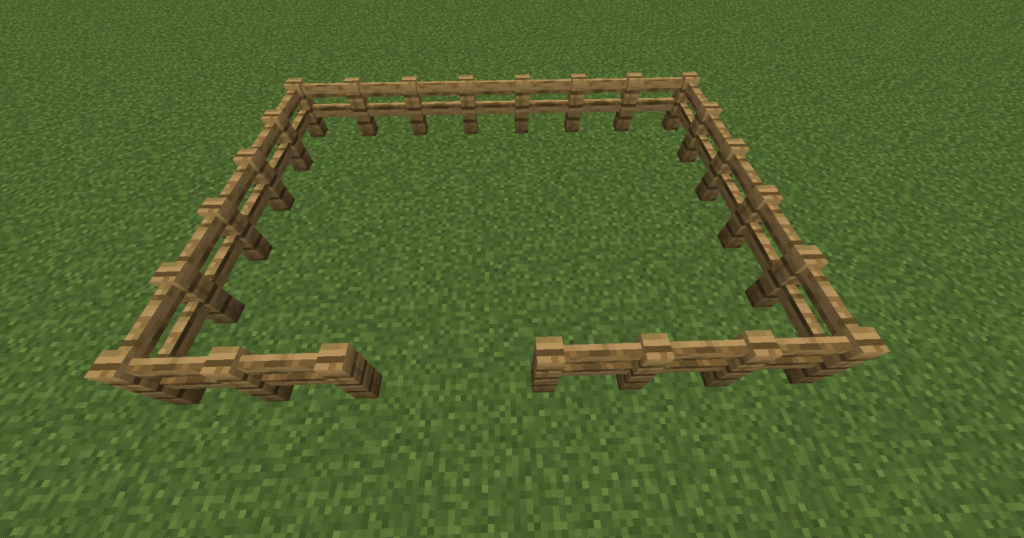
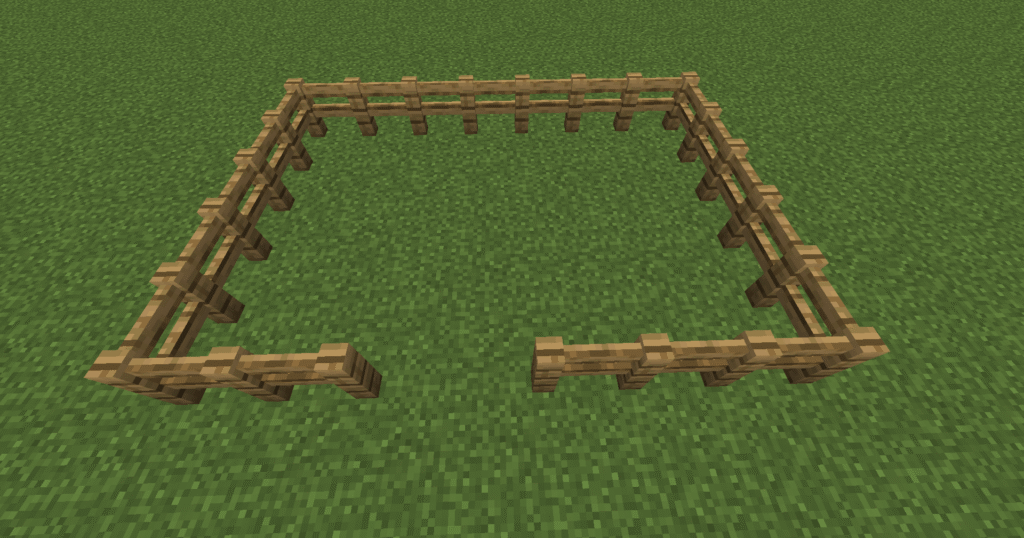
First lets build an enclosure using the fences. Please ensure that you leave a gap for the gate. This enclosure can be as big or as small as you like depending on how many pigs you would like to keep or breed.
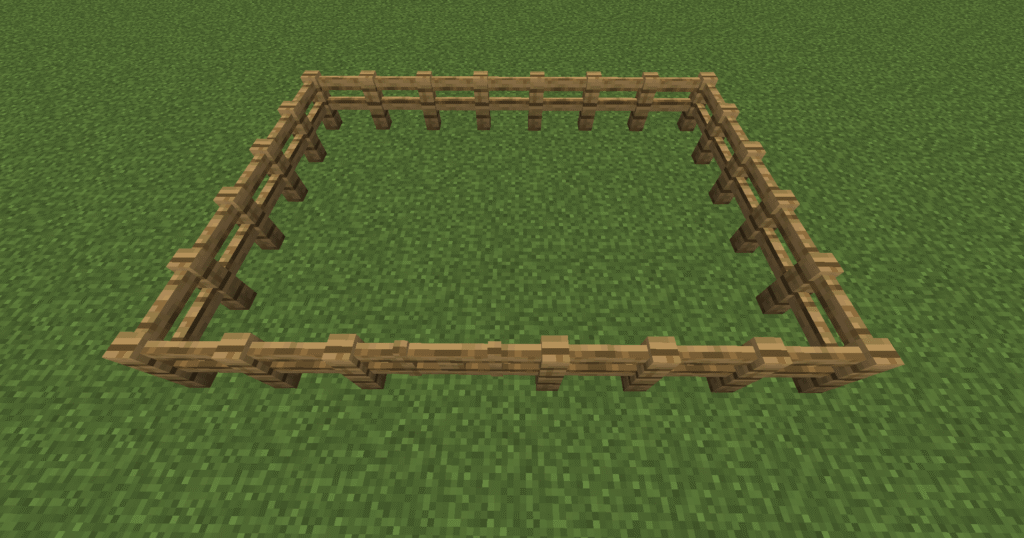
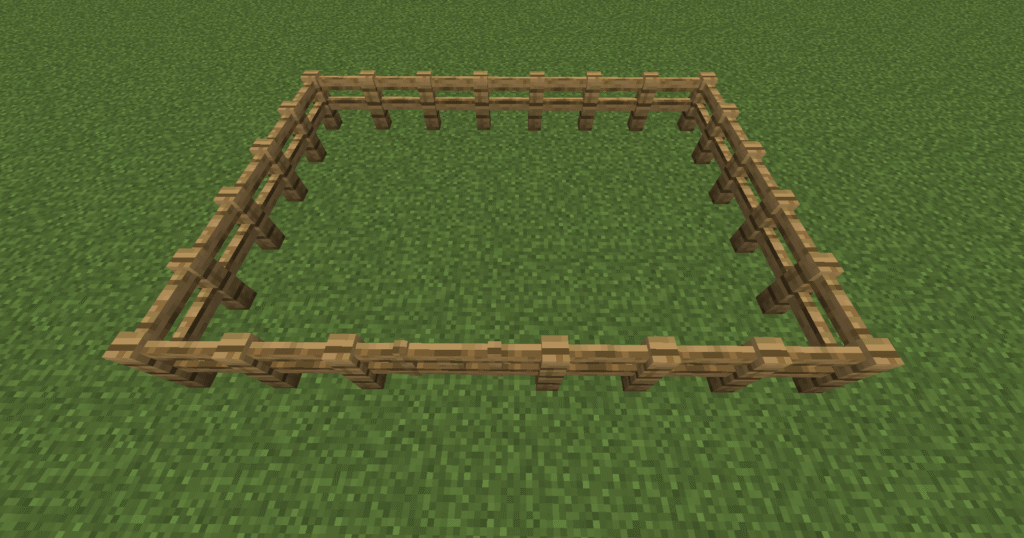
Next you will need to add the gate so you can get into and out of the enclosure.
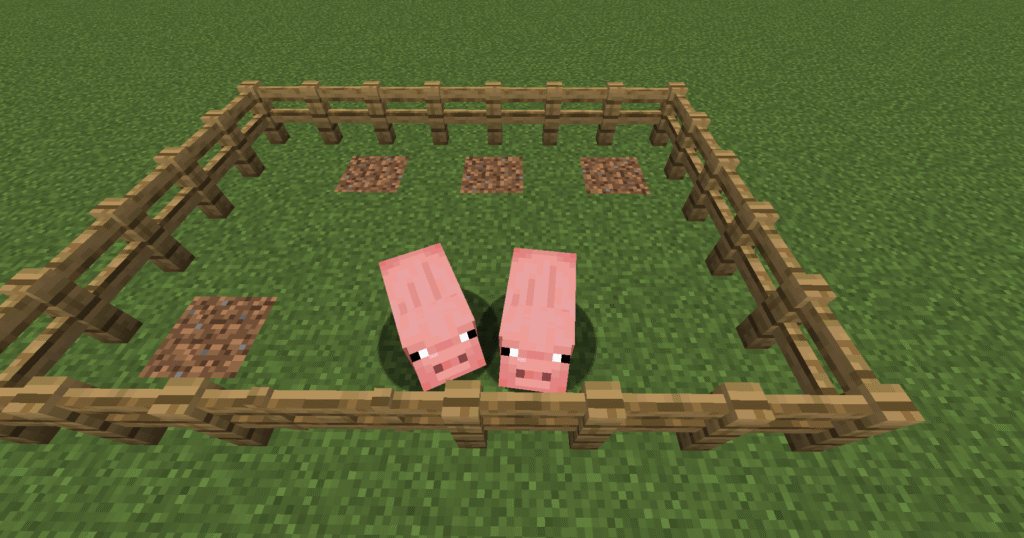
Now lets get some pigs into the enclosure.
You will need to use the carrots to lure the pigs into your enclosure. If you hold the carrot in your hand the pigs will follow you.
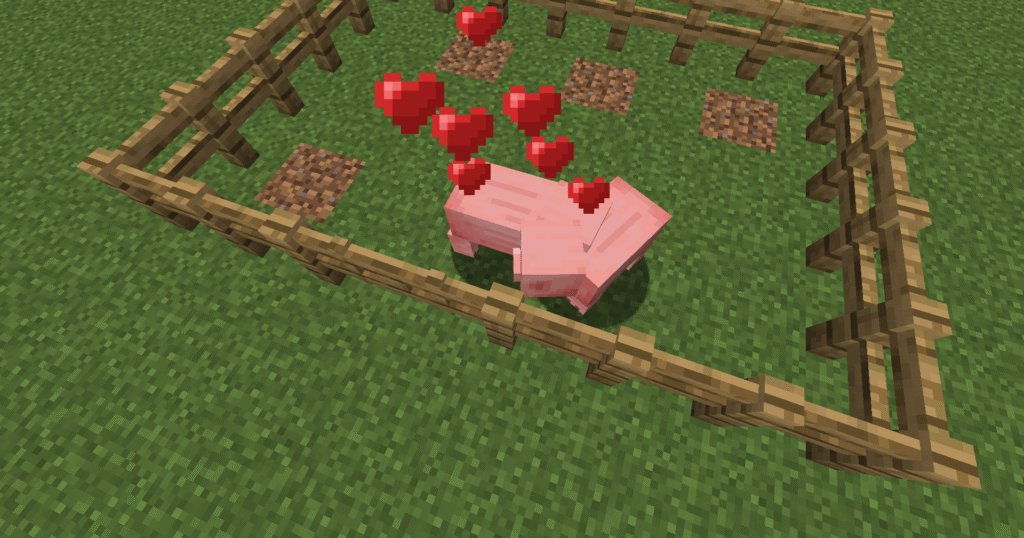
After feeding the pigs carrots (potatoes and beetroot will also work) they will start to breed. The hearts above the pigs mean that they are breeding and then a baby pig will appear.
Where next
Additions to the build –
A nice addition to this build is to place a carpet tile on top of a fence post. This will enable you to jump in and out of the pen without opening the gate. This can stop the pigs getting out and mobs getting in.
These are the instructions for a Minecraft chicken farm. This chicken farm produces chickens and eggs. The chickens automatically drop the eggs but you will need to kill them to get raw chicken. This farm is a basic pen for the chickens and relies on the player for feeding, breeding and killing.
The main product of this build is chicken and can be used for the following:
Food -chickens are a great source of food.
Spawning – chickens appear naturally in grassy biomes with sufficient space and light.
Hatching – chickens can hatch when players throw eggs.
Drops – chickens lay eggs every 5 – 10 mins.
Behaviour -peaceful and wander around aimlessly.
Breeding – chickens are bred using any seed i.e. wheat seeds or pumpkin seeds.
Eggs are the another product of this build and can be used for the following things:
Hatching – eggs can be thrown and there’s a chance that they will hatch baby chickens.
Crafting – can be used to make cakes.
Crafting – can be used to make pumpkin pie.
Attacking – eggs can be thrown as a projectile, they deal no damage but push entities back slightly.
Trading – eggs can be traded in some villager trades.
Feathers are the another product of this build and can be used for the following things:
Crafting – feathers can be used to craft arrows, firework stars and brushes.
Book and quill – can be made by combining a book, ink sac and a feather.
Trading – with fletcher villages
Drops – chickens will drop between 0-2 feathers upon death.
Chickens can be found in any grassy biomes usually in groups of up to four. They will lay eggs randomly in the wild. There are two new chicken variants now, warm chickens which will spawn in jungles, badlands and savannahs and cold chickens which will spawn in windswept hills or taigas.
Ingredients
These are the ingredients and recipes that you will need to make this Minecraft chicken farm. Please ensure that you have all of the ingredients before you start your build.
Item
Picture
Amount
Fence
23
Gate
1
Wheat seeds
Stack
Chickens
2 minimum
Build Plans
Here we will explain in detail how to build a Minecraft chicken farm. Please follow the instructions carefully.
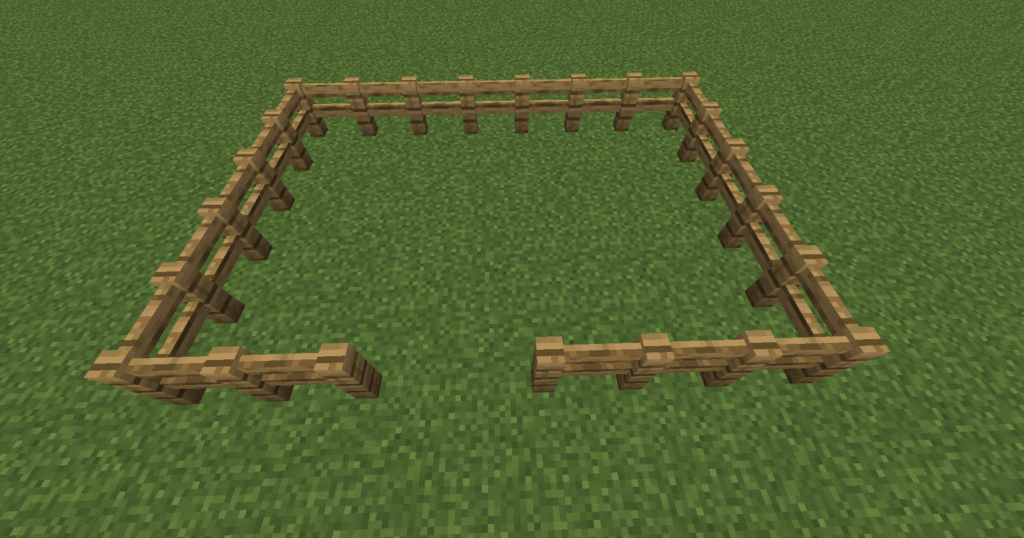
First lets build an enclosure using the fences. Ensure that you leave a gap for the gate.
This pen can be as big or as small as you wish depending on how many chickens you intend to keep.
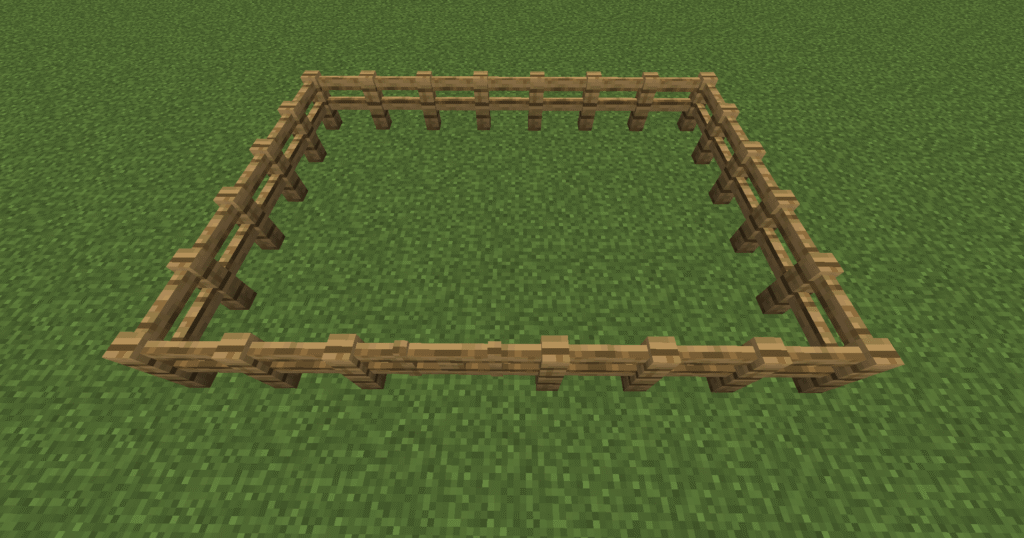
Next add the gate so you can get into and out of the enclosure.
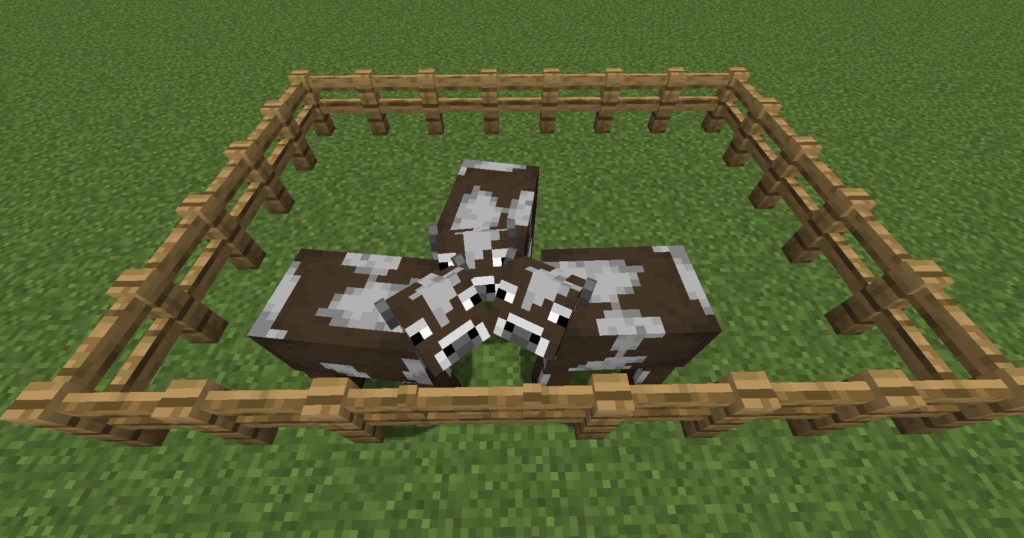
Now lets get some chickens into the enclosure.
Lure the chickens through the gate by holding seeds in your hand.
Remember to shut the gate behind you once the chickens are in.
After feeding the chickens seeds they will start to breed.
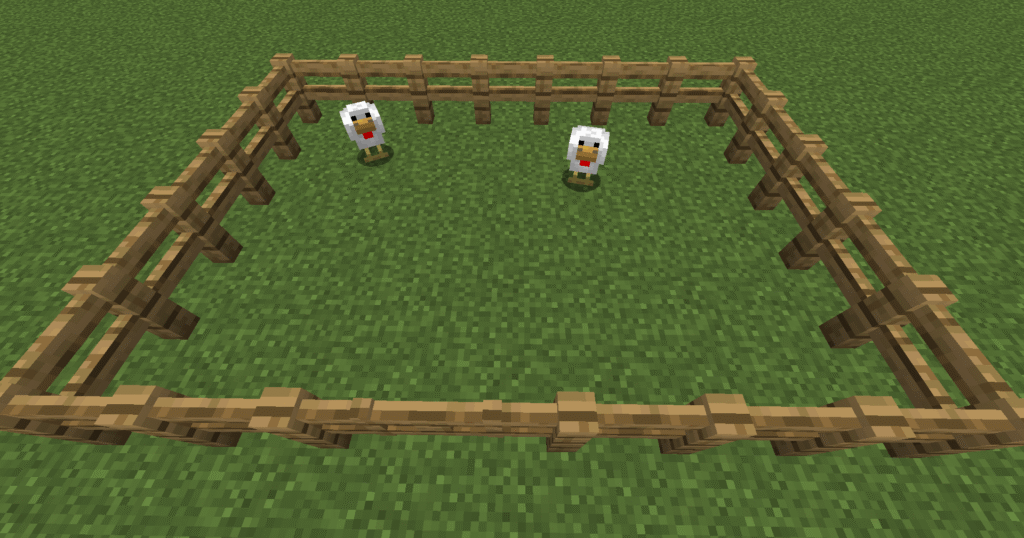
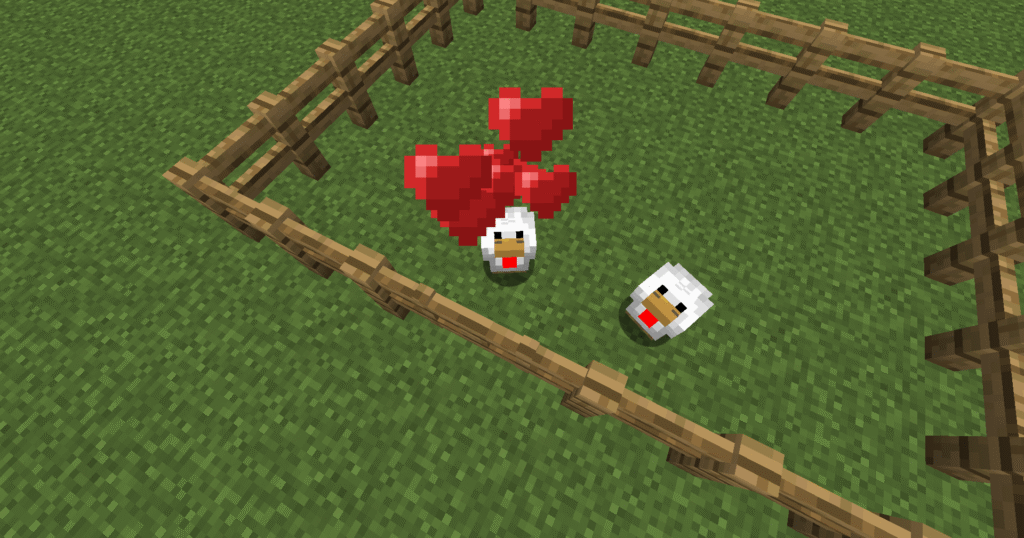
The hearts coming out of the chickens mean that they are breeding and you can expect to find a baby chick.
The chickens will also lay eggs which can be collected and either thrown to see if they hatch more chickens or used as described above.
Hints and tips
What can go wrong – chickens can escape:
Ensure that your gates are shut when you enter or leave the pen.
Where next
Additions to the build
One of the additions for this build is to put a carpet tile on top of one of the fences. This will enable you to enter the pen more easily without opening the gate and risk the chickens escaping. The player would have to jump over the fence by jumping on the carpet tile.
These are the instructions for a Minecraft cow farm. Cows are produced either in the wild or are bred by feeding them wheat. This is a cow farm early build as it gives the player a ready supply of raw beef/steak and leather.
This farm is a simple pen housing the cows and relies on the player feeding, breeding and killing the cows.
The product of this build is cows.
Food – cows produce raw beef/steak which once cooked is a great source of food.
Leather – cows drop leather when killed. This can be used for making books, armour, item frames and trading with villagers.
Milk – cows can be milked the milk can be used for removing status effects, baking cakes, Countering the whither effect.
Breeding – cows can be bred very easily by the player producing an endless supply.
Here’s where you can find cows and leather and other uses for them:
Cows – can be found in most places on the map where there are grass blocks.
Milk – can be gained by placing an iron bucket on a cow. The milk can be drunk when you have been poisoned.
Bartering – piglins in the nether may give leather if given a gold ingot.
Killing – mooshrooms, horses, donkeys, mules, llamas and hoglins may all drop leather when killed.
Loot chests – leather is sometimes found in village chests or bastian remnants in the nether.
Crafting – combining 4 rabbit hides will make leather.
Ingredients
These are the ingredients and recipes that you will need to make this Minecraft cow farm. Please ensure that you have all of the ingredients before you start your build.
Item
Picture
Amount
Fence
23
Gate
1
Wheat
Stack
Build Plans
Here we will explain in detail how to build a Minecraft cow farm. Please follow the instructions carefully.
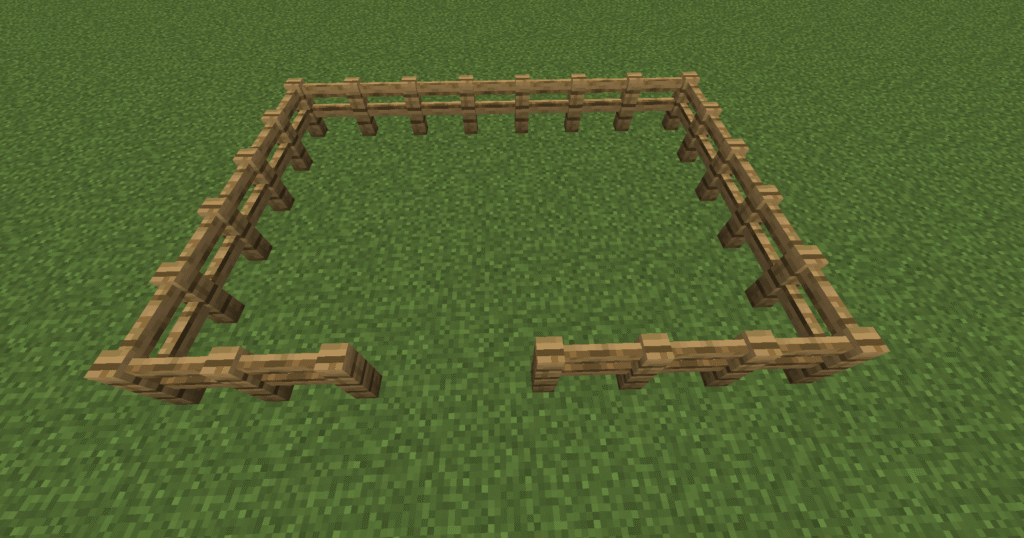
First lets build an enclosure using the fences. Ensure that you leave a gap for the gate.
This can be as large or small as you need.
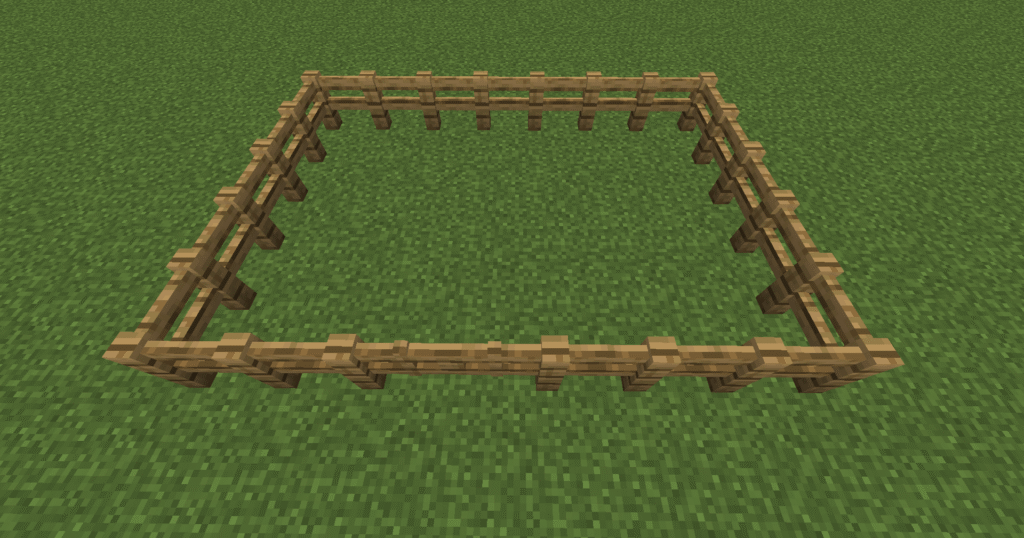
Next add the gate so you can get into the enclosure.
Ensure that you keep this closed so that you don’t get mobs in your pen.
Next lets get some cows into the enclosure.
Use the wheat to lure the cows through the gate by holding it in your hand.
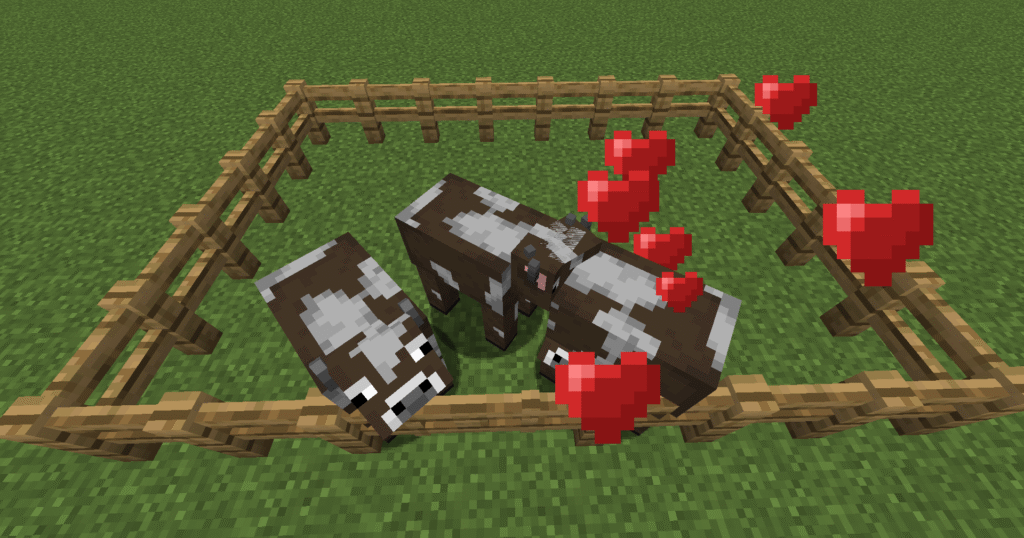
After feeding the cows with wheat they will start to breed.
The hearts coming out of the cows mean that they are breeding and a baby cow will appear.
Hints and tips
What can go wrong – cows escaping
Ensure that you close the gate whenever you enter or leave the pen, this stops the cows escaping and also from mobs getting in.
Where next
Additions to the build – carpet tiles
The only addition to this build is a carpet tile can be placed on top of the fences to make it easy to get in and out of the pen. The player uses the carpet tile by jumping on it to get over the fence. This means that you don’t have to open the gate at all unless you are putting more cows in to it.
This is a very simple Minecraft sheep farm. This sheep farm needs the player to run it completely. It is basically a pen that will hold the sheep, and the player will need to interact with the sheep to feed, breed and kill.
Unique trait – name a sheep “jeb_” with a name tag. See what happens.
This sheep farm produces sheep, once killed the sheep will drop raw mutton and wool. Here is a break down detailing what cooked mutton can be used for:
Breeding – can be used for breeding and healing tamed wolves and will speed up growth of baby wolves.
A by product of this build is wool as it also gets dropped when the sheep is killed. Wool is a very useful item in Minecraft and here are some of its uses:
Beds – probably the first thing you will use wool for.
Paintings – can be used to create paintings to decorate your buildings.
Banners – can be crafting into a banner.
Carpets – Can be used to craft carpets to decorate your house although carpets are also useful in farm and redstone builds.
Blocking vibrations – Ideal material for blocking vibrations if you’re brave enough to try and face the Warden.
Here’s where you can find sheep and wool:
Grassy biomes – sheep generally spawn in small groups in savannahs, meadows, forests and plains.
Villages – sheep will sometimes spawn in animal pens that already contain sheep. Wool can sometimes be found in the houses of shepherds and fletchers and blocks will be found at meeting places.
Shearing sheep – shearing sheep will provide you with an endless supply of sheep as the wool grows back as long as the sheep can eat and can then be sheared again.
Trading – shepherd villagers will often trade wool for emeralds.
Pillager outposts – wool is often used in tent structures.
Woodland mansions – there are sometimes large wool structures in some rooms.
Ancient cities – wool is used to block vibrations from skulk sensors.
Crafting – wool can also be crafted from 4 strings.
Ingredients
These are the ingredients and recipes that you will need to make this Minecraft sheep farm. Please ensure that you have all of the ingredients before you start your build.
Item
Picture
Amount
Fence
23
Gate
1
Wheat
1 Stack
Sheep
2 minimum
Build Plans
Here we will explain in detail how to build this Minecraft sheep farm. Please follow the instructions carefully.
First lets build an enclosure using fences. Ensure that you leave a gap for the gate.
This enclosure can be as small or large as you like depending on how many sheep you intend on keeping.
Next place the gate in to the gap we left so you can get into the enclosure.
Be sure to always keep the gate shut to stop your sheep escaping.
Now lets add some sheep into the enclosure.
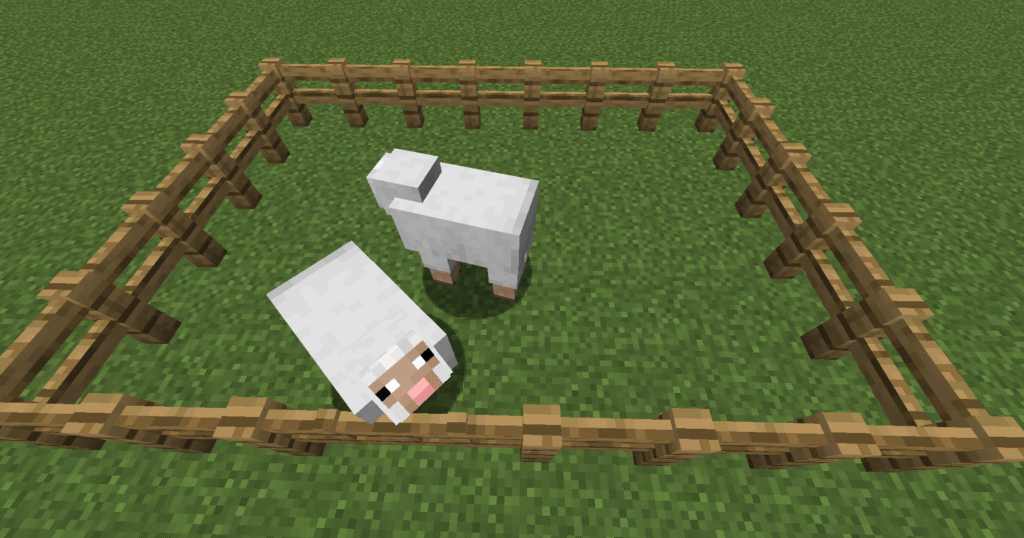
You can lure sheep in to your pen by holding wheat in your hand and the sheep will follow you into the pen.
Be quick to shut the gate after so that the sheep don’t escape.
After feeding the sheep wheat they will start to breed.
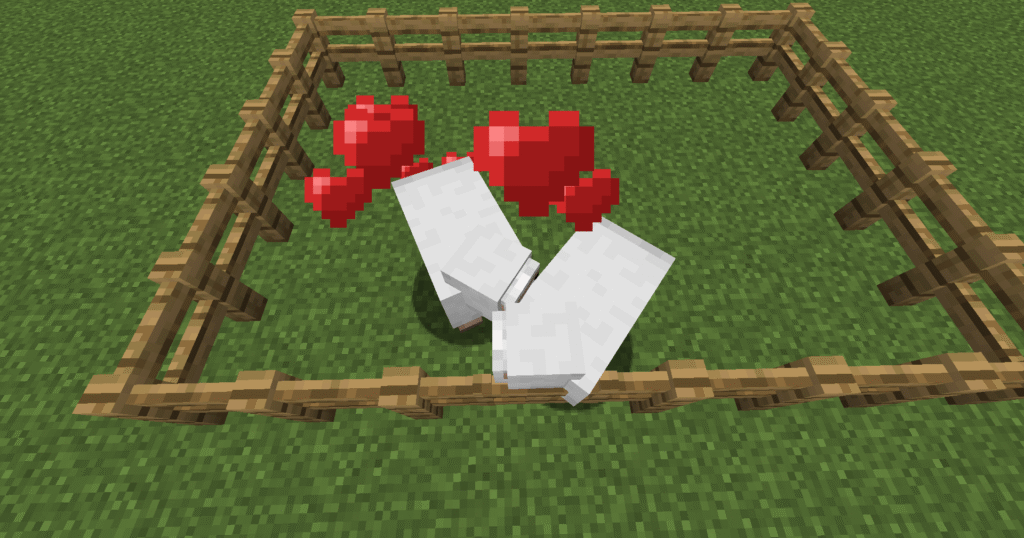
The hearts above the sheep mean that they are breeding and a baby sheep should appear soon.
Once you have as many sheep as you require you can use them as in the description above.
Where next
Additions to the build –
Carpet tile – a nice addition to this build is to place a carpet tile on top of a fence post. This will enable you to go in and out of the pen without opening the gate as you can jump over a fence if it has a carpet tile on. This means your sheep can’t sneak out of the gate while you’re trying to get in.