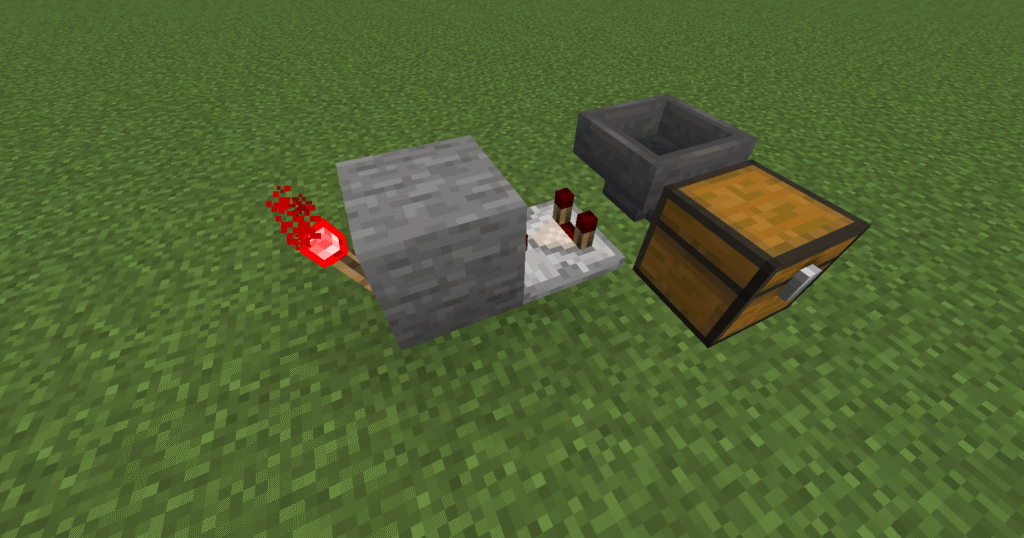
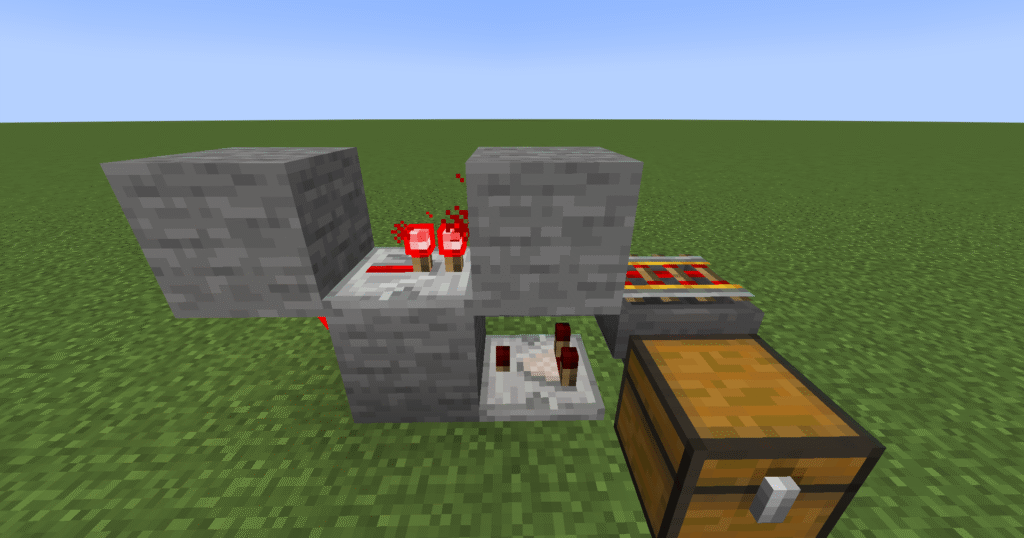
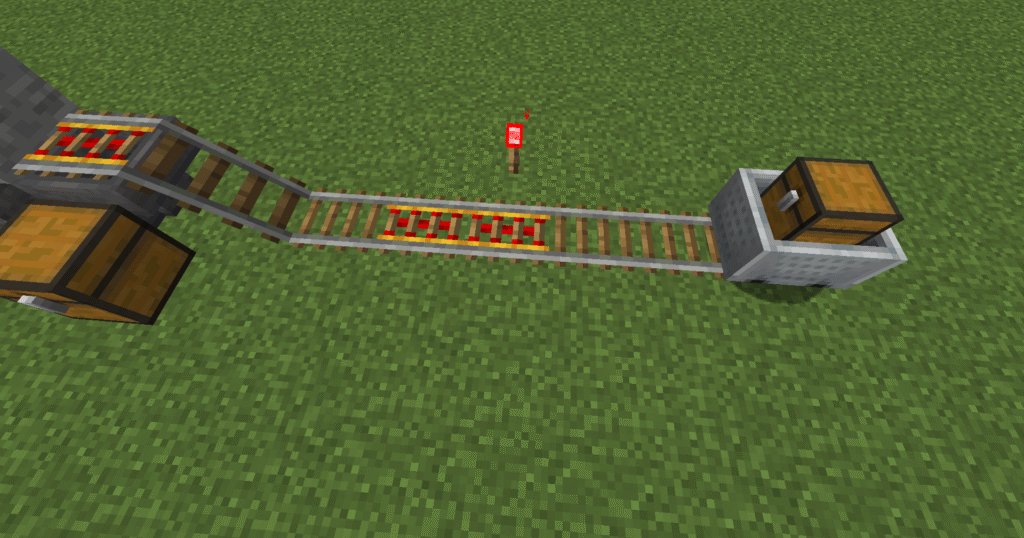
Category: Blog

Your blog category

  • Minecraft sugar cane farm

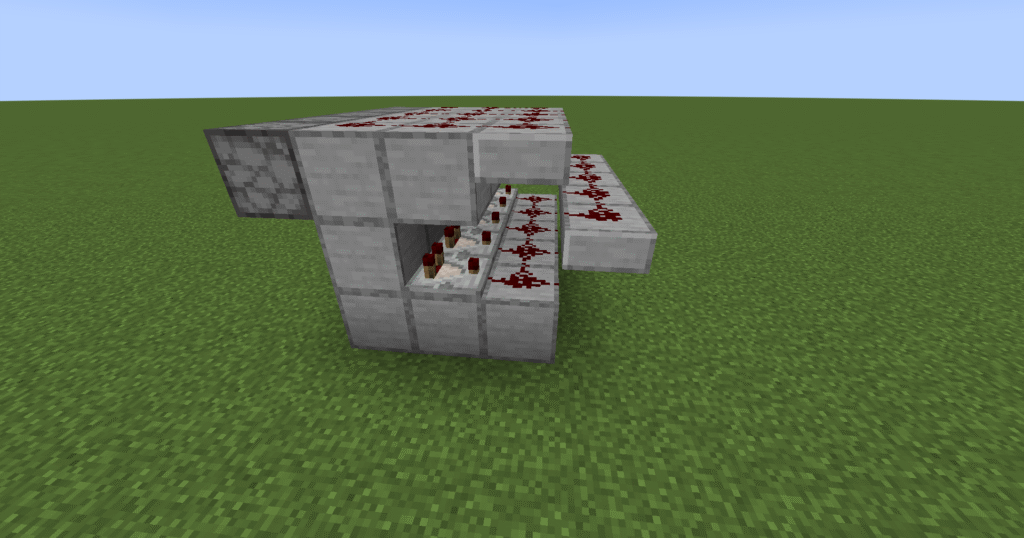
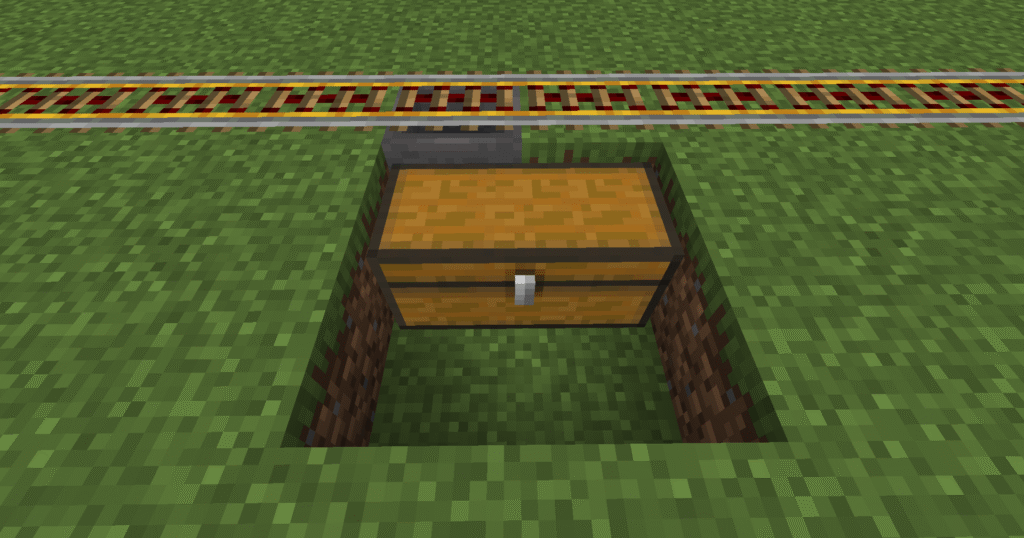
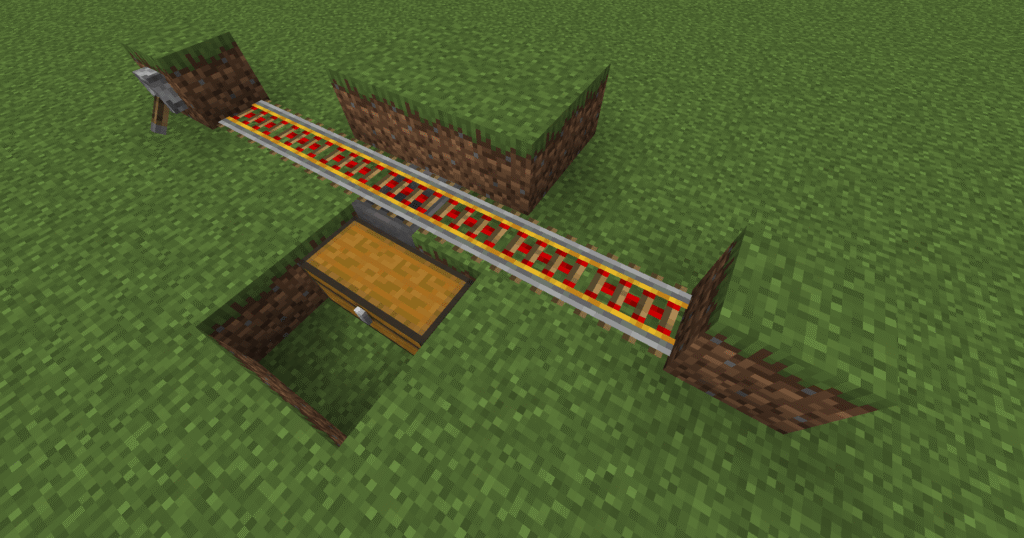
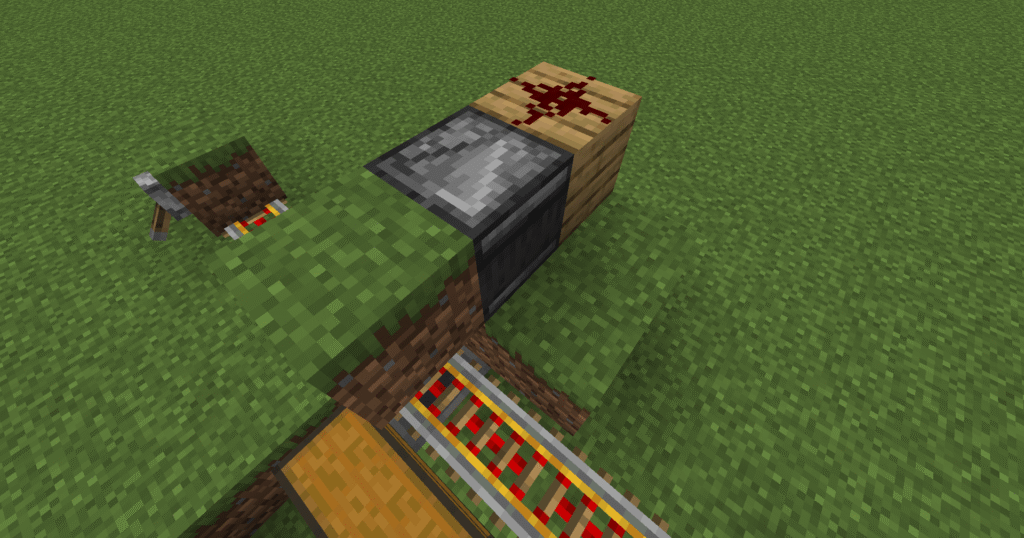
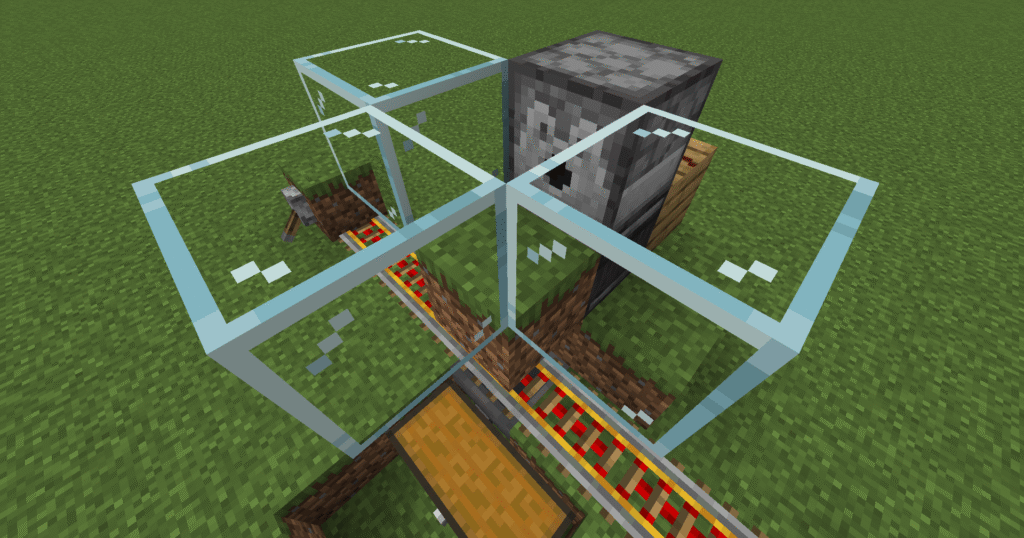
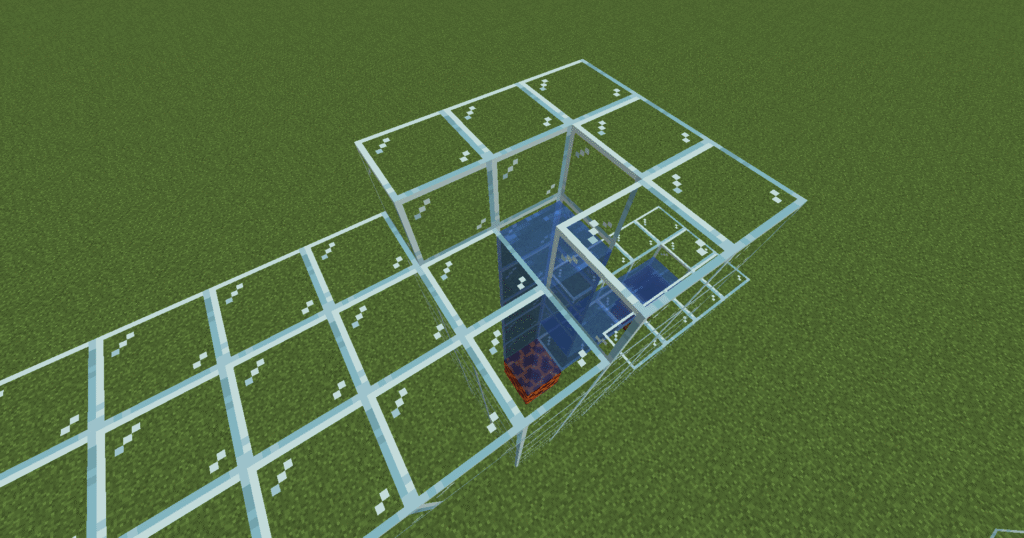
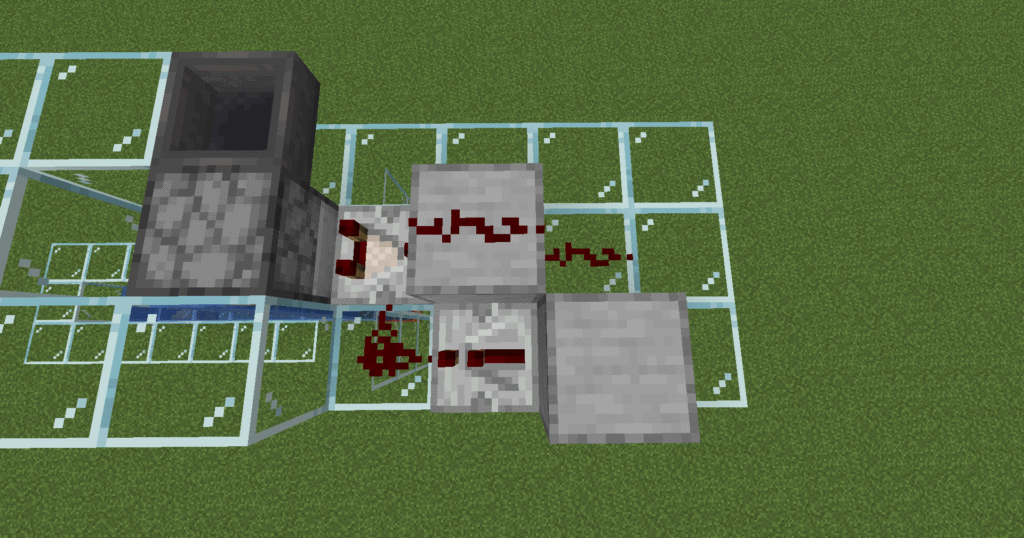
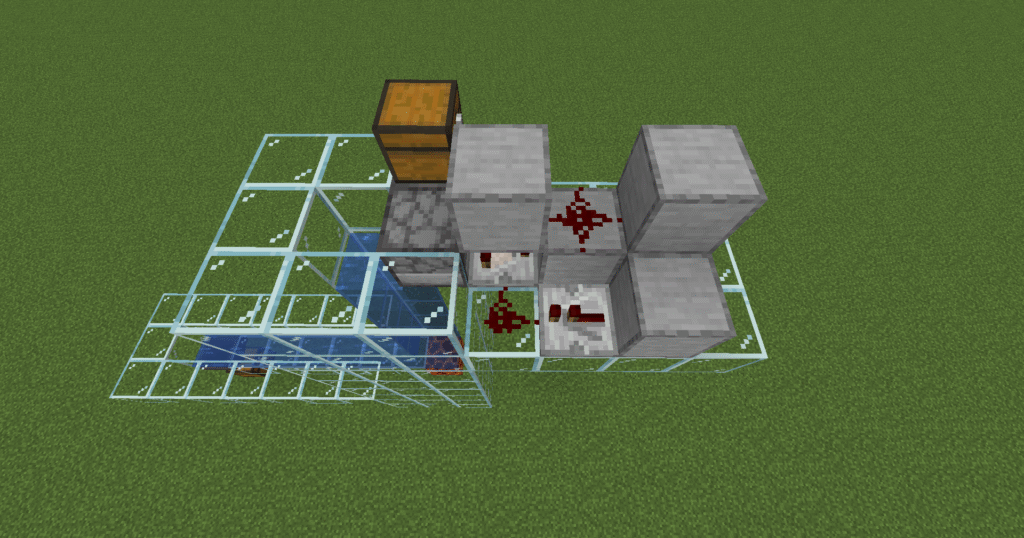
    This farm will give you an unlimited supply of sugar cane. This build works in the that the sugar cane will grow naturally and automatically. This works by having observers on top of a row of pistons. When the observer views the sugar cane growing to a certain height it then triggers the pistons that break the sugar cane. The sugar cane drops to the floor and waits to be collected. The collection is done by a simple minecart loader that will travel underneath where the sugar cane will fall. Using powered rails underneath the build will enable the the sugar cane to be pulled through the grass block and into a minecart. The minecart then delivers the sugar cane to a chest for the player to collect. There is no interaction needed from the player except for emptying the chest.

    What can sugar cane be used for

    • Making sugar – one sugar cane can be crafted into sugar, which is used in brewing potions and making cakes.
    • Trading – wandering traders sometimes sell sugar cane, and librarians buy paper, which can be made from sugar cane, for emeralds.
    • Farming – sugar cane can be farmed efficiently near water sources, making it a renewable resource.
    • Composting – sugar cane can be placed in a composter to produce bone meal.
    • Firework rockets – paper made from sugar cane is used to craft firework rockets, which are essential for flying with an elytra.

    Sugar cane can be found near bodies of water.


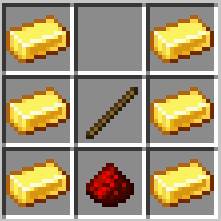
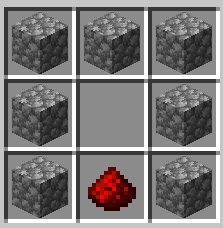
    These are the ingredients and recipes that you will need to make this build. Please ensure that you have all of the ingredients before you start your build.

    ItemPictureAmount
    Observer10
    Piston10
    Lever1
    Dirt block10
    Sugar cane10
    Redstone dust10
    Glass56
    Powered rail16
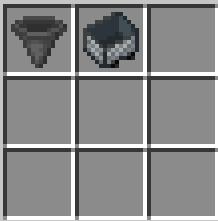
    Minecart hopper1
    Water bucket10
    Stone block79
    Comparator1
    Repeater1
    Chest2
    Redstone torch1
    Hopper1
    Rail1
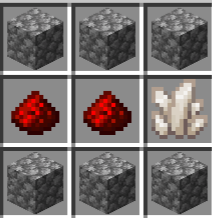
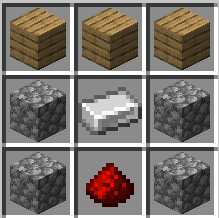
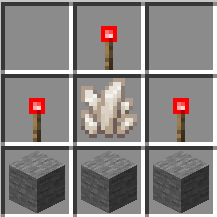
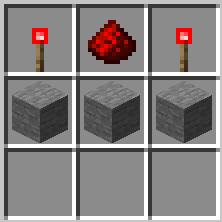
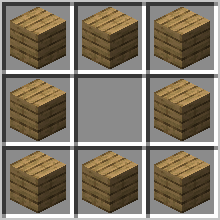
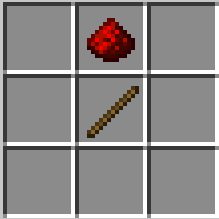
    • Comparator and repeater – both of these builds will need redstone torches crafting first.
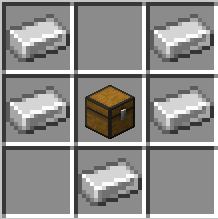
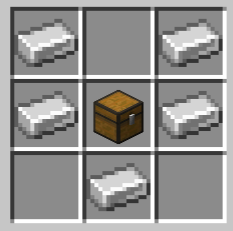
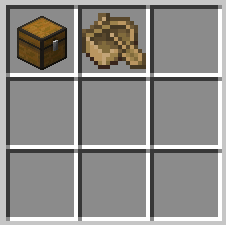
    • Hopper – you will need to craft a chest in order to make the hopper.
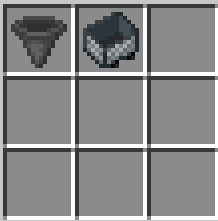
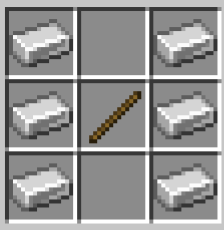
    • Minecart with hopper – this build will require a chest and a hopper crafting first.

    Here we will explain in detail how to build this build in Minecraft. Please follow the instructions carefully.
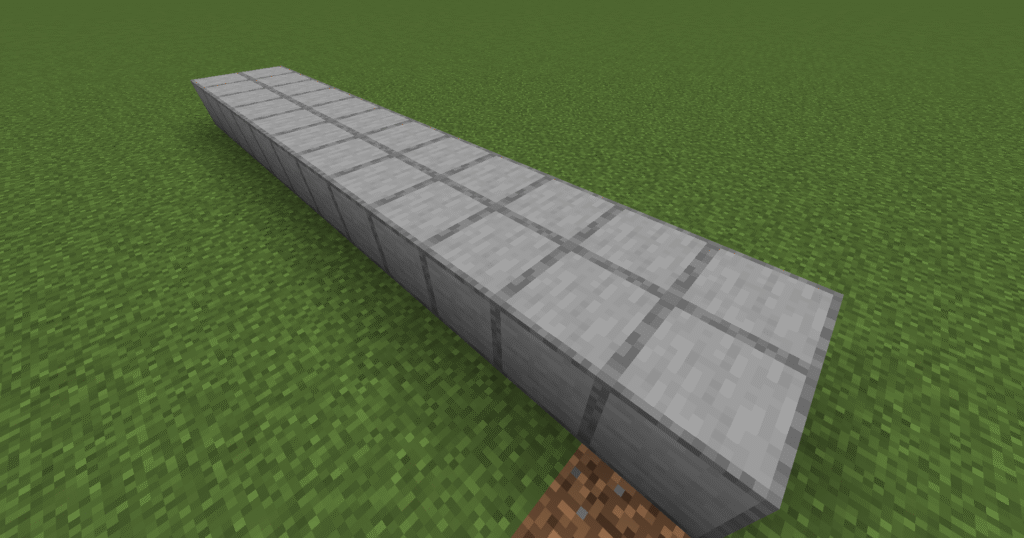
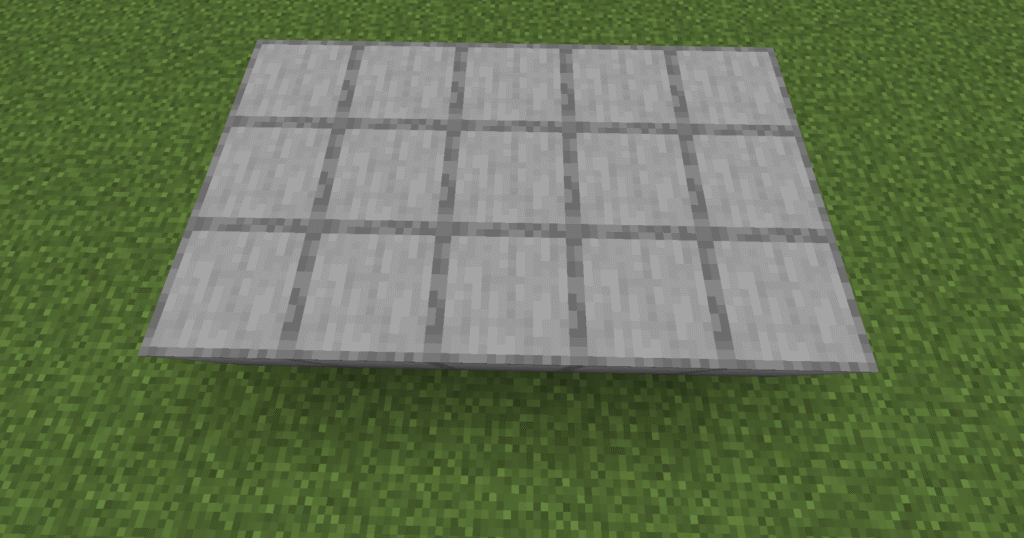
    1. The first step is to place down 24 blocks in a 12 x 2 block rectangle.
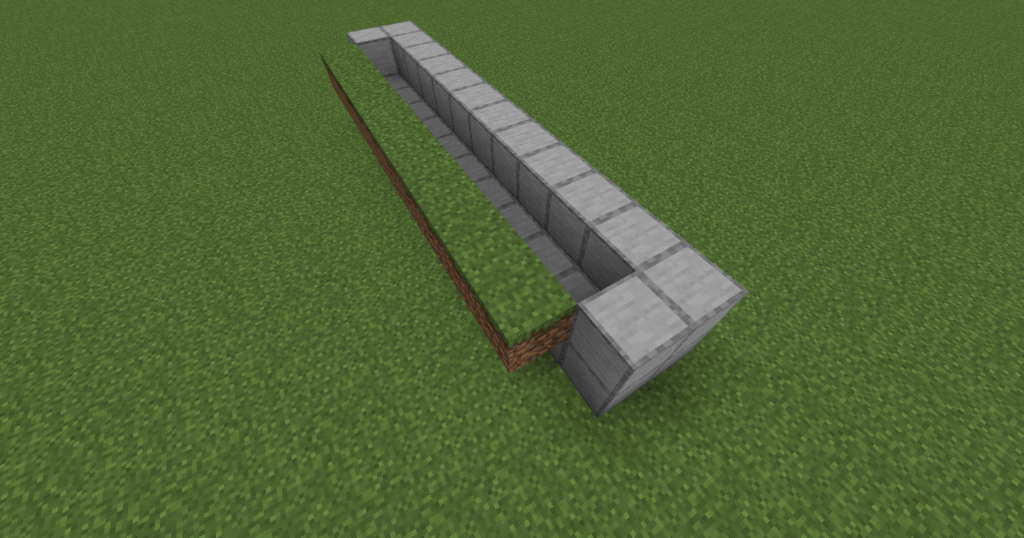
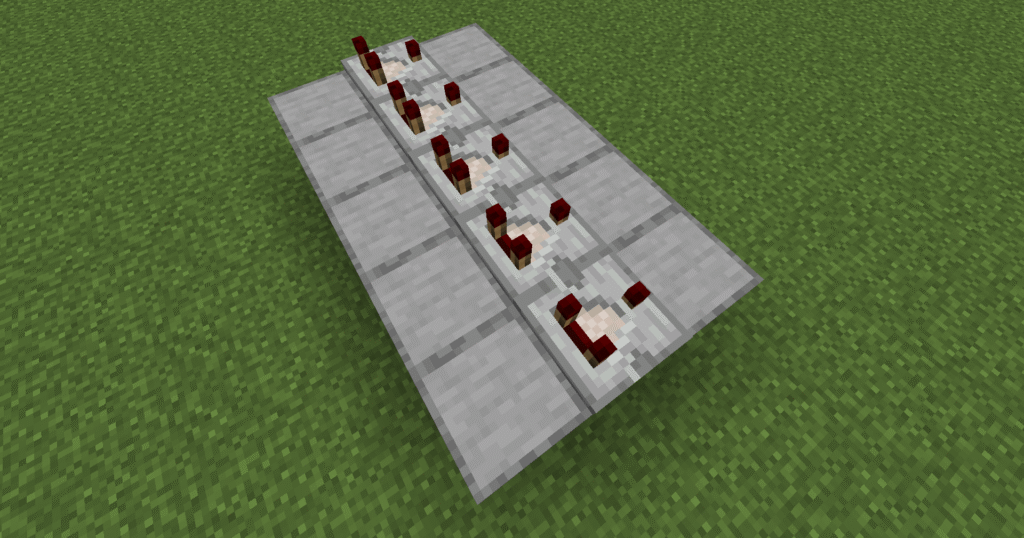
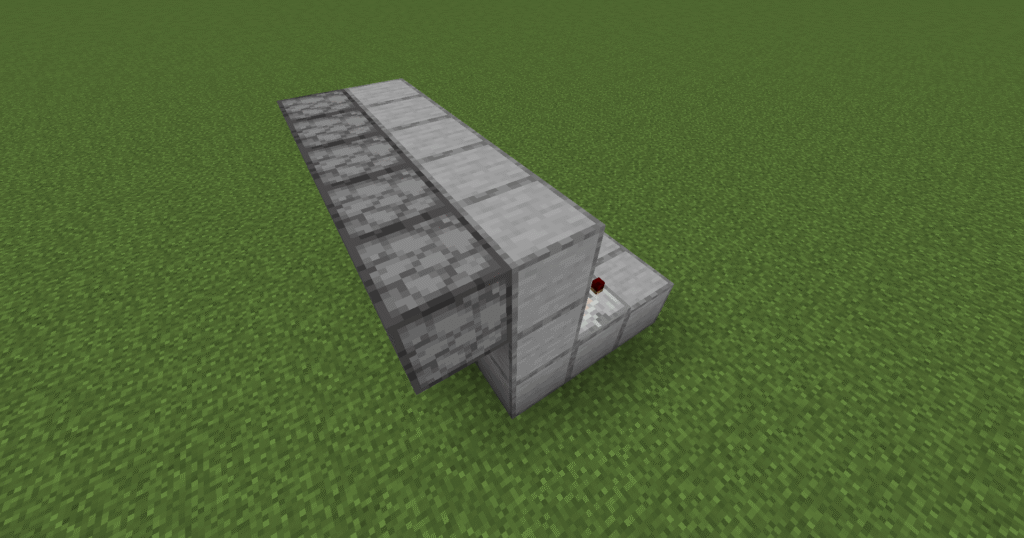
    1. First in this section is to place stone blocks on top of one long side and both ends .
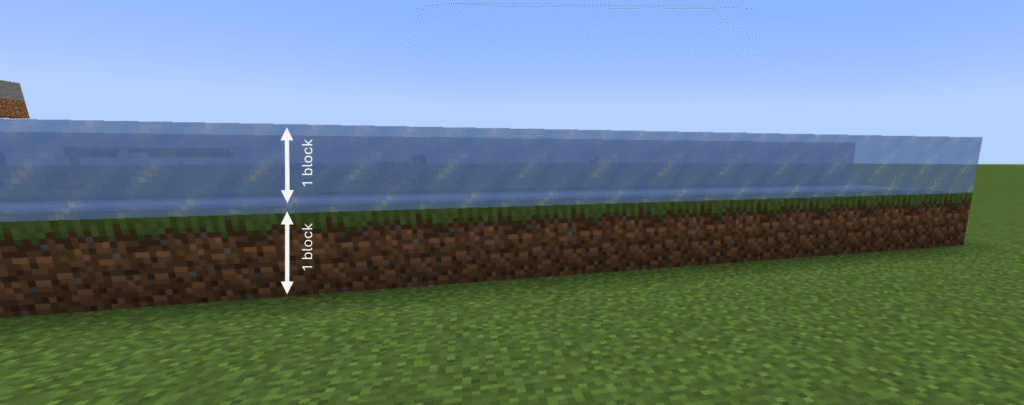
    2. Place down dirt blocks in front of the stone blocks. This should leave a channel like in the screenshot.
    3. This will leave a one block gap underneath the dirt blocks.
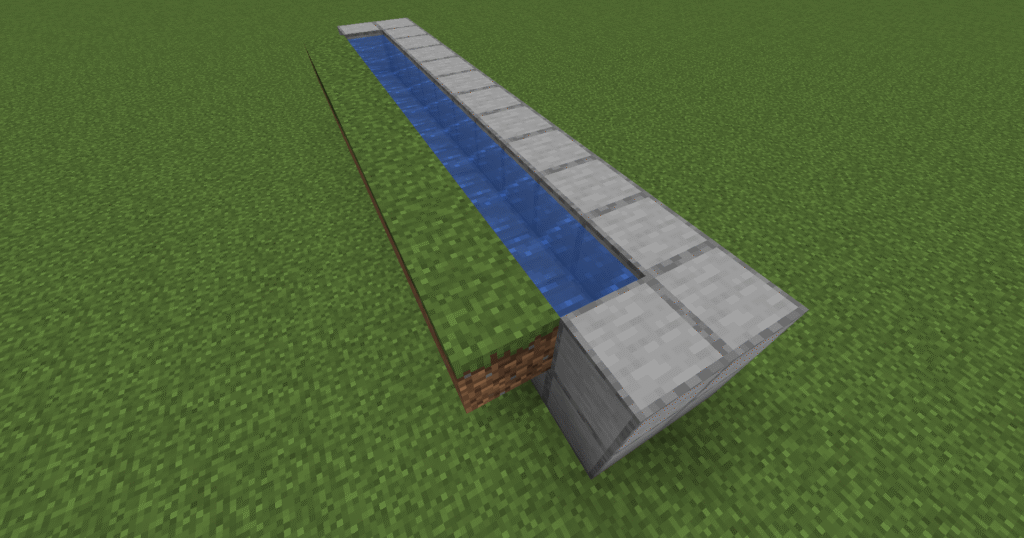
    1. Next we need to place down water buckets in the channel that we created earlier.
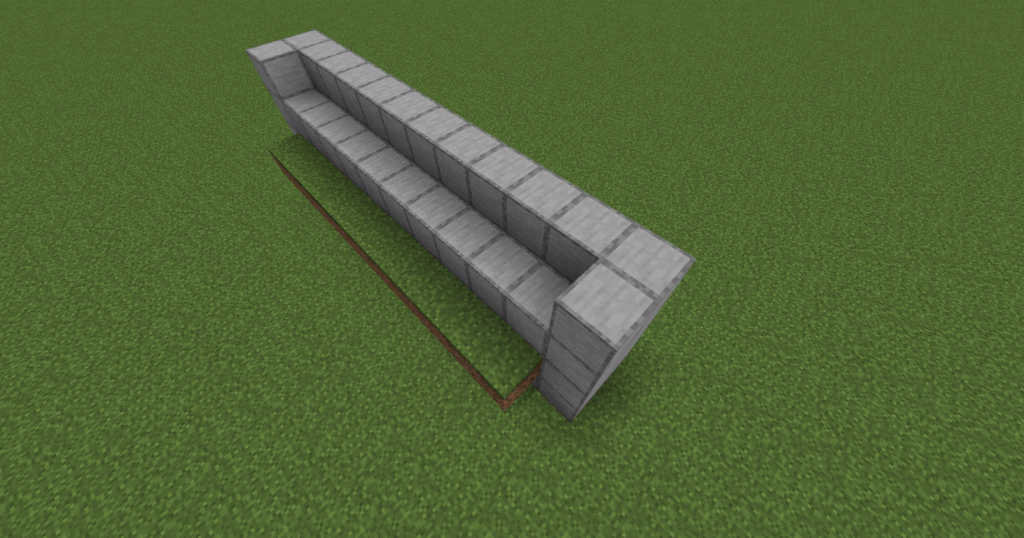
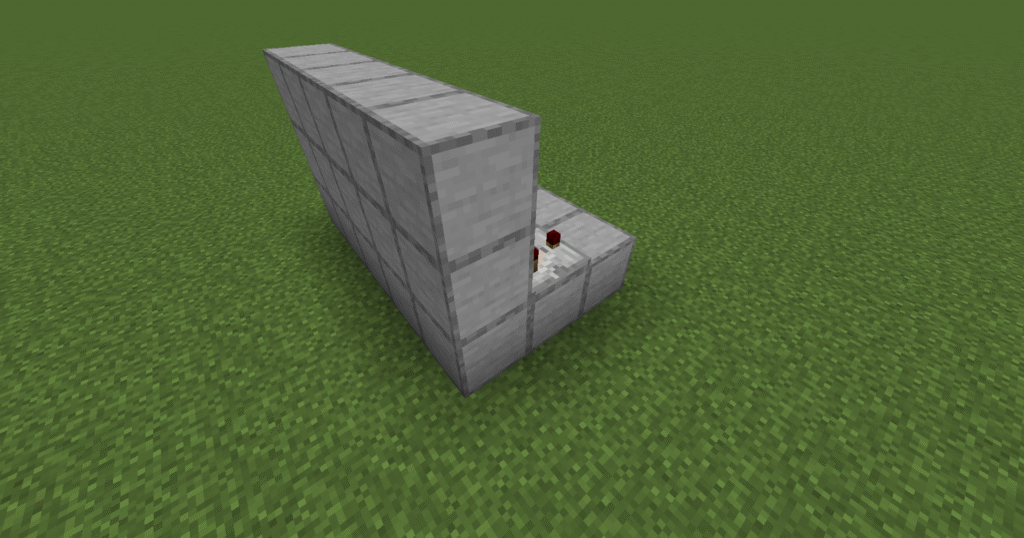
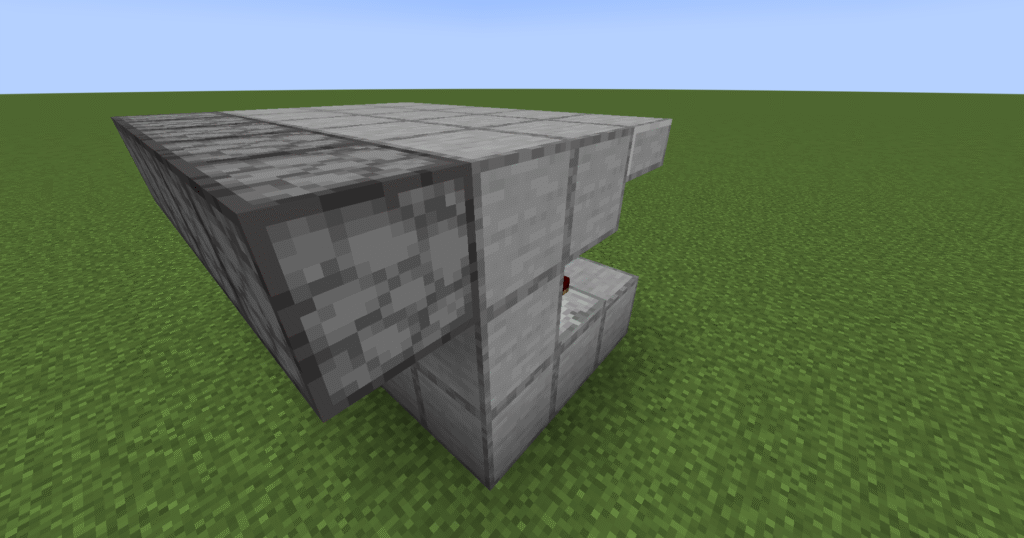
    1. Build the stone blocks up two more levels.
    2. Next place stone blocks above the water.
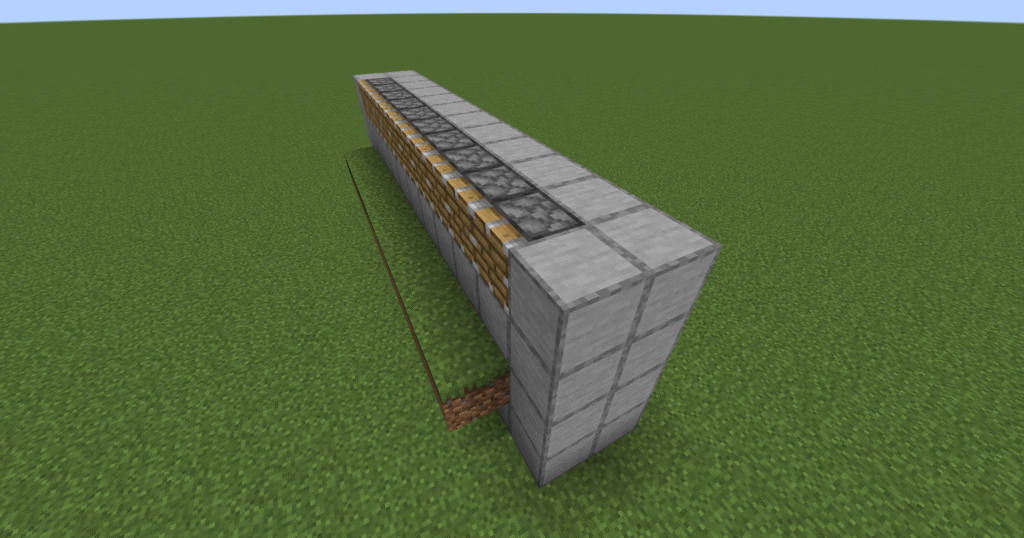
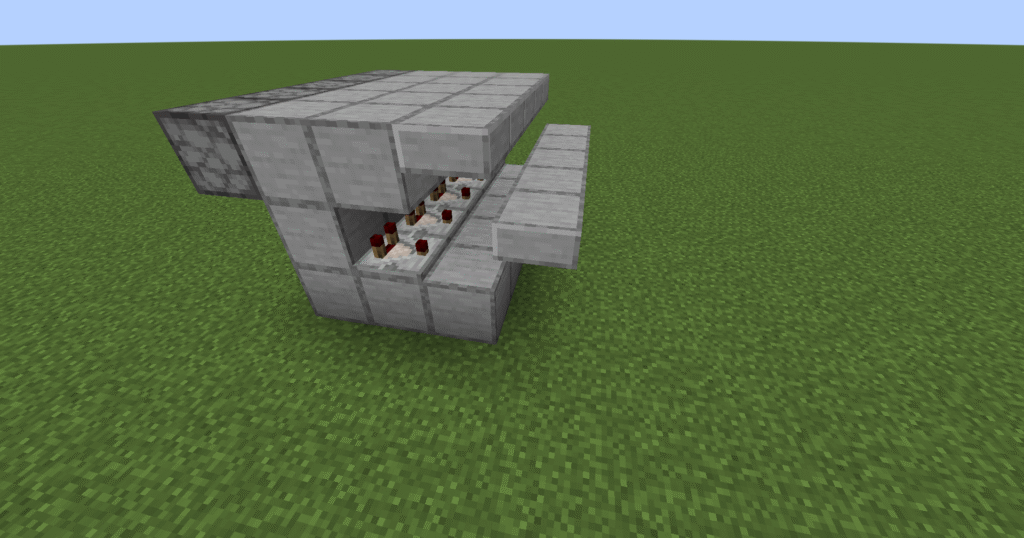
    1. Next place pistons facing outwards from the build.
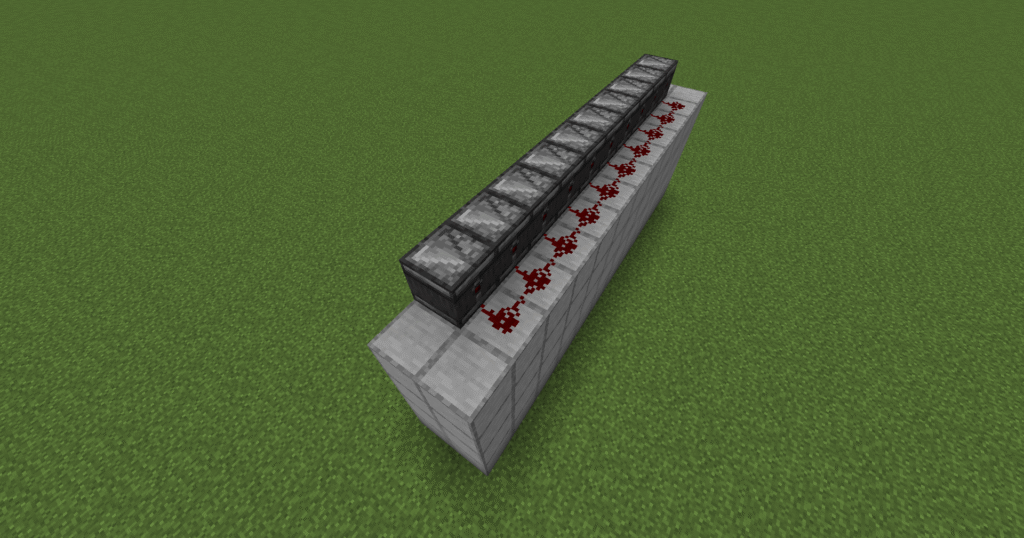
    1. Now lets place the observers with the arrow pointing backwards on top of the pistons.
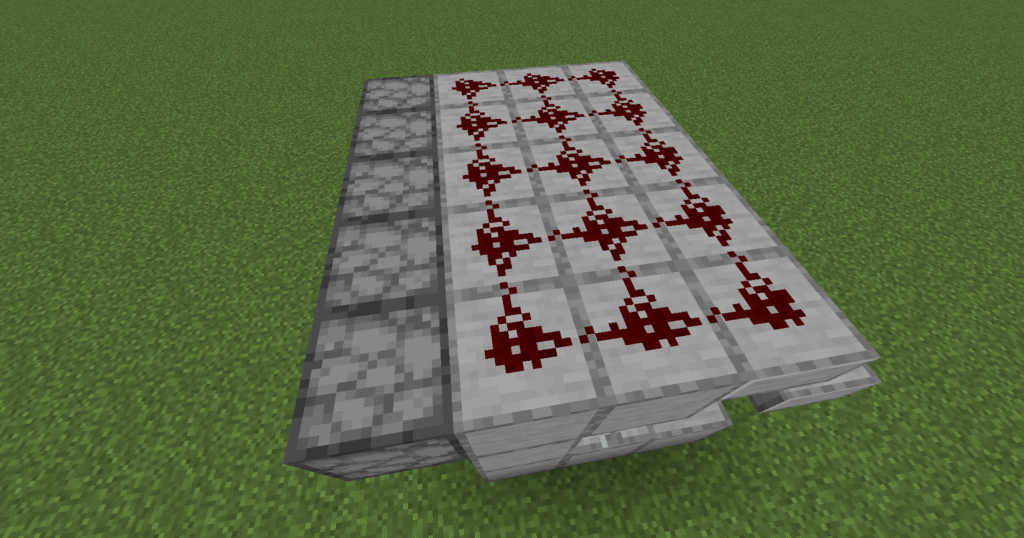
    2. Place one redstone dust behind each of the observers.
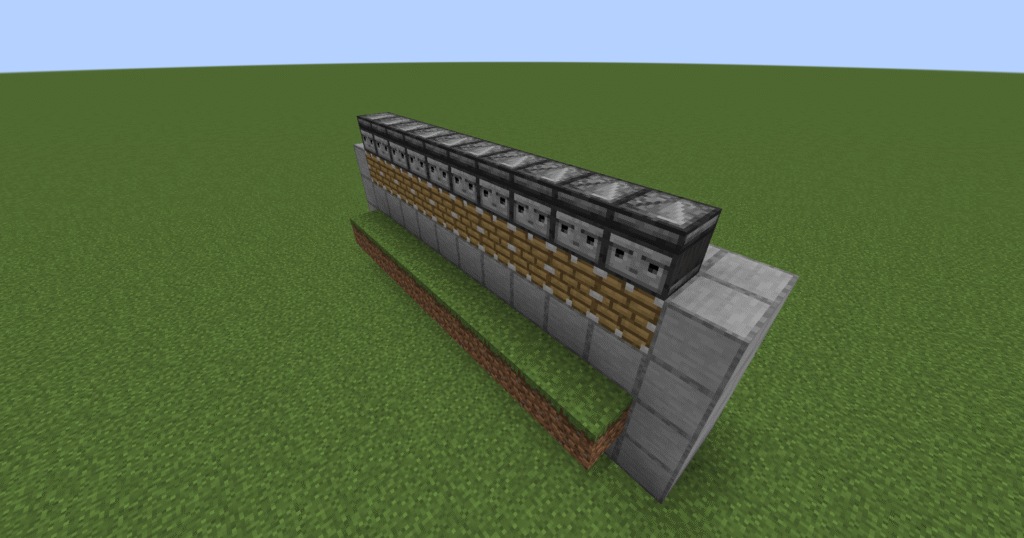
    1. This is what it should look like from the front at the moment.
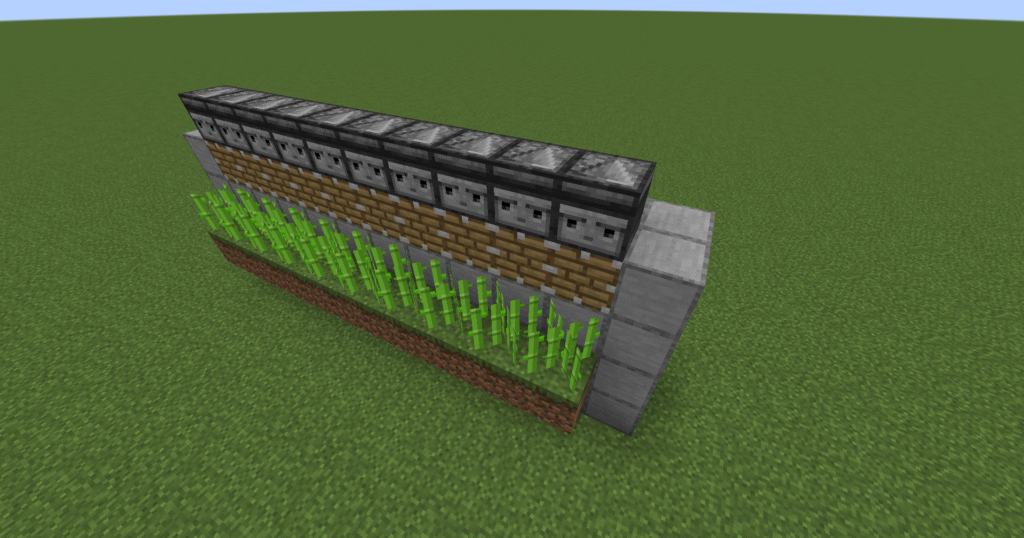
    1. In this next step we will place the sugar cane on the dirt blocks.
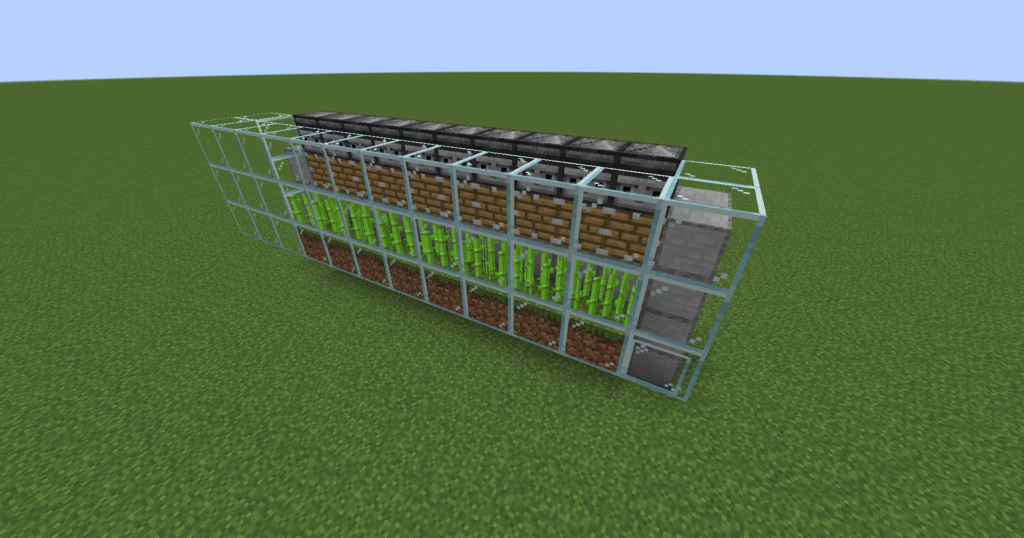
    1. Now lets place glass blocks down starting 1 block above the dirt blocks for 3 blocks in height.
    2. Ensure that this is built up to the same height as the observers.
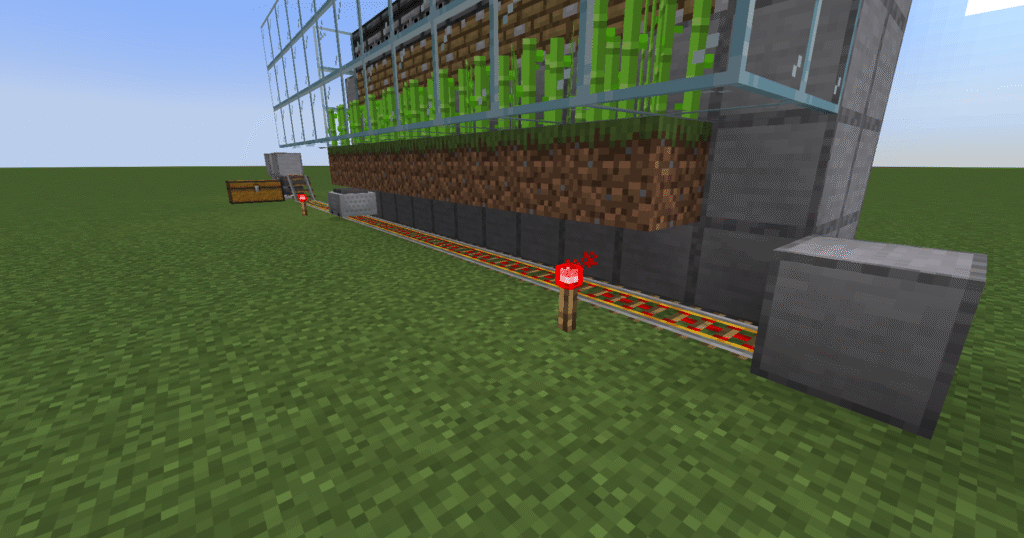
    1. Next place a stone block at one end of the build.
    2. Place powered rails all the way under the dirt blocks.
    3. Place a redstone torch near the rails.
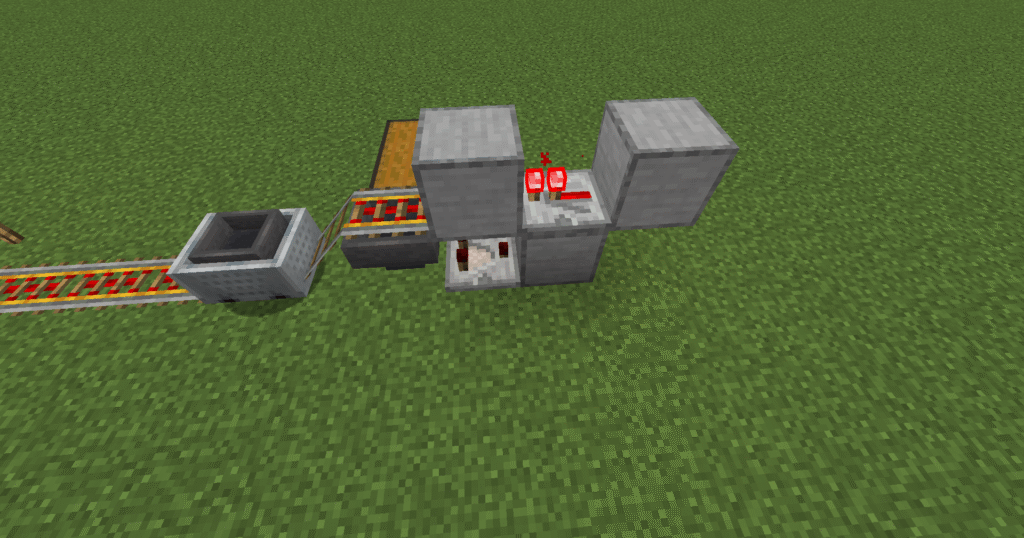
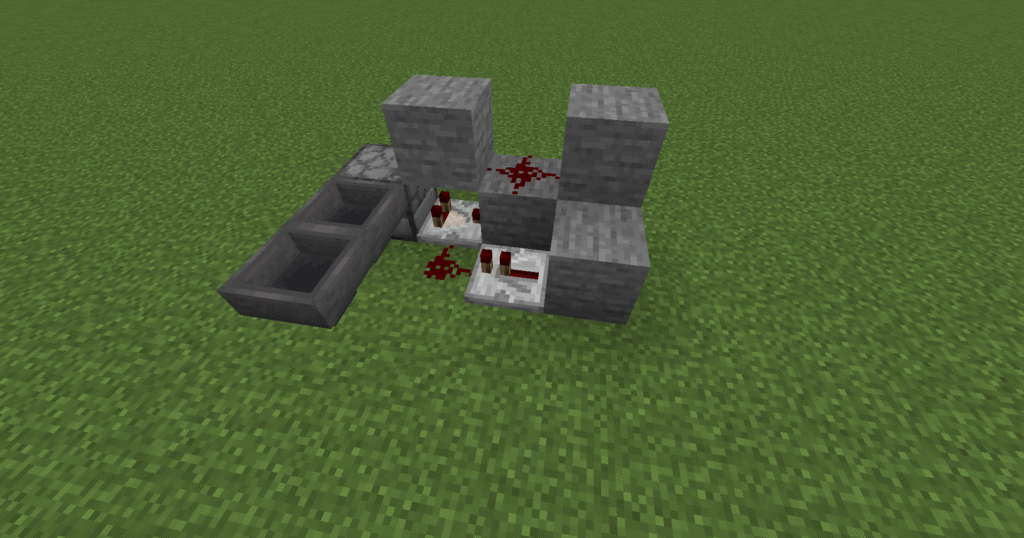
    1. This is the collection system. Please click to go to this build.

    What can go wrong – sugar cane not being collected.

    • This can be caused by the transport system being to far away from the grass blocks. Ensure that the minecart is directly underneath the grass blocks.
    • Minecarts can only collect sugar cane if they are going on powered rails. Ensure that all the rails under the grass blocks are powered.

    Additional builds

    • Crafter – you can send the sugar cane off to a crafter. A crafter can automatically craft items. This can then craft sugar automatically.

  • Minecraft honey farm

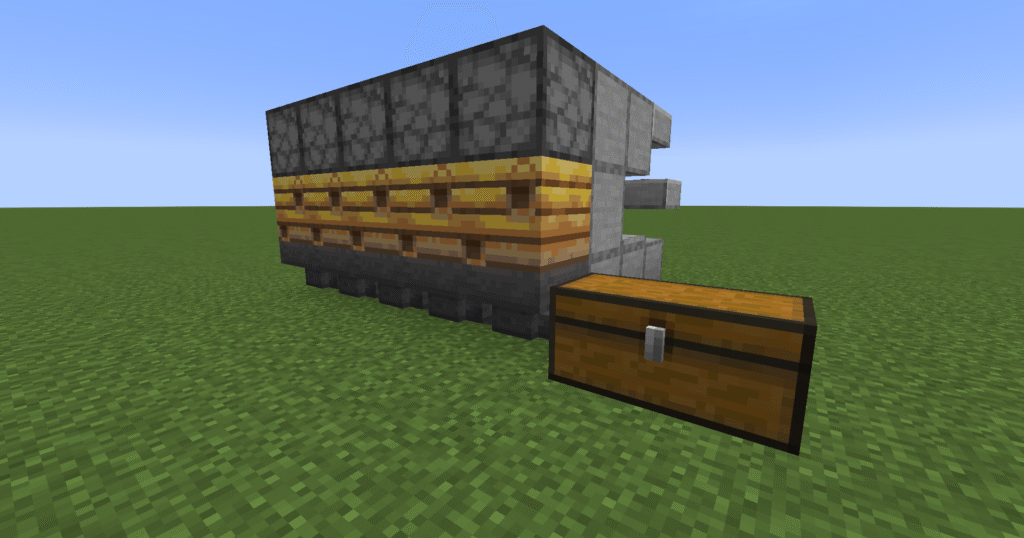
    This farm makes gathering honey or honeycomb easier and works when the observer watches the changing state of the bee hive. The bee hive goes through 5 states and the observer triggers when it reaches state 5. This will push the dispenser to trigger which will either collect honeycomb if the dispenser hold shears or a honey bottle if bottles are held in the dispenser.

    From this farm you can obtain honey bottles or honeycomb which can be used in many ways:

    • Honey blocks – crafted from 4 honey bottles. These slow down movement, reduce fall damage, allow for creative contraptions in redstone builds.
    • Honey bottles – food source, restoring 6 hunger points.
    • Honey bottles – a cure for poison.
    • Honeycomb – craft beehive, create waxed copper blocks, decorative honeycomb blocks.

    Honey can be got in a number of ways.

    • A glass bottle on a bee hive to get bottle of honey.
    • Shears on the bee hive will get you honeycomb.
    • Campfire placed under a beehive will keep the bees calm.
    • Honey farm is the best way to have a steady supply of honey and honeycomb.

    These are the ingredients and recipes that you will need to make this build. Please ensure that you have all of the ingredients before you start your build.

    ItemPictureAmount
    Stone blocks30
    Dispenser5
    Bee hive5
    Hopper5
    Stone slab10
    Comparator5
    Redstone dust25
    Chest2
    Flower5
    Dirt block24
    Bee5
    Door1
    Glass bottlesDepends on size
    Shears1 minimum
    • Hopper – you will need to craft a chest first.
    • Comparator – you will need to make redstone torches to craft this.
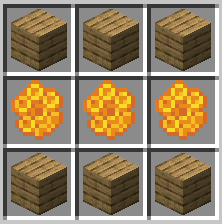
    • Beehive – you will need to collect honeycomb and make planks for this build.
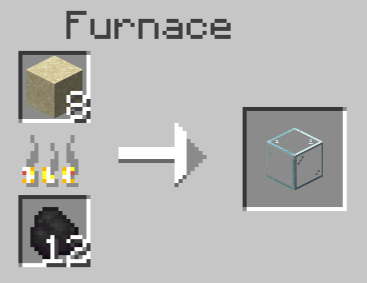
    • Glass bottles – you will need to craft glass blocks in a furnace to make your bottles.
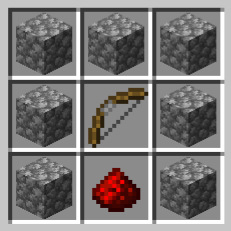
    • Dispenser – you will need to craft a bow to make the dispenser.

    Here we will explain in detail how to build this build in Minecraft. Please follow the instructions carefully.

    1. Lets first build a 5 x 3 block structure on the floor.
    1. Next lets place down a row of 5 comparators across the middle of the blocks. Ensure that the comparators are facing the front of your build.
    1. Lets place a 2 block wall on top of the front of your build. The two prongs of the comparator should be facing the wall.
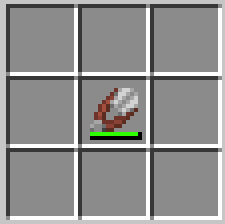
    1. We need now to place dispensers facing down.
    1. Lets place stone blocks above the comparators.
    2. Now place stone slabs to the back of the stone blocks on the top half.
    1. The next step is to place the floating slabs. The easiest way to do this is to place 2 blocks down by the side of the build and then place the slab to the top of this block.
    2. You then need to build across the 5 slabs.
    3. Destroy the 2 blocks that you built.
    1. Next lets place redstone dust on all of the blocks and slabs on the top of the build.
    1. Lets now place redstone dust on the stone blocks behind the comparator.
    2. Place redstone dust on the slabs at the back of the build.
    1. In the next stage of the build, lets place a double chest down that is level with right hand side of the build.
    2. Place 5 hoppers down that lead straight into the chest.
    3. Finally place 5 bee hives directly under the dispensers and on top of the hoppers.
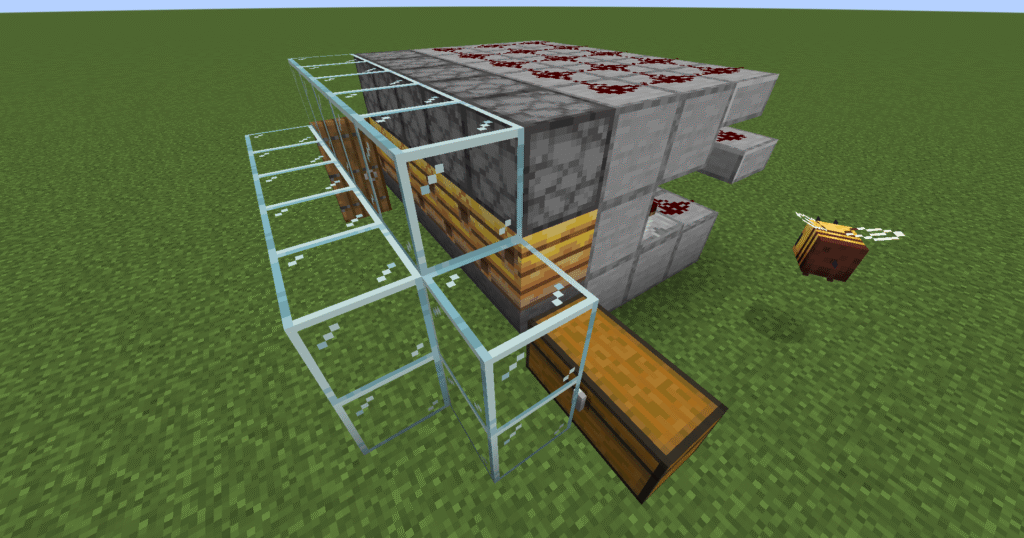
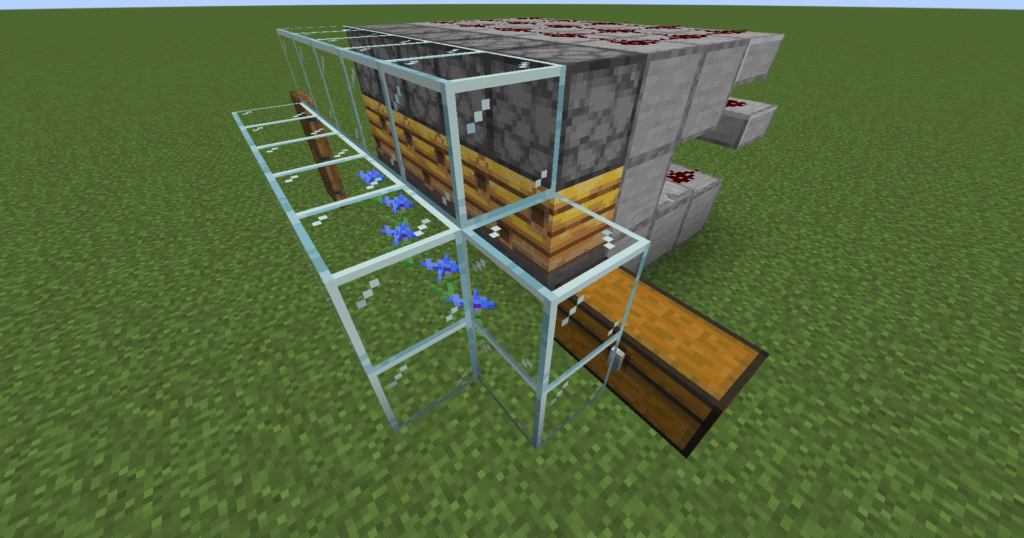
    1. Lets now place glass around the front of the build, this will enclose the bees in.
    2. From inside the build place a door on the opposite end to the chest. This should make it so that behind the glass is completely enclosed.
    1. Place flowers on each of the spare blocks behind the glass.
    2. Finally put bees behind the glass enclosure.
    1. Please ensure that you fill the dispensers. If you place shears this will get you honeycomb. If you put bottles in the dispensers you will get honey bottles.

    What can go wrong – not collecting honey.

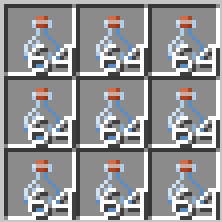
    • Ensure that there are glass bottles in all 9 slots of the dispenser.

    What can go wrong – not collecting honeycomb.

    • Ensure that your shears have not run out.

  • Minecraft wool farm

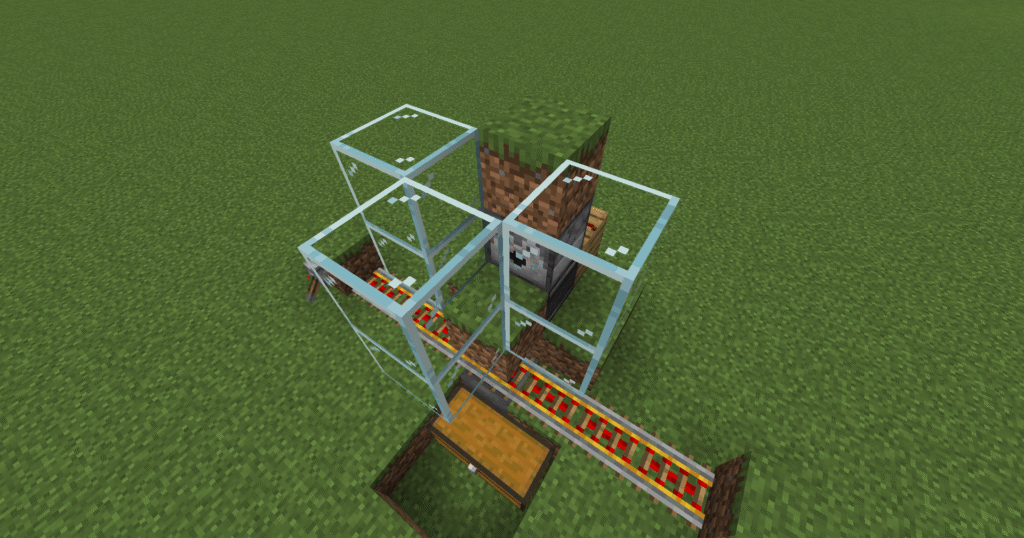
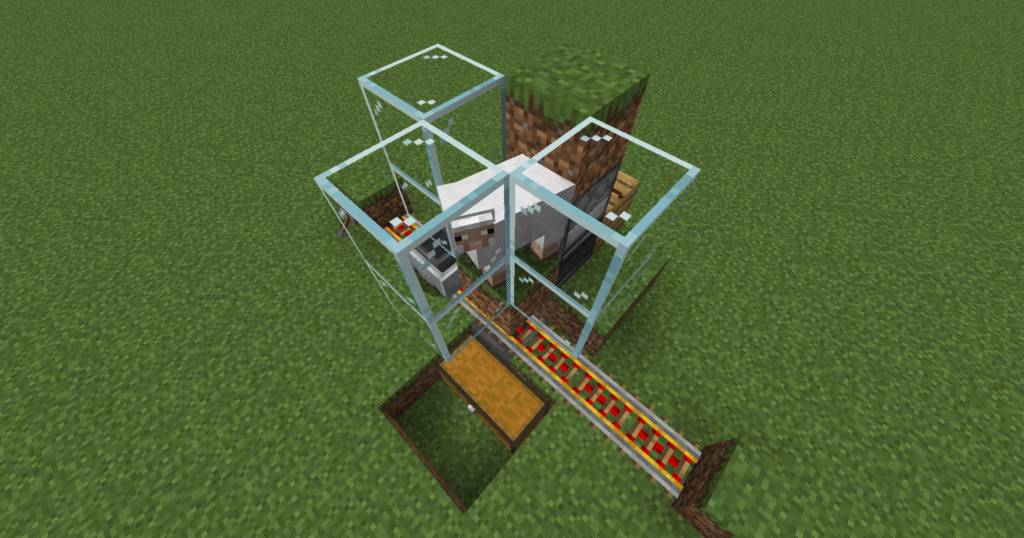
    This simple wool gathering build that works by placing a single sheep into an enclosed area, when the sheep eat the grass the status of that block changes and the observer registers this. The dispenser then shears the sheep, the wool drops to the floor and the minecart on powered rails pulls the wool through the grass block and deposits into the hopper and then into the chest. The player then needs to empty the chest and check if the shears need replacing.

    Wool is a versatile item in Minecraft that can be used for many things including:

    • Building and decoration – wool comes in many different colours making it ideal for buildings and decorations
    • Beds – one of the most important items in Minecraft is a bed. You need wool to make a bed.
    • Soundproofing – wool blocks vibrations. This is useful for preventing sculk sensors or shriekers activating.
    • Note blocks – placing wool underneath a note block changes its sound to mimic a guitar.
    • Crafting – besides beds , wool is used to craft carpets, banners and paintings in survival mode.
    • Fuel – very inefficient but can be used in a furnace.

    Although a wool farm is the best way to get wool. There are other options for obtaining wool. These include

    • From sheep – can be got from sheep by shearing or killing the sheep.
    • Woodland mansion – different wool can be obtained from a woodland mansion.
    • Villages – white and yellow wool can be obtained from certain structures in villages.
    • Pillager outposts – tents made of white wool appear here.
    • Ancient cities – grey, blue, cyan and light blue wool often generate here.
    • Crafting – wool can be made using four pieces of string.
    • Trading – shepherd villagers may sell different colours of wool.

    These are the ingredients and recipes that you will need to make this build. Please ensure that you have all of the ingredients before you start your build.

    ItemPictureAmount
    Chest2
    Hopper1
    Dirt block9
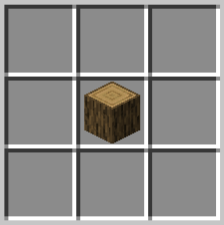
    Plank1
    Powered rail7
    Dispenser1
    Glass6
    Redstone dust1
    Sheep1
    Shears1
    Minecart hopper1
    • Hopper – you will need to craft a chest before you make the hopper.
    • Dispenser – you will need to make a bow first.
    • Minecart with hopper – you will need to craft a minecart and then a hopper before combining them.

    Here we will explain in detail how to build this build in Minecraft. Please follow the instructions carefully.

    1. The first step is dig a 2 x 2 block hole 1 block deep.
    2. Place a double chest down.
    3. Dig 1 block on the left behind the chest.
    4. Place a hopper that leads into the chest.
    5. Place the powered rails across the top of the hopper.
    1. Lets first place two dirt blocks at either end of the powered rails.
    2. Place a lever on one dirt block. This will power the rail when needed.
    3. Next build a 3 x 2 block with the 3 facing the chest that you placed earlier.
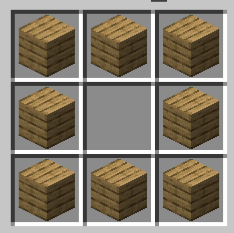
    1. First lets place a plank at the back of the platform like so.
    2. Next lets place an observer down next, make sure the arrow points towards the plank block.
    3. Finally place a dirt block that attaches to the observer.
    4. Place redstone dust on top of the plank.
    1. Next up, lets place a dispenser on top of the observer.
    2. Place shears into the dispenser.
    3. Now place glass blocks around the grass block that we placed over the powered rails.
    1. Build glass blocks 1 block higher.
    2. Place a dirt block on top of the dispenser.
    1. Finally place a sheep into the middle of the glass blocks.
    2. Place a minecart with hopper on the powered rails.

    What can go wrong – shears running out.

    • Ensure that the shears are still working or you will not get any wool.

  • Minecraft up elevator

    These are the instructions for a Minecraft up elevator. It is essentially an elevator for transporting items upwards to where you need them. It works in the way that the soul sand sends bubbles up the column of water and makes whatever items are in the water rise rapidly to the top. The water must all be source blocks this can be achieved by placing buckets of water down on each block or by planting kelp all the way up the water column and then breaking it.


    These are the ingredients and recipes that you will need to make this Minecraft up elevator. Please ensure that you have all of the ingredients before you start your build.

    ItemPictureAmount
    Soul sandSoul sand1
    Stone blockStone block4
    Redstone dustRedstone dust3
    RepeaterHow to craft a repeater1
    ComparatorHow to craft a comparator1
    HopperHow to craft a hopper3
    DropperHow to craft a dropper1
    Bucket of waterWater bucketDepends on height
    ChestHow to craft a chest1
    DirtDirt blockDepends on height
    • Hopper – you will need to craft a chest first before making a hopper.
    • Repeater and comparator – you will need to make redstone torches first.

    Here we will explain in detail how to build this Minecraft up elevator. Please follow the instructions carefully.

    1. In the first section of this build we will dig a hole of 1 block and place the soul sand in it.
    2. Place the dropper down facing the soul sand and place a comparator facing the back of the dropper.
    3. Then place a stone block behind the comparator and place redstone dust on top of the stone block.
    4. Place some redstone dust behind this stone block.
    5. Place another stone block to the left of the redstone dust in step 4.
    6. Place a repeater in front and then redstone dust in front of this.
    7. Finally place 2 hoppers that flow into the dropper.
    1. In this section we will place 2 stone blocks, 1 is placed above the comparator and 1 is placed above the redstone dust as shown in diagram.
    1. Now we will start to build up the wall of glass blocks.
    2. Place glass blocks around the soul sand so that it can hold the water.
    3. Place a bucket of water in the centre and you should see bubbles rising up in the water.
    1. Here we will continue to build the water column up.
    2. We will build this as high as is needed to transport the items that we place into the hopper.
    1. In this section we continue to build up the water column.
    2. Place a bucket of water at each level.
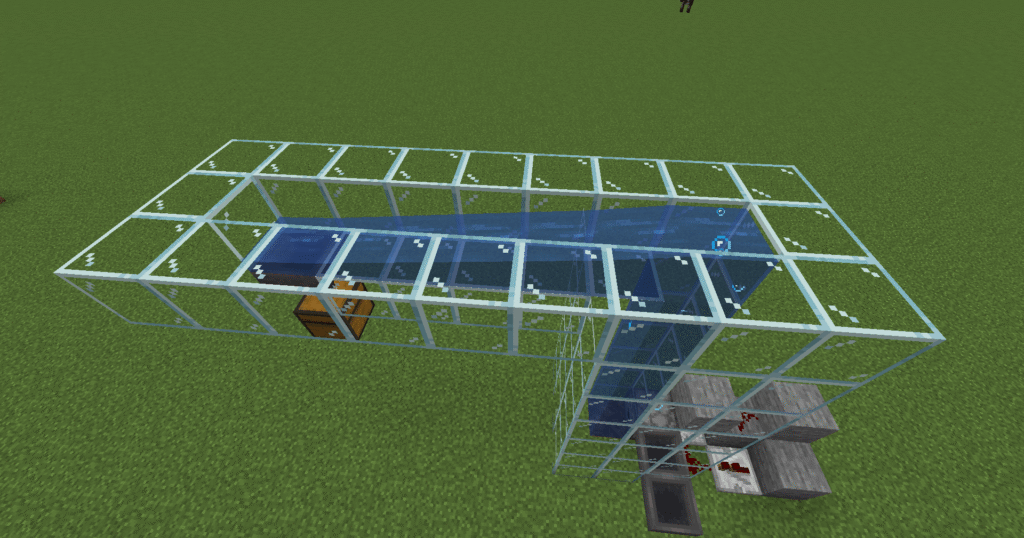
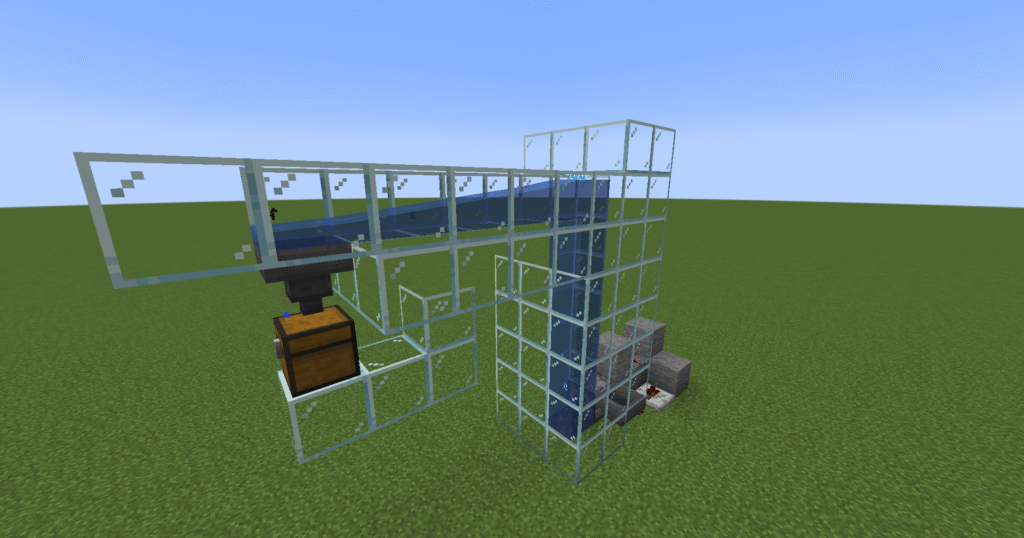
    1. To build the transport section of this build we need to build 1 square of glass blocks above where the water column ends.
    2. Then build out to allow water to flow into a hopper at the end and eventually into a chest.
    3. Remember to build a glass block column underneath to hold the water in.
    4. Place a water block so that the water flows towards the hopper.
    1. To build the transport section of this build we need to build 1 square of glass blocks above where the water column ends.
    2. Then build out to allow water to flow into a hopper at the end and eventually into a chest.
    3. Remember to build a glass block column underneath to hold the water in.
    4. Place a water block so that the water flows towards the hopper.
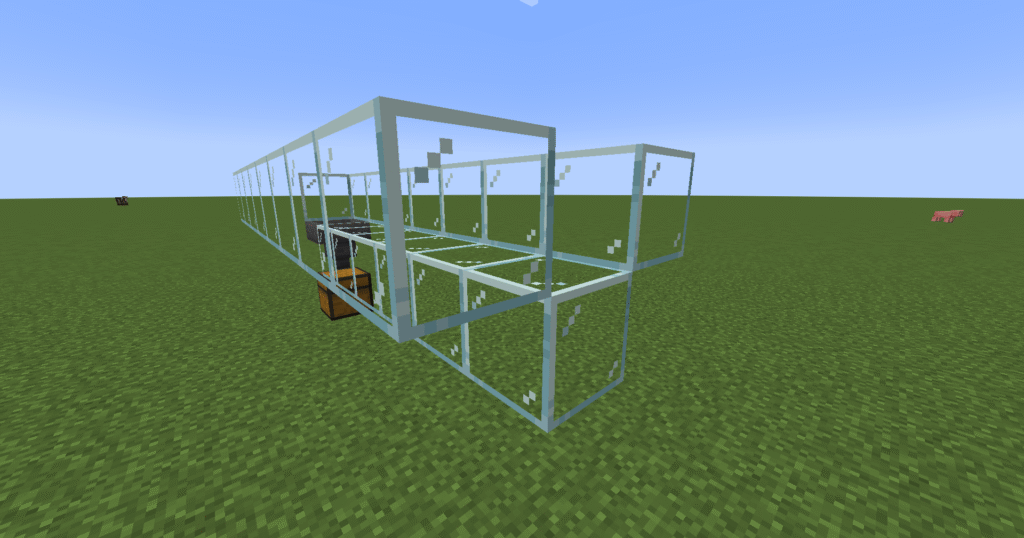
    1. Next place glass blocks over where the items will pop up to stop them falling out at the top.
    2. Then the build is finished.

    What can go wrong – water not reaching the hopper.

    • Ensure that there are only six blocks from the water source block.

    Additional builds

    • Transport – use a transport system to go to this elevator to send the items up to where you want them to go.

    Other additions –

    • You can use kelp instead of buckets to turn the water into source blocks. To do this plant the kelp and then break it. This will then turn the water into source blocks.

  • Minecraft down elevator

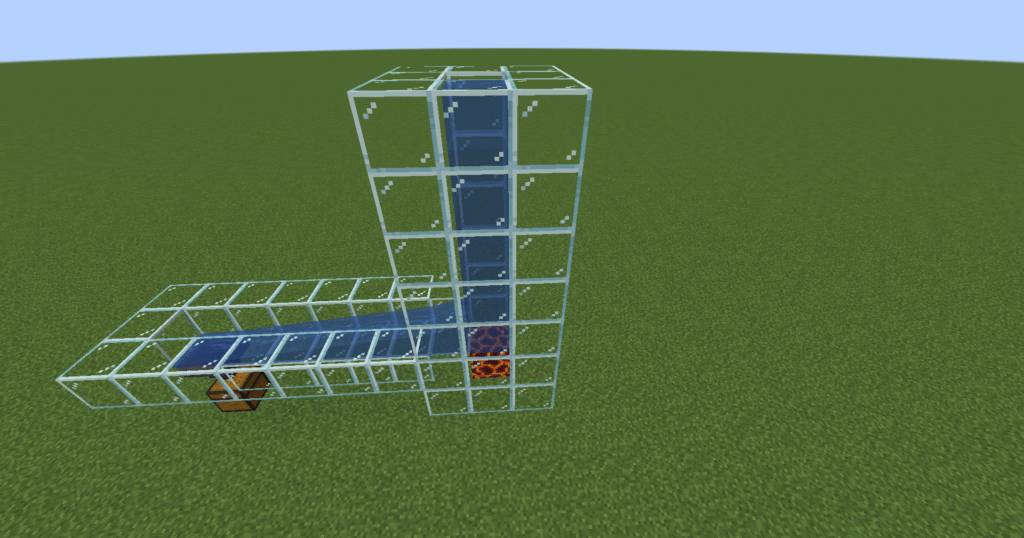
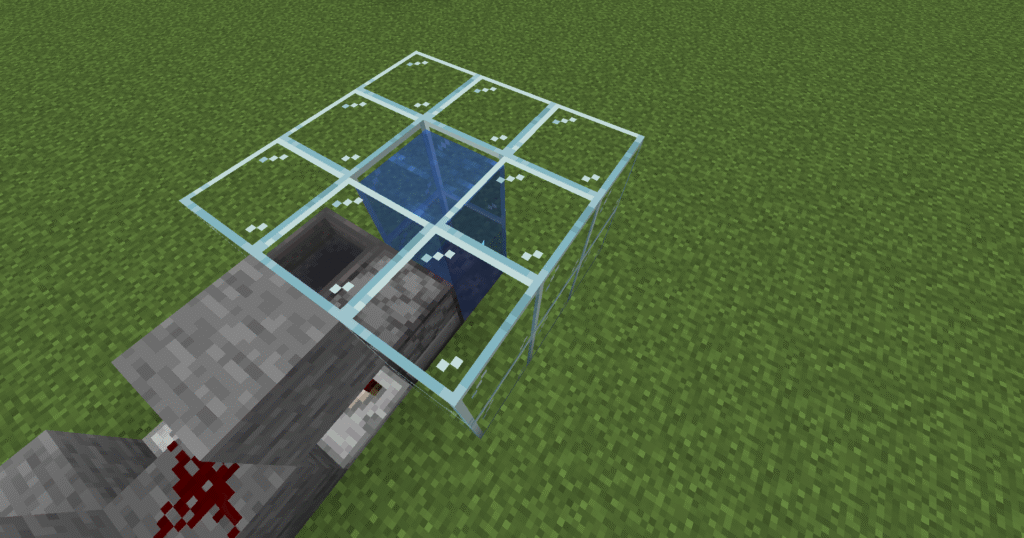
    These are the instructions to build a Minecraft down elevator. This build will enable you to send items down. This can be useful if you are mining and wish to send items down into the mine to save having to go yourself.

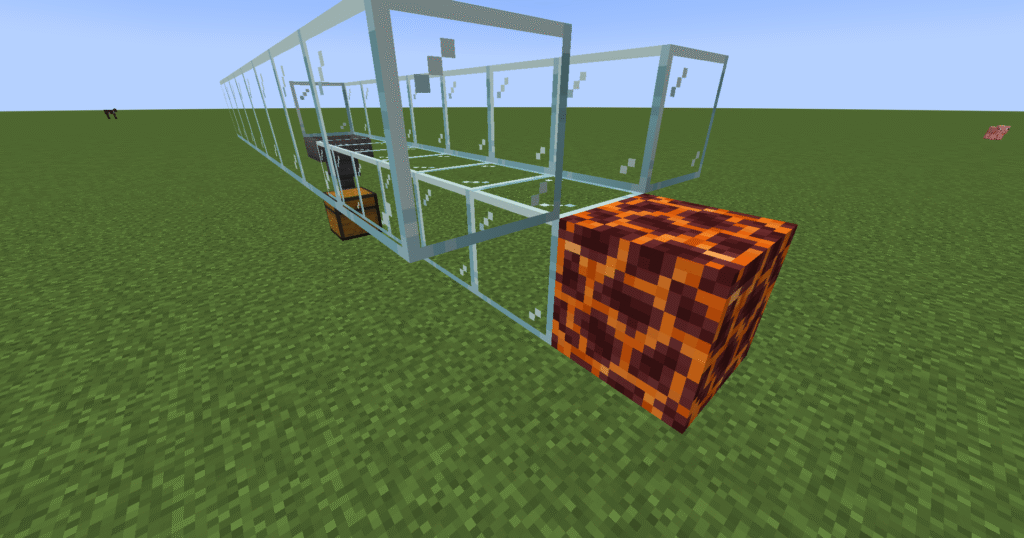
    This works by placing a magma block at the bottom of a water column the magma block will pull the items down and then they can be placed into a chest.


    These are the ingredients and recipes that you will need to make this Minecraft down elevator. Please ensure that you have all of the ingredients before you start your build.

    ItemPictureAmount
    MagmaMagma block1
    Stone blockStone block4
    Redstone dustRedstone dust3
    RepeaterHow to craft a repeater1
    ComparatorHow to craft a comparator1
    HopperHow to craft a hopper3
    DropperHow to craft a dropper1
    Bucket of waterWater bucketDepends on height
    ChestHow to craft a chest1
    Glass blockHow to craft a glass blockDepends on height
    • Hopper – to make a hopper you will first have to create a chest.
    • Repeater and comparator – you will need to make redstone torches first.

    Here we will explain in detail how to build a Minecraft down elevator. Please follow the instructions carefully.

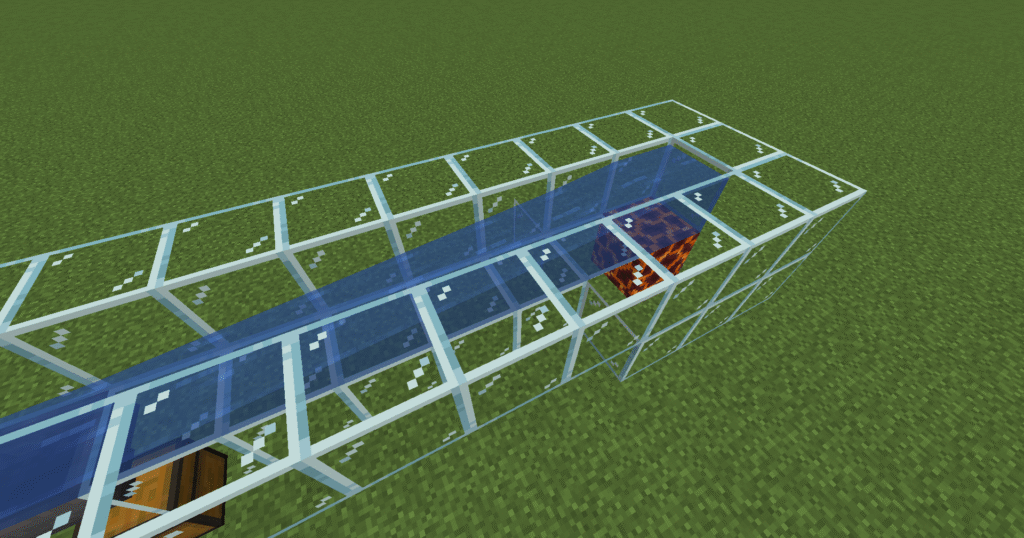
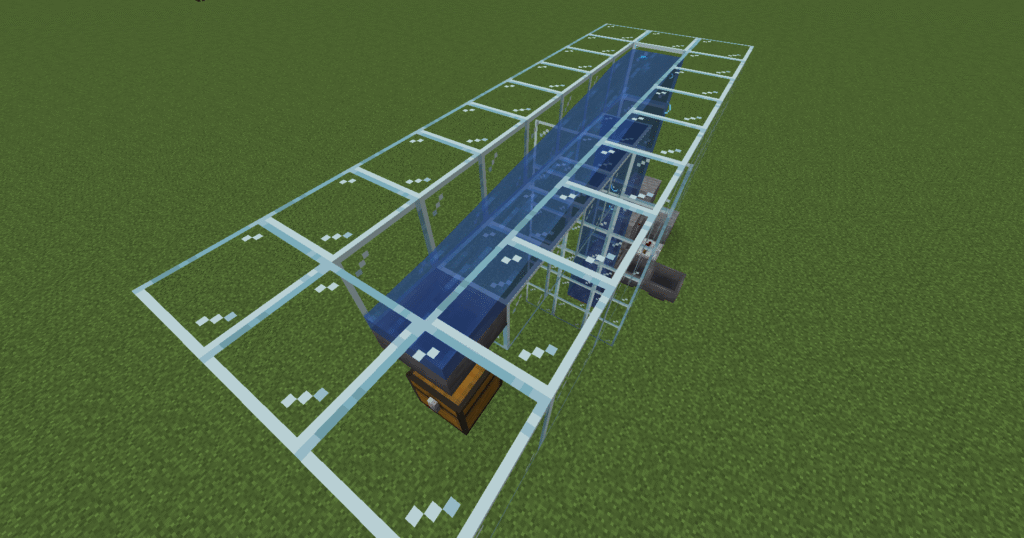
    1. Lets begin by placing a chest with a hopper on top, you will need to crouch to place the hopper.
    2. Build the glass compound around the hopper so that the glass is 1 block higher.
    3. Next bring the glass out from the hopper so that water can flow down the middle and not overflow (normally 7 blocks).
    1. Lets now place a magma block at the end of the glass runway. This will pull the items down.
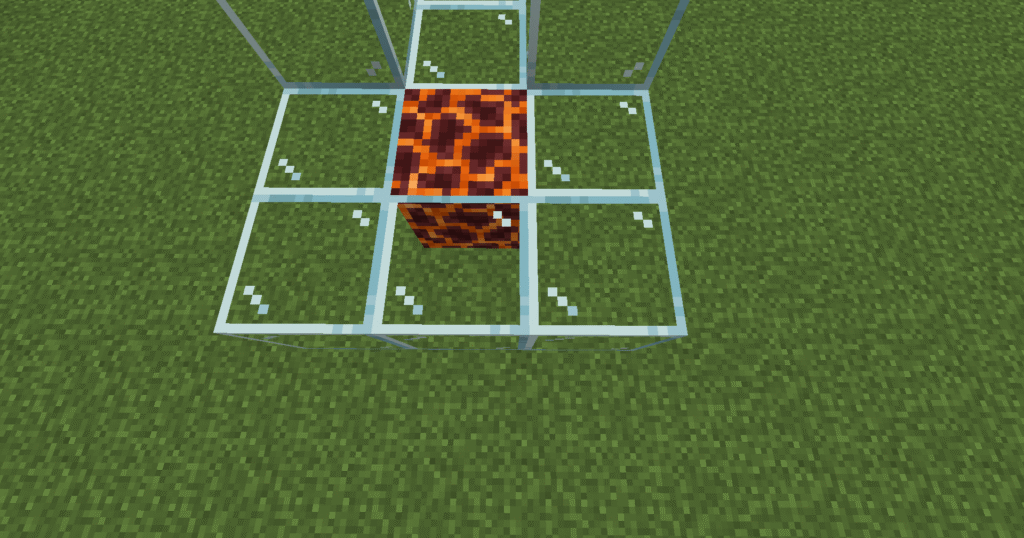
    1. Now you need to place glass blocks around and on the same level as the magma block.
    1. You now place a second level of glass blocks so that they are a block higher than the magma.
    2. Place a water bucket on the back wall over the magma block.
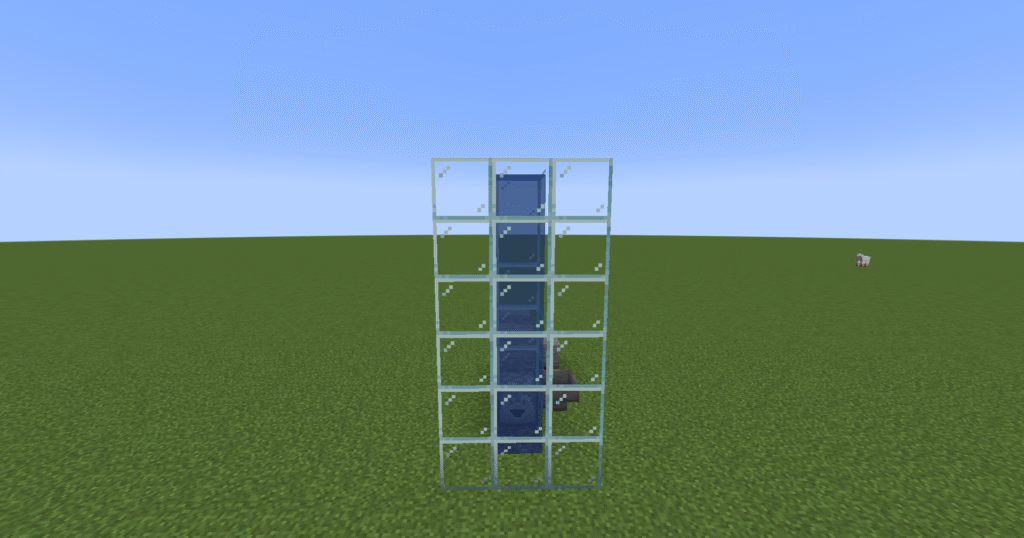
    1. Place glass blocks in a 3 x 3 block square with the water block that we placed before in the middle.
    2. Place a water bucket at the back of the square.
    3. Continue with this until you get to the required height.
    1. Build a platform out from the water block 5 blocks long and 3 blocks wide.
    2. Place 6 blocks on top of it in the formation shown in the screenshot.
    1. Next, lets first place a dropper that points towards the the water.
    2. Attach a hopper that leads into the dropper, crouching to do this.
    3. Place a comparator facing towards the dropper.
    4. Place a block behind this with redstone dust on top.
    5. Place redstone dust behind this.
    6. Next to the last redstone dust we placed, place a block.
    7. In front of this place redstone repeater.
    8. Finally place redstone dust in front of this so that it looks like the screenshot..
    1. Place a chest on top of the hopper.
    2. Place a block behind the dropper on top of the comparator.
    3. Place a block behind this leaving a one block gap.
    4. This then completes the build.

    What can go wrong – items shooting out of the structure.

    • The dropper can shoot items out of the structure. If this happens place another glass block opposite the dropper.

    What can go wrong – water not reaching the hopper.

    • Move the hopper closer to the water source block.

    Additional builds

    • Transport – you can add minecart system to this build so that the items can be transported further to where they are needed.
    • Sorter – a sorter can be added so that items can be sorted for you.

    Other suggestions

    • You can pair this with an up elevator so that you can send items both up and down to where they are needed.

  • Minecraft water transport

    These are the instructions to build a Minecraft water transport. Water is plentiful in Minecraft making this a fantastic easy early build for transporting items. It works by making a trench with running water to transport items. It uses a pressure plate to separate the water enabling it to only flow one way.


    These are the ingredients and recipes that you will need to make this Minecraft water transport. Please ensure that you have all of the ingredients before you start your build.

    ItemPictureAmount
    ChestHow to build a chest2
    HopperHow to build hopper2
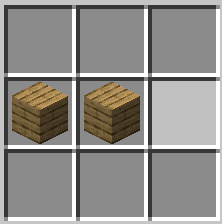
    Pressure plateHow to build a pressure plate1

    Hopper – you will also need a chest to make a hopper.


    Here we will explain in detail how to build this build a Minecraft water transport. Please follow the instructions carefully.

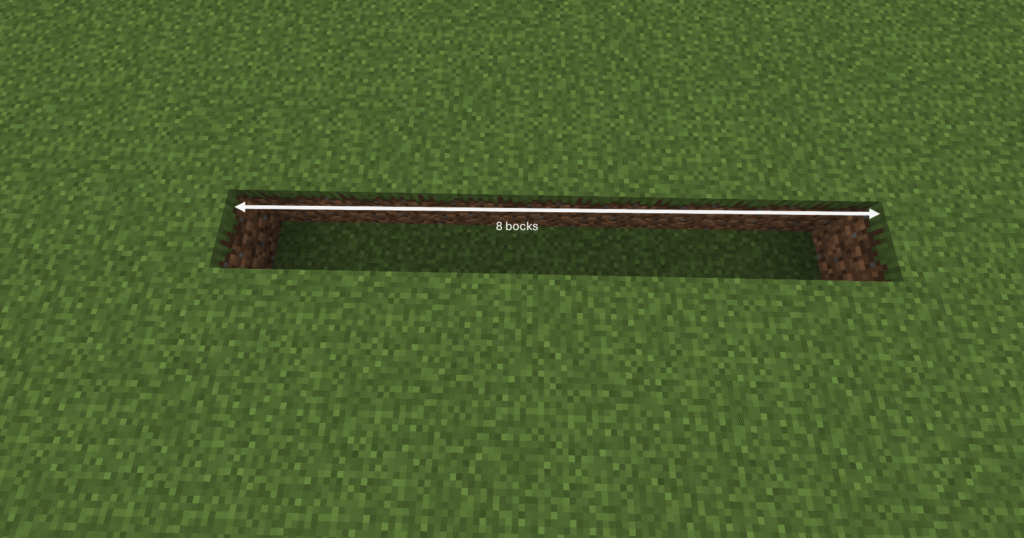
    1. Lets first dig an 8 block long trench.
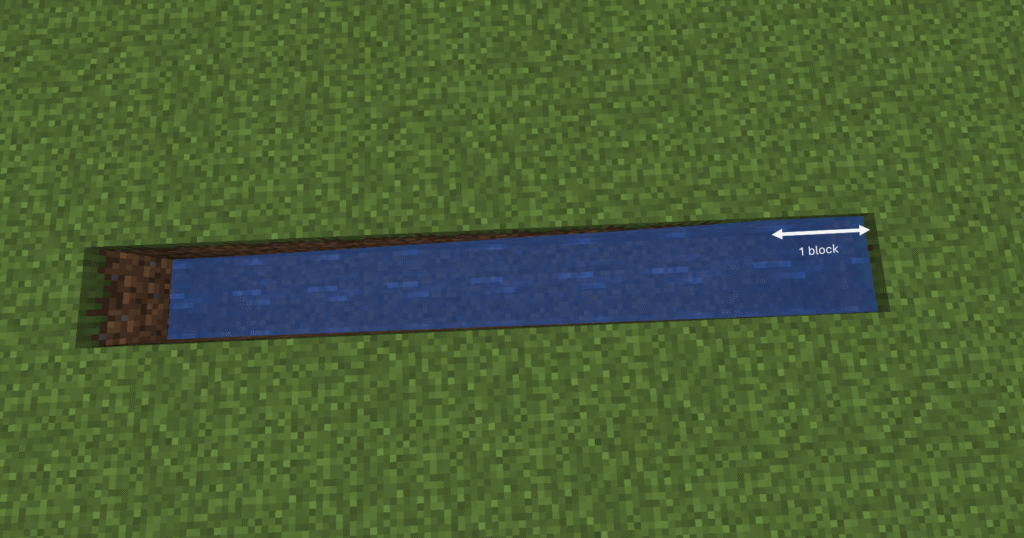
    1. Next step we need to fill the trench with water.
    2. Ensure you place the water at one end of the trench and not in the middle so that it flows towards the other end.
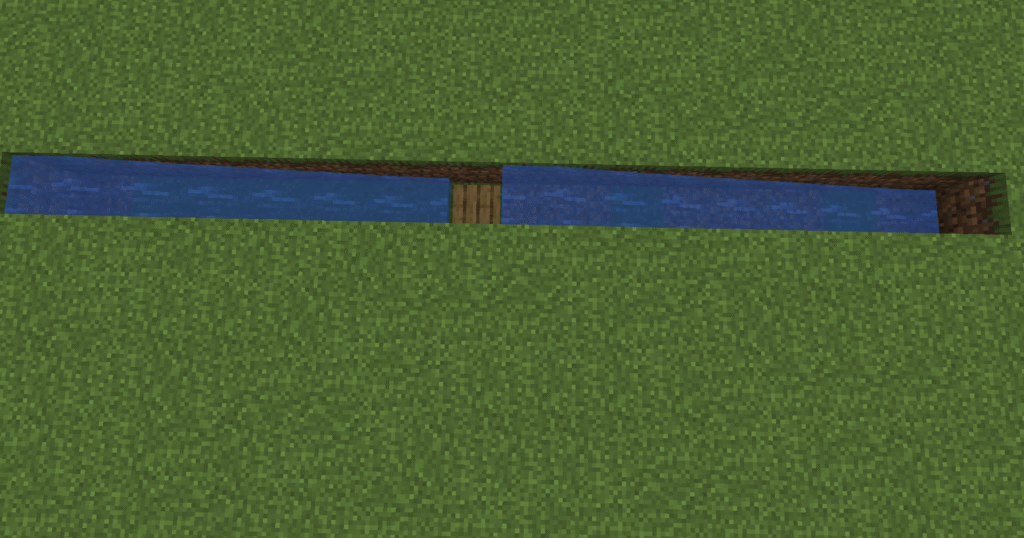
    1. When making a longer water channel we need to use a pressure plate in the middle to separate the water.
    2. When doing it this way ensure that when the water flows down only seven blocks are left.
    1. This is a simple collection system that can be placed at the end of the water.
    2. The items will flow down the water channel and into the hopper , then eventually into the chest where you can collect them.

    What can go wrong – the items not reaching the hopper and chest.

    • When making a water transport that is longer than 1 water bucket, you need cut the water with a pressure plate on the the 7th block. This will mean that the items sent down will continue on their way.
    • You also need to place the source block of water at 1 end of the trench so that it flows the right way.

    Other suggestions for the build

    For this build you can place a minecart loader underneath the chest and have the items transported off. These could go to a sorter to be sorted in to additional storage chests.


  • Minecraft ice transport

    These are the instructions for a Minecraft ice transport. This is one of the fastest ways to travel in Minecraft. A boat can travel at immense speeds over ice, depending on the type of ice you can vary the speed at which the boat will travel.

    • Normal ice – is the slowest.
    • Packed ice – being in the middle.
    • Blue ice – being the fastest option.


    For boats to get up to full speed they can require thousands of blocks of ice, so can become a very expensive and time consuming way to transport items and yourself around the world.


    These are the ingredients and recipes that you will need to make this Minecraft ice transport. Please ensure that you have all of the ingredients before you start your build.

    ItemPictureAmount
    Ice blockIce blockDepends on length
    Dirt blockDirt blockDepends on length
    Boat with chestHow to craft a boat with a chest1

    Boat with chest – to complete this build you will need to first create a boat and a chest separately before combining them.


    Here we will explain in detail how to build this build in Minecraft. Please follow the instructions carefully.

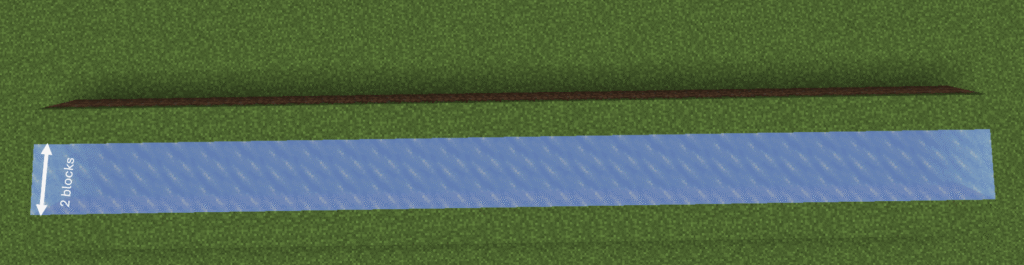
    1. The first step for this build is to place down a 2 block wide strip of ice the length you wish to travel.
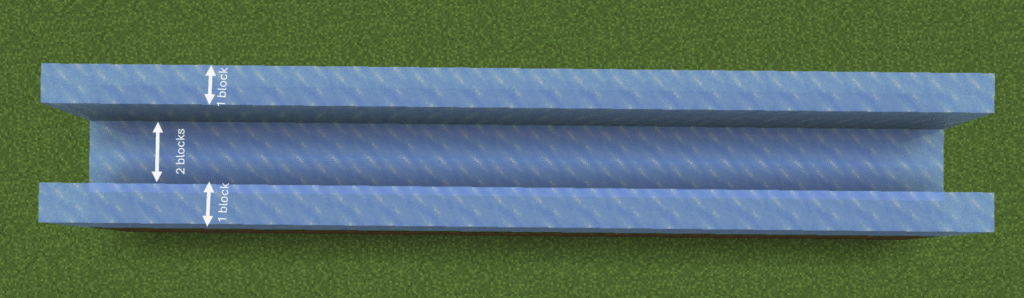
    2. Place dirt blocks along both sides of the ice blocks.
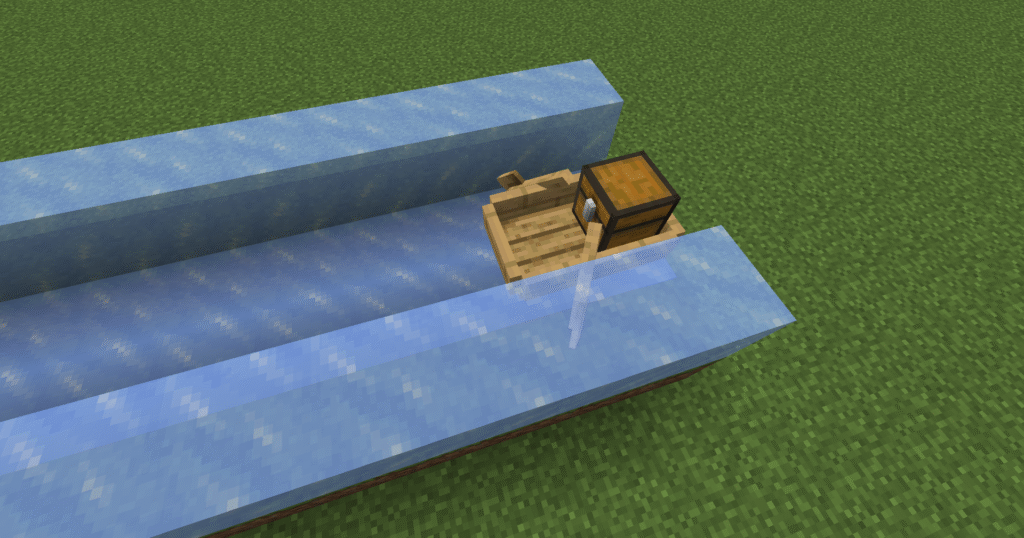
    1. The next step is to place ice blocks on top of the dirt blocks, to create a channel of ice.
    1. This is a view from the side of the build.
    1. Next place down your boat with chest and you’re good to go.

  • Minecraft full minecart system

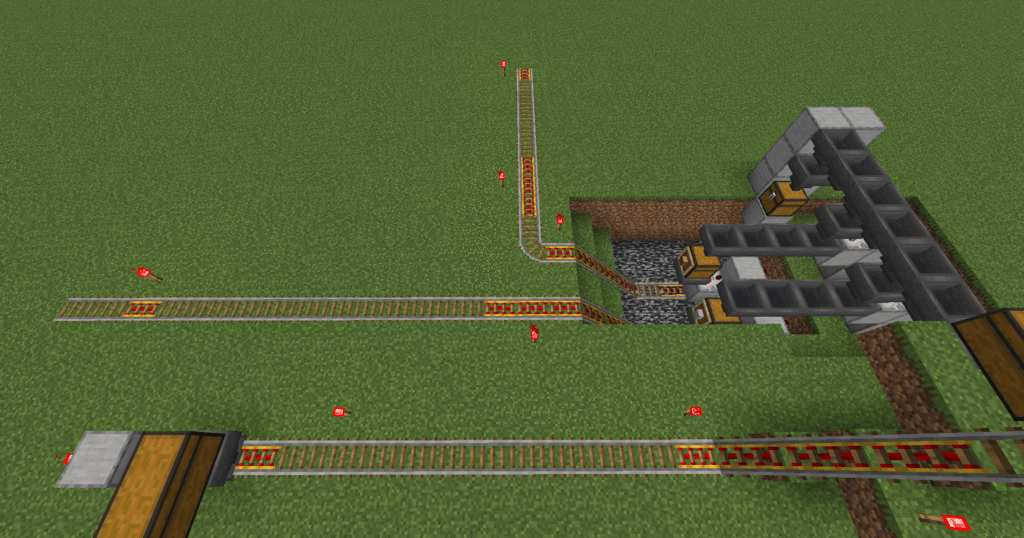
    These are the instructions to a Minecraft full minecart system. One of the most useful builds for transporting items and people around the map is to use a minecart system. These are set up like a railway with rails and powered rails going to and from a destination.

    Minecarts are then placed on these rails to transport items, players, villagers or mobs around to where you need them.

    There are a number of different types of minecart that can be used on the rails for this purpose. A minecart system can be as simple or difficult as you wish ranging from just a single line from a point to its destination to a complex railway network.

    In this build we will be showing you how to build a minecart system that links to a sorter and then sends the goods onto another station for collection.


    These are the ingredients and recipes that you will need to make this Minecraft full minecart system. Please ensure that you have all of the ingredients before you start your build.

    ItemPictureAmount
    RailsHow to craft rails16
    Powered railsHow to craft powered rails4
    Redstone torchHow to craft redstone torch2
    Stone blockStone block2
    Minecart with hopperHow to craft minecart with a hopper1

    Minecart with hopper – you will need to craft a minecart and a hopper separately before you can combine them.


    Here we will explain in detail how to build this build a Minecraft full minecart system Please follow the instructions carefully.

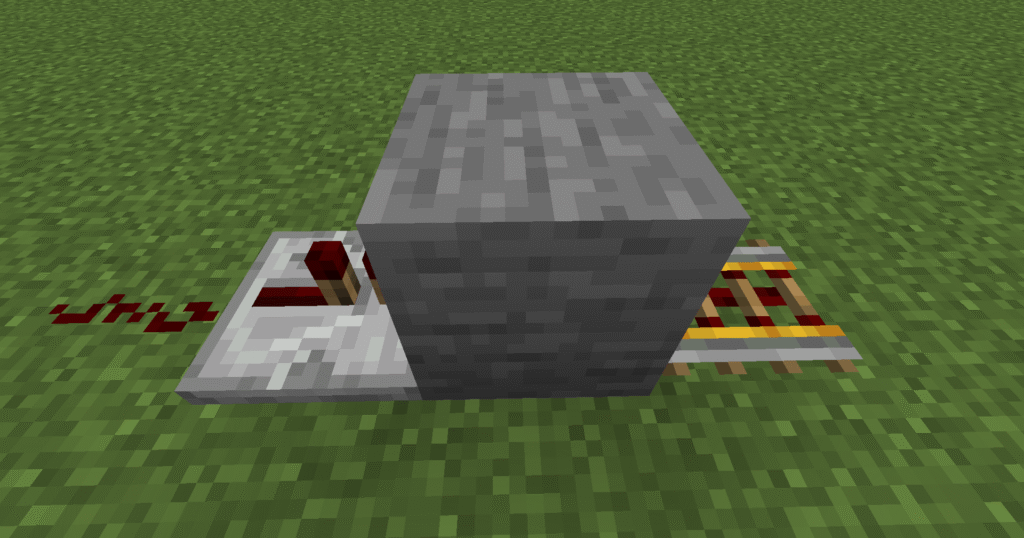
    1. First of all lets place 2 stone blocks a set distance apart.
    2. Next place 2 powered rails next to the blocks so that they are pointed towards each other.
    3. Place down rails between to link the powered rails.
    4. Place down redstone torches next to the powered rails.
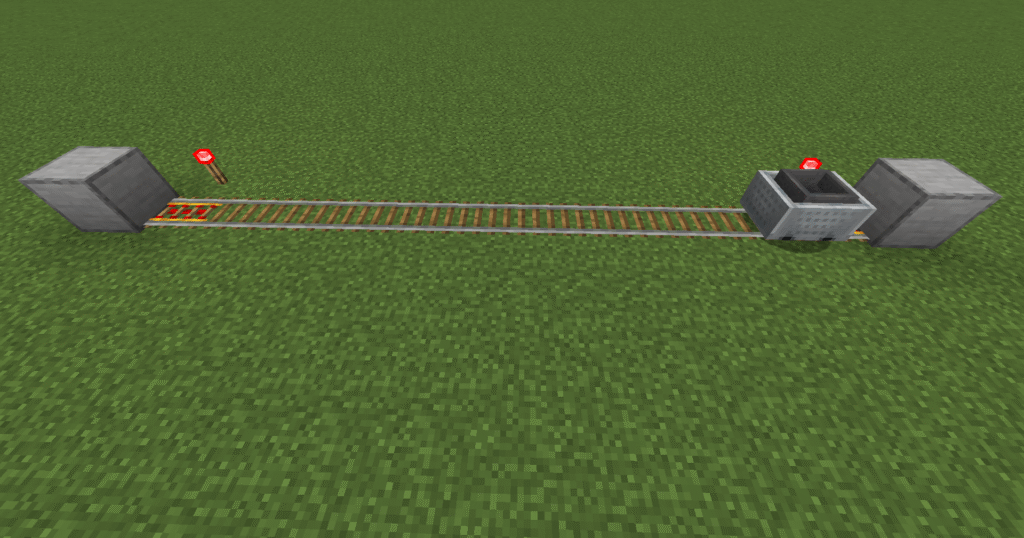
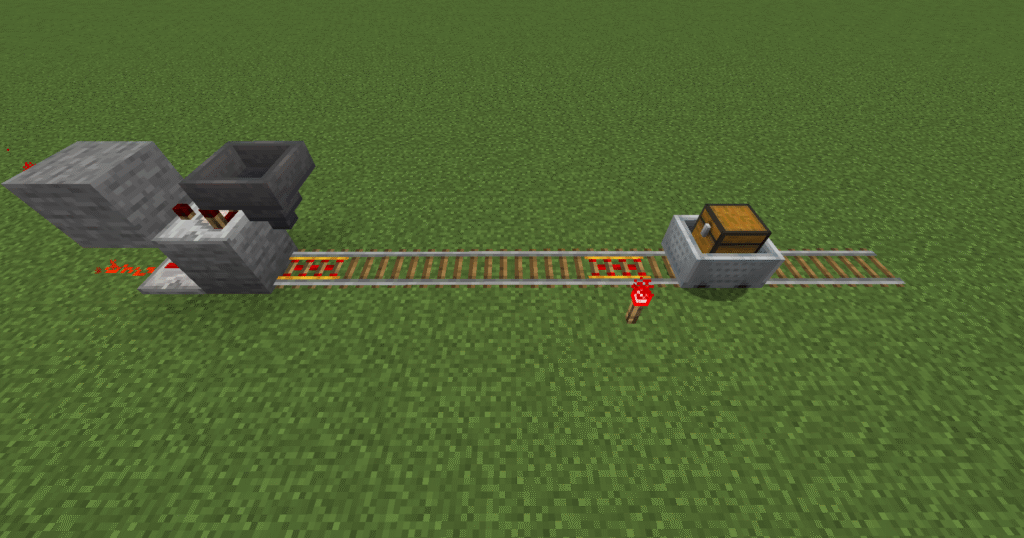
    5. Place a minecart, this minecart will now move freely up and down the rails between the 2 stone blocks (this is a minecart and hopper however you could use a minecart and chest depending on what you wish to transport).
    1. This is a minecart loader section of the minecart system.
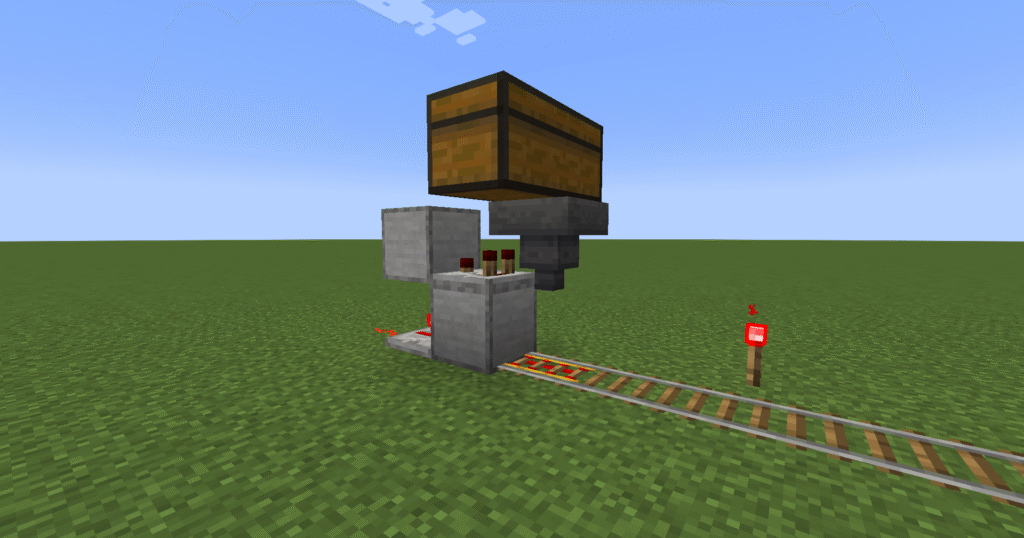
    2. This will enable your minecart to be loaded and move on to the minecart station. Go to minecart loader to see how to build this.
    1. This section is a minecart unloader. This is only placed so high so that you can see the build.
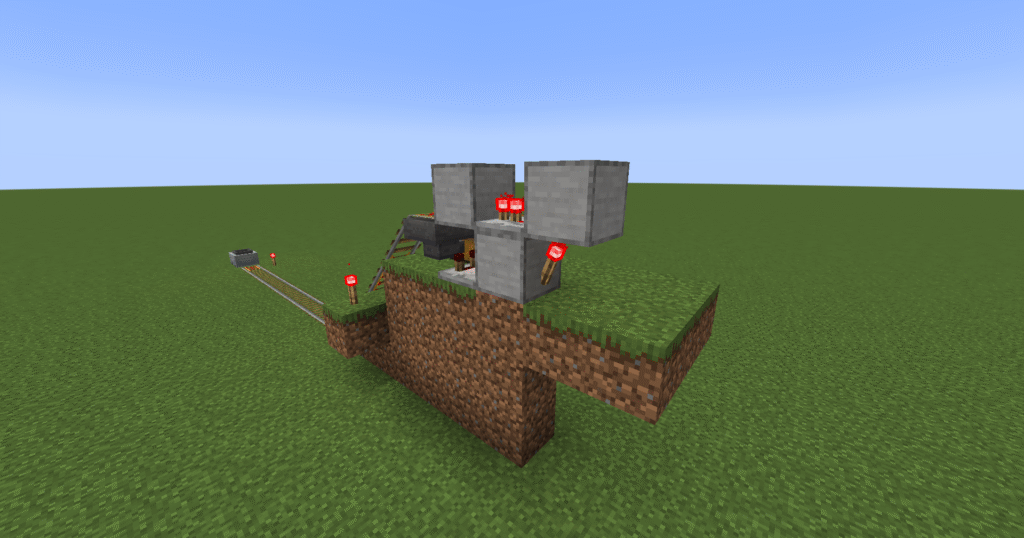
    2. This will enable you to unload your minecart so that you can collect the items. This can either be left in the chest or passed through to a sorter to sort the items further. Go to minecart unloader to learn how to build this.
    1. This section utilizes a sorter so the the items that are unloaded from minecart can then be sorted placed into other minecarts and transported to other destinations. Go to sorter to learn this build.
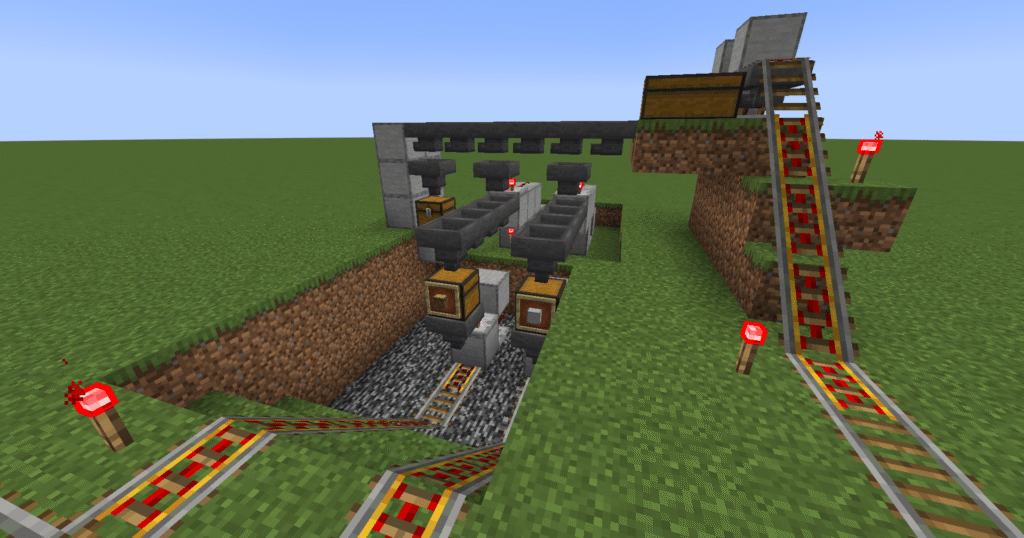
    1. This is the final build. We can see the loader moving into the station and unload straight into a sorter.
    2. The sorter will sort the items and send the items on depending on where you wish them to go.

    What can go wrong – the transport system does not get to its destination.

    • If your minecart does not reach its destination it normally means that you do not have enough powered rails in your build. You will need a powered rail every 32 blocks on flat ground or 3 – 5 blocks on an incline You will also need redstone torches to power the rails.
    • A minecart can only move when it is in loaded chunks. If it goes out of this area the minecart will stop.

    Additional builds –

    • Loader – a loader can be added so that the minecart can be loaded automatically.
    • Unloader – a unloader can be added so that the minecart can be unloaded.
    • Elevators – an up or down elevator can be added to move items up or down depending on your build.
    • Sorter – a sorter can be added so the the items delivered can be sorted.

  • Minecraft loading a minecart

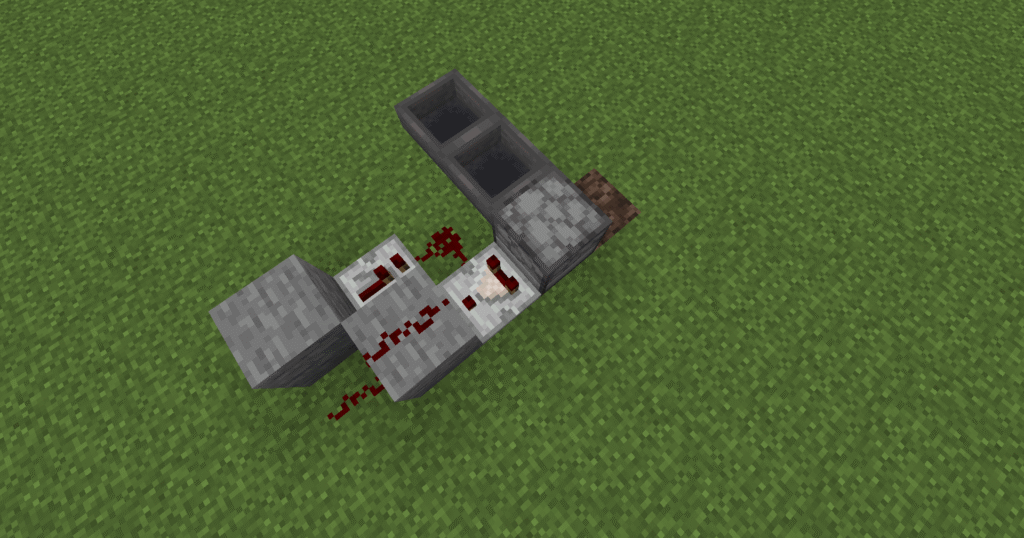
    These are the instructions for a Minecraft loading a minecart. The minecart loader works in the way that when the minecart goes under a hopper and the powered rail is switched off the minecart will stop and load from the hopper.

    When the hopper has items in it the comparator will light up. This will then switch off the redstone components that are attached to these are the redstone dust, redstone repeater and the redstone torch.

    This in turn will switch off the powered rail that means that the minecart will stop on its next visit. The minecart will pause on the powered rail until the redstone components come back on. This will happen when the comparator registers that the hopper is empty. For this build the player does not have to anything to move the minecart around. The only thing that the player will have to do is load up the hopper with the items they wish to move.


    These are the ingredients and recipes that you will need to make this Minecraft loading a minecart. Please ensure that you have all of the ingredients before you start your build.

    ItemPictureAmount
    Stone blockStone blocks2
    Redstone dustRedstone dust1
    RepeaterHow to craft a repeater1
    ComparatorHow to craft a comparator1
    HopperHow to craft a hopper1
    ChestHow to craft a chest2
    Redstone torch How to craft a  redstone torch1
    Powered railsHow to craft powered railsDepends on size
    RailsHow to craft railsDepends on size
    • Hopper – to craft a hopper you must first craft a chest.
    • Comparator and repeater – you must craft redstone torches first.

    Here we will explain in detail how to build this build a Minecraft loading a minecart. Please follow the instructions carefully.
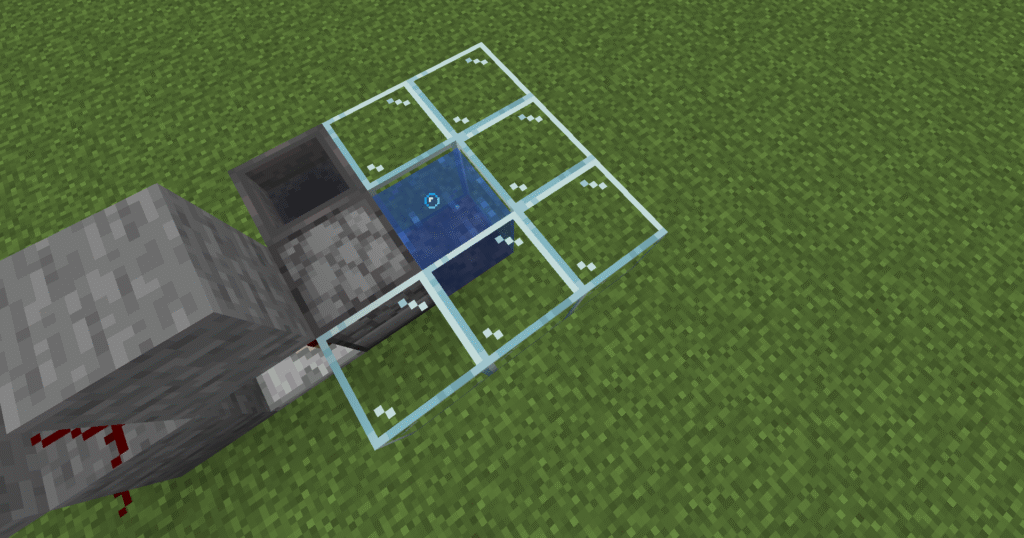
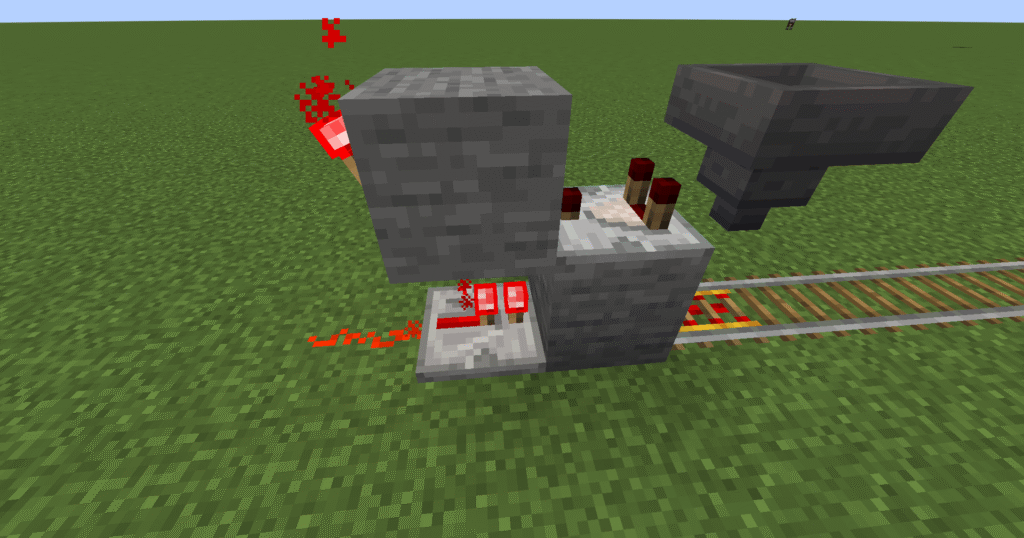
    1. First of all we will need to place down a stone block.
    2. Next place a powered rail up against the stone block.
    3. Now place a repeater down up against the stone block opposite the powered rail. As shown in picture.
    4. Place redstone dust down on the end of the repeater, on the opposite side of the stone block.
    1. Now lets place down a comparator on top of the stone block with the two prongs facing the powered rail.
    2. Place a stone block to the back of the comparator.
    3. Put a hopper on the other end of the comparator (ensure that the hopper is pointing down towards the powered rail).
    4. Place a redstone torch to the back of the top stone block.
    1. Place some rails that attach to the powered rails and place a minecart with chest down.
    2. This can be as long or as short as you need it to be.
    3. Remember to put redstone torches next to the powered rails to power them or your minecart might get stuck.

    What can go wrong – Minecart stopping to early.
    • The minecart stops early because you have placed two powered rails together by the hopper. You must have a normal rail next to the powered rail that is under the hopper.
    • Another reason might be that you have forgotten to place a redstone torch by a powered rail and the minecart doesn’t have enough power to get round by itself.

    Additional builds –

    • Transport – you can build a complete transport system to load and unload items where you need them..
    • Sorter – you can add a sorter to the loader so that only items that you wish to send will be sent and sorted where you would like them.

  • Minecraft unloading a minecart

    These are the instructions for how to Minecraft unloading a minecart. This build is used to load a minecart to enable the use of a transport system for your items. This is joined onto the end of a minecart track and then the minecart will be unloaded into a hopper and then a chest.

    This works by using a comparator, the minecart will come up to the powered rail if the minecart contains items the comparator will send a signal to the redstone torch and un-power the rail causing the minecart to stop on the powered rail.

    The powered rail will be placed over a hopper, while the minecart is over the hopper the items will start to empty out of the minecart. When the minecart is empty the comparator will send the signal and the redstone torch will re-activate and the minecart will continue on its way.
    This is a great way to transport different items to different places.

    These are the ingredients and recipes that you will need to make this Minecraft unloading a minecart. Please ensure that you have all of the ingredients before you start your build.

    ItemPictureAmount
    Stone blockStone block3
    RepeaterHow to craft a repeater1
    ComparatorHow to craft a comparator1
    HopperHow to craft a hopper1
    ChestHow to craft a chest1
    Redstone torchHow to craft a redstone torch1
    Powered railsHow to craft powered railsDepends on size
    RailsHow to craft railsDepends on size
    • Hopper – you will need to craft a chest first.
    • Repeater and comparators – you will need to make redstone torches first.

    Here we will explain in detail how to build this Minecraft unloading a minecart. Please follow the instructions carefully.

    1. First of all lets place a stone block down.
    2. Next place a redstone torch on to the back of the stone block.
    3. Place a comparator with the two prongs facing away from the stone block.
    4. Next place a chest down to the side as shown in the picture.
    5. Place a hopper next to the comparator that leads into the chest, you will need to crouch to place this.
    1. Now, place a repeater on top of the stone block facing the comparator.
    2. Attach 2 stone blocks to the repeater on each side (you will have to crouch to do this).
    3. Finally in this section place a powered rail on top of the hopper, again you will need to crouch to do this.
    1. Next place the rails down connecting to the powered rail on top of the hopper and then a minecart.
    2. Where you have placed powered rails, make sure to place redstone torches to power them.
    3. Ensure that a standard rail is placed next to the powered rail on the hopper.

    What can go wrong – Minecart not stopping on hopper.

    • This will happen if you have the comparator the wrong way round. The comparator works in this build by checking if the minecart is empty and sending a signal to the redstone torch whether it needs to be powered or not. If the comparator is the wrong way around it can not check the minecart.

    What can go wrong – Minecart staying on hopper when unloaded.

    • When your minecart remains over the hopper when it is empty it means that you have your repeater the wrong way round or you have omitted it from the build. Ensure that the arrow is pointing towards the minecart.

    Additional builds

    An addition to this build would be to add a sorter to it. This would mean that a large number of items can be sent in the minecart and then automatically sorted into separate chests. A sorter is one of the most versatile builds in the Minecraft world. They can be added to many builds for better efficiency and speed of sorting items.